Viewing and editing images in a completed study
(Recommended) View or edit images in the IDEXX-PACS or IDEXX Web PACS software:
• In the IDEXX-PACS software, search for the patient from the IDEXX-PACS Home window.
• If you use the Cornerstone software, open the image from the Cornerstone Patient Clipboard.
• If you subscribe to IDEXX Web PACS software, tap the
icon in the lower right corner of the
ImageVue CR20 Study window. When VetConnect* PLUS opens, log on, and then select
Imaging
.
Your images may not be immediately visible; you can view them as soon as they are uploaded
to the cloud.
(Alternative) View or edit images in the ImageVue CR20 software:
1. From the RIS window, tap one of the study list buttons at the top, such as
Completed Studies
.
2. In the Study List window, select the study you want, and then tap
.
3. In the Study window, tap the thumbnail of the image you want to view.
4. Use the shortcut tools below the image to zoom or pan the image; use the QA tools on the
right to rotate, add markers, or crop an image (if the tools are not visible, tap
).
5. When done, tap
to exit QA mode.
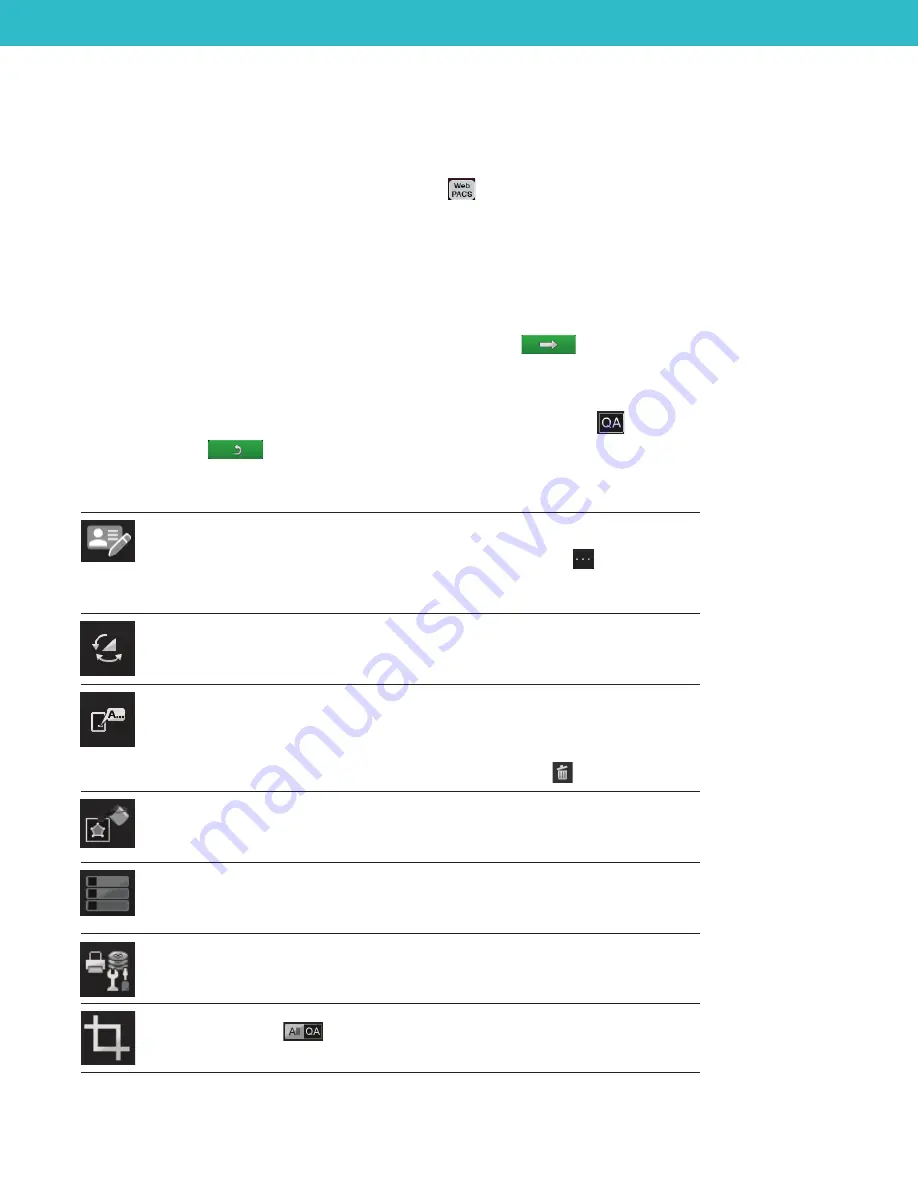
QA tools in ImageVue CR20 software
Order information
Displays the shot name and other options.
To reprocess an image that was captured using the wrong shot: Tap the 3 dots
next to the
shot name, and then select the correct shot. The image is reprocessed using the new processing
parameters.
Image rotation/reversal
Tap to display image rotation and reversal tools.
Marker
Tap to display marker and free-text tools. Tap the numbered buttons at the top of the Marker palette
to see additional options.
To apply a marker or text, tap the option, and then tap the image.
To remove a marker or annotation, tap the marker or text box, and then tap
.
Shadow-masking processing
Tap to display masking tools you can use to exclude white areas from the image.
Tap a tool and then tap the image. To adjust size/shape, drag the handles on each tool angle.
Exposure list
Tap to display a list of all images in the study.
Distribution setting
Tap to display a dialog box with options for printing or viewing image destinations.
Trimming
To crop the image, tap
in the Study window, and then tap the Trimming tool.
Select the size and then tap the image.


