background image

7

www.ideonaudio.com

This is a brief compendium of ideas and 

suggestions, often user inspired.  Some of 

these are mentioned above. We thought 

that putting these all together in one place 

is worth the boredom of repetition. They are 

in random order, so the last is not necessarily 

less than the first!
1.  The IΩN DAC in its raw state (i.e. factory-

fresh) takes us closer than ever to the 

musical event; we strongly recommend 

you privilege listening over tweaking!

2.  Burn-in:

 based on anecdotal data, the 

IΩN DAC needs a little over 300 hours to 

fully come into its own. Nevertheless, users 

report, and we confirm that the musical 

enjoyment begins from the very first 

moment of operation!

3. 

Keeping the IΩN DAC on all the time 

keeps the power supplies charged and 

the operating temperature at optimum 

levels. If, however, your main grid is 

notoriously unstable, it is best to switch the 

IΩN DAC off when not in use.

4.  IΩN DAC off for an extended period of 

time; upon restart, please allow some time 

before the device reaches its optimum 

operating conditions and optimum sound.

5.  Vibration control: any vibration control 

device placed under the IΩN DAC chassis 

can affect the sound, as can the furniture 

upon which you place it – just as it will 

for any audio device. As always, what 

you end up doing is a matter of personal 

choice.

6. 

Cables: it is well worth trying out good 

quality interconnects to and from the IΩN 

DAC. When auditing cables, keep in mind 

that the IΩN DAC circuits do not impart 

any sonic flavor of their own. Ultimately, 

the choice of cable becomes a matter of 

taste and associated equipment.

7.  Power cords: many users opt for after-

market power cords and find that this 

brings changes to the sound. To avoid 

undue damage to the device, please 

ensure that the after-market cords you 

wish to test are correctly engineered. 

Important:

 before changing power cords 

make sure you SWITCH OFF the device 

and disconnect it from associated 

downstream equipment.

8.  Please be careful when switching the 

IΩN DAC on and off in quick succession, 

allowing at least 10 seconds between on-

off changes.

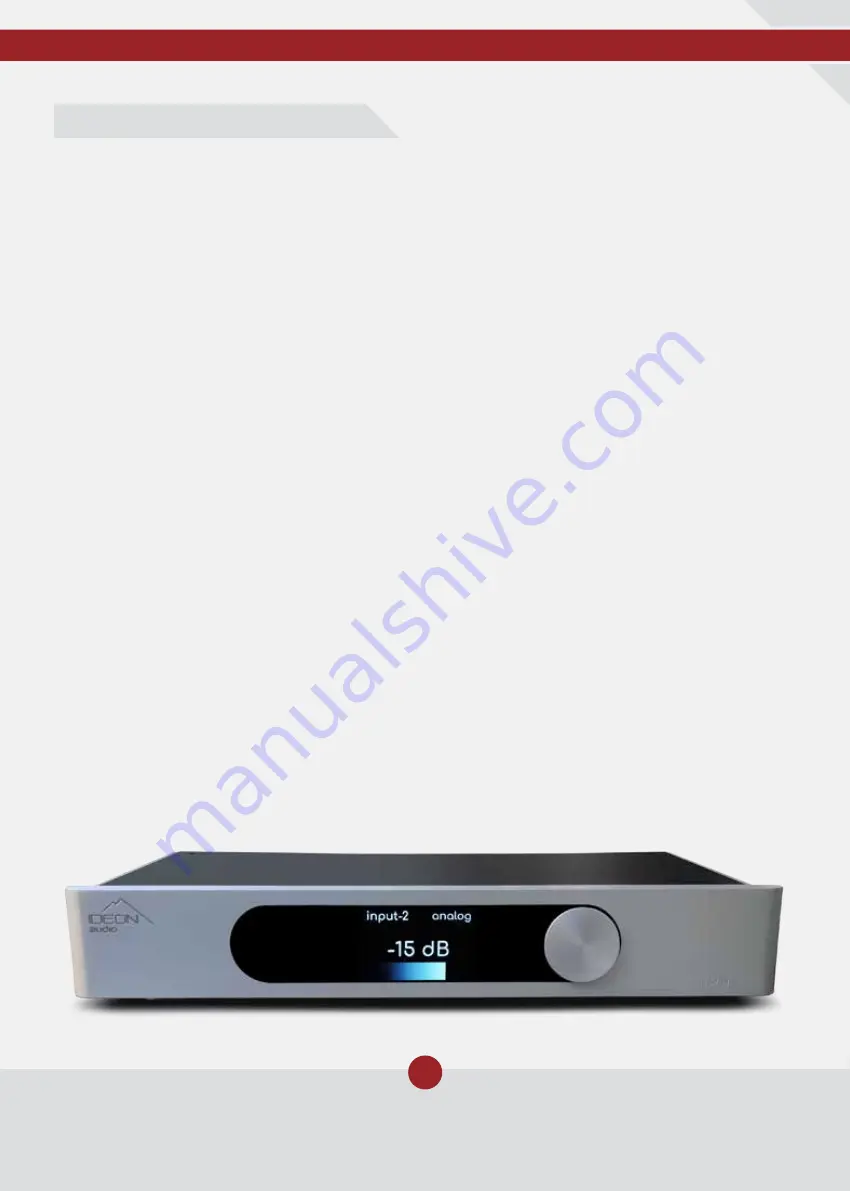
9.  Variable output volume: to avoid 

inadvertently damaging your speakers 

with a sudden loud signal, do not forget 

to set an attenuation level for start-up 

(“default volume level”). For the most 

dynamic, realistic sound, the settings 

above -9dB should be avoided. The -0dB 

setting is the best.

Tips

Summary of Contents for ION DAC

Page 1: ...User Guide I N DAC I N Pre Amp...

Page 2: ......

Page 3: ...h optional analog preamplifier utilizing trickle down technologies and R D gained from our extensive work with our flagship I N Epsilon DAC Most of the Epsilon DAC s innovations and designs are found...

Page 4: ...C mode only Power off your I N by pressing power on the remote or keeping the knob pressed for more than 6 seconds Please complete all necessary connections see pics below before connecting the power...

Page 5: ...ttom of the screen By turning the knob left or right you will be able to select between line Input1 and Input2 and or USB COAX or BNC digital inputs of the DAC Input1 Input2 connect CD player Tun er P...

Page 6: ...power button of the remote can also power off the I N Menu Settings Selection Pressing on the knob for 2 3 secs and releasing it takes you to the next screen menu You can navigate between options wit...

Page 7: ...en 7 preset filter choices These are Fast roll off minimum phase Slow roll off minimum phase Fast roll off linear phase Slow roll off linear phase Brick wall Hybrid fast roll off minimum phase Apodizi...

Page 8: ...n on start up depend ing on the amplifier s input sensitivity 20dB to 30 are commonly used values Please note that we thoroughly recommend the use of a separate quality preamp de spite the introductio...

Page 9: ...ny vibration control device placed under the I N DAC chassis can affect the sound as can the furniture upon which you place it just as it will for any audio device As always what you end up doing is a...

Page 10: ...f minimum phase Action Result Please proceed as above rotating the knob will take you to different parameters of a specific setting pressing will select the value of the setting moving on to the next...

Page 11: ...ou need to reset your device to factory settings Technical Specifications SUPPORTED FORMATS INPUT DEPENDENT 44 1kHz to 384kHz PCM up to 32 bits Native DSD up to 8X DSD DIGITAL INPUTS 3x Advanced isola...

Page 12: ...isconnecting the ground may cause RFI radio frequency interference to be induced into your playback setup Removing or bypassing the ground pin on any electrical component is potentially dangerous and...

Page 13: ...from the importing retailer or distributor from whom you purchased the product In the unlikely event of service required beyond the capabilities of the importer Ideon Audio undertakes to fulfill the c...

Page 14: ...eturned to Ideon Audio or an authorized Ideon Audio repair center by the customer at his or her sole expense in the original packing material Ideon Audio will pay return freight of its choice for orig...

Page 15: ...NOTES...

Page 16: ...www ideonaudio com I N DAC I N Pre Amp...

Reviews: