10
Oct. 2018
A-2200IEH-XR
2. Power Connection
Before power connection is made, check your power supply outlet to ensure it’s in accordance with
the requirements of the lift.
a. Connect lift
’s electrical plug to a 110V-60Hz, 1Ph, 20A power supply outlet. Protection against power
surges shall be provided by the user.
3. Starting Up (No Load on Lift)
a. Using the Remote Pendant Control, raise the platform to full height by pressing the
(
GREEN)
UP
↑
button. (Fig. 2)
b. Lower the lift to floor by pressing the
(BLUE)
DOWN
↓
button.
c. With no load on lift, cycle up and down several times to get the air out of the hydraulic
system. (Wait 2 minutes between cycles)
d. After cycling lift, raise and secure at almost full height by pressing the
(BLACK)
PARKING
button to secure lift in the locking position, as the electronic latches will
automatically engage. (Securing lift at full to mid height is best for Assembly)
Fig. 2
4. Assembly
a. Attach or insert the front Wheel Stop Bar, Tie-Down Eyelets, Retractable Ramp & Stabilizer / Balance Bars -
(Figs 3, 4 & 5)
Fig. 3 Fig. 4 Fig. 5
b. Insert ATV Side Extension
’s Rods to outside of Platform and secure with Wing Bolts. Once Rods are
secured to Platform, install the ATV Side Extensions and secure each end with Ring Clips - (Fig. 6)
Note: Ensure to correctly install Side Extensions with holes for Wheel Stops positioned to front of lift.
c. Insert ATV Wheel Strop Bars to the front of each Side Extension - (Fig. 6)
d. Install ATV Pivot Ramps to the rear of each Side Extension using Pins & Circlips - (Fig. 7)
Fig. 6 Fig. 7
Summary of Contents for A-2200IEH-XR
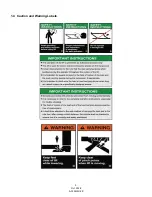
Page 5: ...5 Oct 2018 A 2200IEH XR 1 4 Caution and Warning Labels...
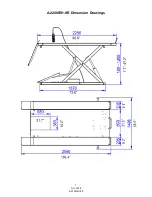
Page 7: ...7 Oct 2018 A 2200IEH XR A 2200IEH XR Dimension Drawings...
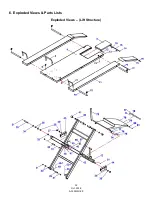
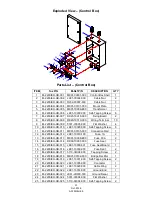
Page 14: ...14 Oct 2018 A 2200IEH XR 6 Exploded Views Parts Lists Exploded Views Lift Structure...
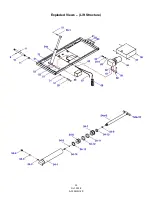
Page 15: ...15 Oct 2018 A 2200IEH XR Exploded Views Lift Structure...
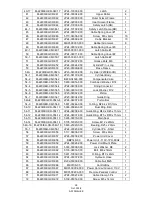
Page 16: ...16 Oct 2018 A 2200IEH XR Exploded Views Lift Structure...


