background image

Technical support: 

[email protected]

                                                    P3 

3  

Installing a PISO/PEX-P32C32 

1) Power off the PC. 
2) Remove all covers from the Computer. 
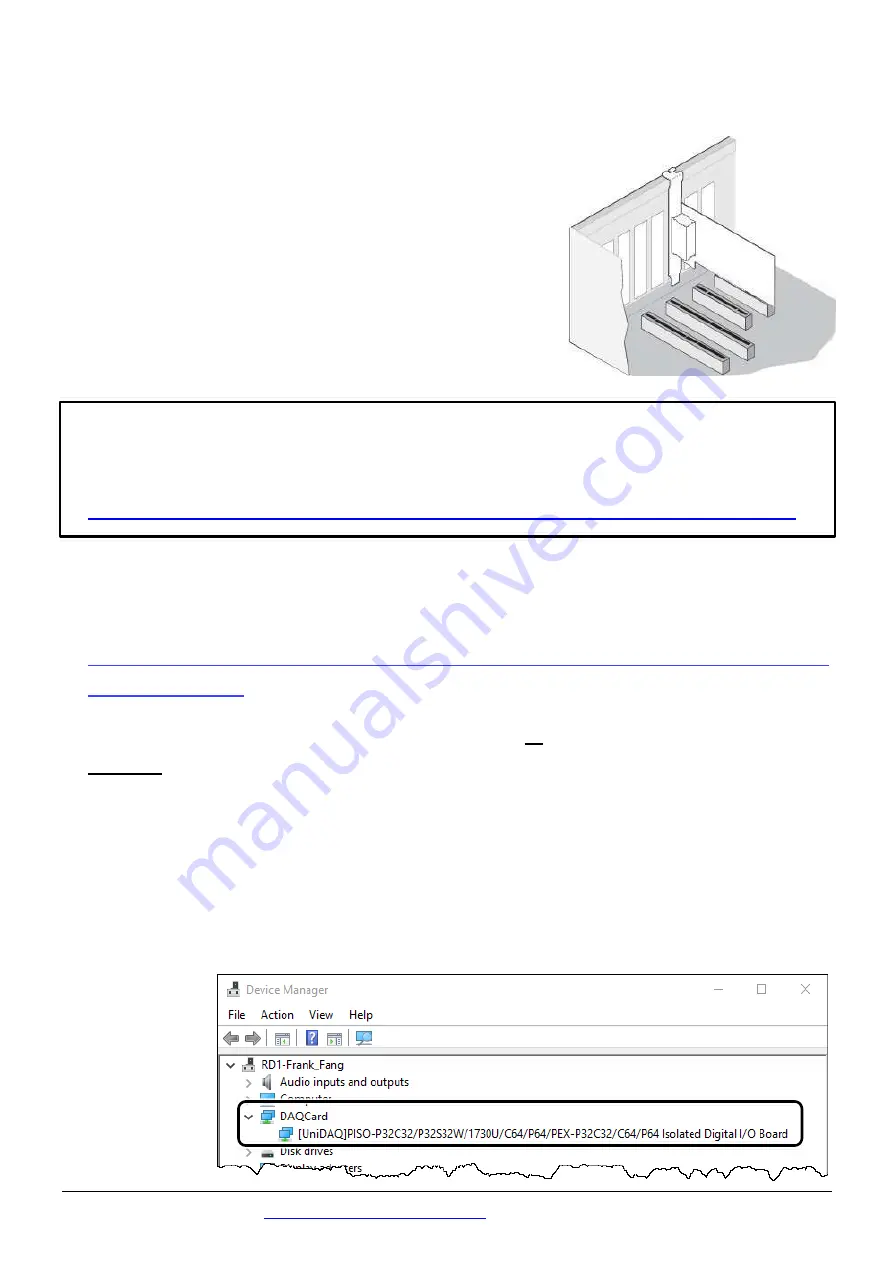
3) Carefully insert the PISO/PEX-P32C32   

Series Card into PCI/PCIe slot. 

4) Replace the PC Covers. 
5) Power on the PC. 
6)


Download or locate


the Windows driver.   


 The 

UniDAQ driver

 supports 32-/64-bit Windows XP/2003/2008/7/8/10. 

It is recommended that new users install this driver, which can be 
found in the 

http://ftp.icpdas.com/pub/cd/iocard/pci/napdos/pci/unidaq/dll/driver/


The 

PISO-DIO Series classic driver

 supports Windows 98/NT/2K 

and 32-bit XP/2003/2008/7/8/10. Recommended to install this driver 
for have been used PISO-P32C32 Series card of regular user, refer to: 

http://ftp.icpdas.com/pub/cd/iocard/pci/napdos/pci/piso-dio/manual/qui
ckstart/classic/


7) Setup the UniDAQ Driver DLL, click the 

“Next>”

 button for all dialogs. 

NOTE: For more detailed information related to driver installation, 
refer to Chapter 2 “Starting” in the UniDAQ SDK user manual.


8) The operating system will automatically detect the new hardware and 
install the necessary drivers after reboot the PC.   

 
9) Open the


“Device Manager”

 to verify that the PISO/PEX-P32C32 

Series Card has been correctly installed and is in the Device Manager, 
as illustrated 
on right.


Summary of Contents for PISO-P32C32U-5V

Page 1: ...t CA 4037B Cable x 1 CA 4002 D Sub Connector x 2 For more detailed information related to the user manual and software for UniDAQ Driver SDK http ftp icpdas com pub cd iocard pci napdos pci unidaq For...

Page 2: ...to specify whether the Digital Input is either Internal or External Power NOTE Ensure that Jumpers JP1 and JP2 are in the default positions before performing a self test External Power Default Intern...

Page 3: ...driver supports Windows 98 NT 2K and 32 bit XP 2003 2008 7 8 10 Recommended to install this driver for have been used PISO P32C32 Series card of regular user refer to http ftp icpdas com pub cd iocard...

Page 4: ...nd 2 Ext PWR External Power Input 3 N C None Connect 4 For detailed information abuout the DI and DO wiring note refer to Section 2 3 Isolated DI Architecture and Section 2 4 Isolated DO Architecture...

Page 5: ...the External Power Supply 9V 24 V to COM1A Pin18 and Ext PWR0 Pin37 see Figure 1 1 5 Connect the External Power Supply GND to COM1B Pin19 and Ext GND0 Pin1 Pin20 see Figure 1 1 NOTE The PEX P32C32 PI...

Page 6: ...I O Wiring 1 3 4 5 6 7 8 9 10 11 13 14 17 15 16 18 20 21 22 23 24 25 26 27 28 29 30 31 32 33 34 35 36 12 2 37 19 24V GND External Power Supply 9V 24V CA 3710 CON1 DN 37 I O Wiring 1 3 4 5 6 7 8 9 10 1...

Page 7: ...ftware The UniDAQ Utility will be placed in the default path C ICPDAS UniDAQ Driver after completing installation 2 Confirm that PISO P32C32 Series Card has been successfully installed in the Host sys...

Page 8: ...Digital Input tab 8 Select Port0 from the Port Number drop down menu 9 The DI indicators will turn black when the corresponding DO channels 0 2 4 and 6 are high NOTE Port0 1 DI is the reverse logic s...

Reviews: