background image


Summary of Contents for HRT-711

Page 1: ......

Page 2: ......

Page 3: ......

Page 4: ......

Page 5: ......

Page 6: ......

Page 7: ......

Page 8: ......

Page 9: ......

Page 10: ......

Page 11: ......

Page 12: ......

Page 13: ......

Page 14: ......

Page 15: ......

Page 16: ......

Page 17: ......

Page 18: ......

Page 19: ......

Page 20: ......

Page 21: ......

Page 22: ......

Page 23: ......

Page 24: ......

Page 25: ......

Page 26: ......

Page 27: ......

Page 28: ......

Page 29: ......

Page 30: ......

Page 31: ......

Page 32: ......

Page 33: ......

Page 34: ......

Page 35: ......

Page 36: ......

Page 37: ......

Page 38: ......

Page 39: ......

Page 40: ......

Page 41: ......

Page 42: ......

Page 43: ......

Page 44: ......

Page 45: ......

Page 46: ......

Page 47: ......

Page 48: ......

Page 49: ......

Page 50: ......

Page 51: ......

Page 52: ......

Page 53: ......

Page 54: ......

Page 55: ......

Page 56: ...Dip Switch Normal...

Page 57: ......

Page 58: ......

Page 59: ......

Page 60: ......

Page 61: ......

Page 62: ......

Page 63: ......

Page 64: ......

Page 65: ......

Page 66: ...status of Device 0 1 High Byte The comm status of Default CMD 3 in device 0 2 Low Byte The comm status of Default CMD 0 in device 0 2 Address 1001 Unit WORD Show the comm status of Device 1 1 High Byt...

Page 67: ...0 Unit WORD Show the comm status of Device 1 1 High Byte The comm status of Default CMD 0 in device 1 2 Low Byte The comm status of Default CMD 3 in device 1 Figure 7 1 2 The status of Default CMD 0 3...

Page 68: ......

Page 69: ......

Page 70: ......

Page 71: ......

Page 72: ......

Page 73: ......

Page 74: ......

Page 75: ......

Page 76: ......

Page 77: ......

Page 78: ...2 In the Device Configuration page click the Save to File button to save the current settings of HRT 711 to file...

Page 79: ...vice Configuration click the Load From File button and choose the setting file of HRT 711 Then it will show all the settings in the HG_Tool 2 Click the Save to Device button to set the settings to HRT...

Page 80: ...ration page click the right button of mouse on the HART Device 0 item and choose the Add Command option 2 Input the value 19 in the Command Num field and choose the Manual option in the Mode field Cli...

Page 81: ...for HART command 19 2 For example the value for these three bytes parameters is 11 0x0B 22 0x16 33 0x21 for writing and the Modbus command will be as below 01 10 00 00 00 02 04 21 00 0B 16 7F 6D 3 Th...

Page 82: ...formation page click the right button of mouse on the User CMD 19 item and choose the Advanced operation option 2 In the I O Data page click the Update button and it will show the value for sending of...

Page 83: ...00 00 01 00 A7 0A 1 00 Stop all the original HART polling command 2 00 Set the no of UserCMD for sending 3 01 Trig to send the UserCMD and it needs the different value every time Ex the next value wil...

Page 84: ...HART polling command 1 Add HART CMD 48 to HRT 710 Figure 17 1 Add HART CMD 48 to HRT 710 2 In the Device Configuration screen click the Save to Device button to save the settings to HRT 710 Figure 17...

Page 85: ...CMD 48 with blue grid The response data length of HART CMD 48 will be 27Bytes ResCode 2 and ResData 25 Therefore it will occupy 14 WORD Modbus address as below address 0 13 Figure 17 3 The modbus addr...

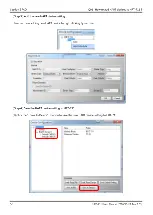
Page 86: ...Figure 17 5 Get the HART CMD 48 data by using HC_Tool HART Master HRT 711 Utility Ethernet Search Servers button...

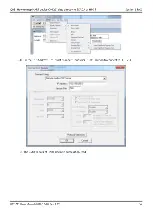
Page 87: ...HRT 711 item and click the Configuratino UDP OK...

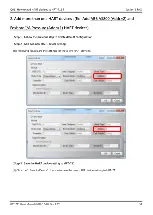
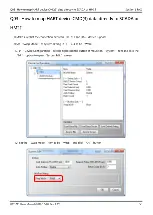
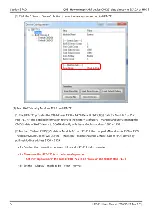
Page 88: ...HRT 711 Utility HART Dip Switch Init...

Page 89: ...Communication Settings HRT 711 OK Connect ON of the traffic light...

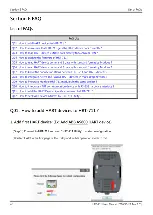
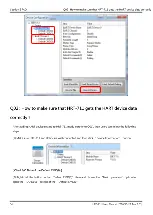
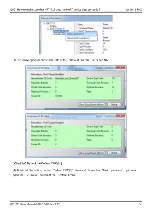
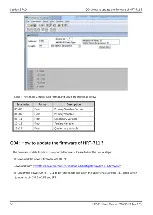
Page 90: ...Q01 How to add HART devices to HRT 711 Q02 How to make sure that HRT 711 gets the HART device data correctly Dip Switch Normal Q03 How to map HART device CMD 3 data directly to SCADA or HMI...

Page 91: ......

Page 92: ......

Page 93: ......

Page 94: ......

Page 95: ......

Page 96: ......

Reviews: