12.
Unpack
the
new
RAID
controller
with
the
1-GB
cache.
Verify
that
the
battery
is
in
the
controller
by
opening
the
DS4300
controller
CRU,
using
step
6
through
step
9
of
“Replacing
the
battery
in
the
RAID
controller”
on
page
94.
If
there
is
no
battery
in
the
new
DS4300
controller,
remove
the
battery
from
the
old
controller
and
install
it
in
the
new
controller.
Set
the
RAID
controllers
on
a
dry,
level
surface
away
from
magnetic
fields.
Save
the
packing
material
and
documentation
in
case
you
need
to
return
the
RAID
controllers.
13.
If
DHCP/BootP
was
used
to
automatically
set
the
IP
address
of
the
controller,
record
the
MAC
address
of
the
upgrade
controller
and
modify
the
existing
DHCP/BootP
record
of
the
RAID
controller
to
be
upgraded
with
the
new
MAC
address.
Failure
to
modify
the
DHCP/BootP
record
will
result
in
problems
trying
to
manage
the
storage
server
using
the
existing
IP
address.
This
step
must
be
performed
before
you
insert
the
upgrade
controller
into
the
DS4000
storage
server.
14.
Install
each
of
the
new
RAID
controllers,
as
follows:
a.
Slide
the
RAID
controller
all
the
way
into
the
empty
slot.
b.
Close
both
levers
until
the
latch
locks
into
place.
15.
Insert
the
SFPs
according
to
the
instructions
in
“Installing
SFP
modules”
on
page
34.
16.
Connect
the
fibre-channel
cables
to
their
original
locations
on
both
of
the
upgraded
controllers,
according
to
the
instructions
in
“Installing
fiber-optic
cables”
on
page
37.
17.
Turn
on
the
DS4300
Storage
Server.
18.
Wait
approximately
one
minute,
and
then
check
the
green
Host
Loop
LED,
green
Expansion
Loop
LED,
and
amber
Fault
LED
on
the
new
RAID
controllers.
Note:
If
the
Host
Loop
LED
or
the
Expansion
Loop
LED
is
off,
the
RAID
controller
might
not
be
inserted
correctly.
Remove
the
RAID
controller
and
reinsert
it.
19.
Check
that
the
controller
is
online.
Use
either
of
the
two
following
methods:
v
Use
the
Storage
Manager
client
to
verify
that
the
controllers
are
online
(up)
and
running
by
selecting
the
menu
option
to
display
the
properties
of
the
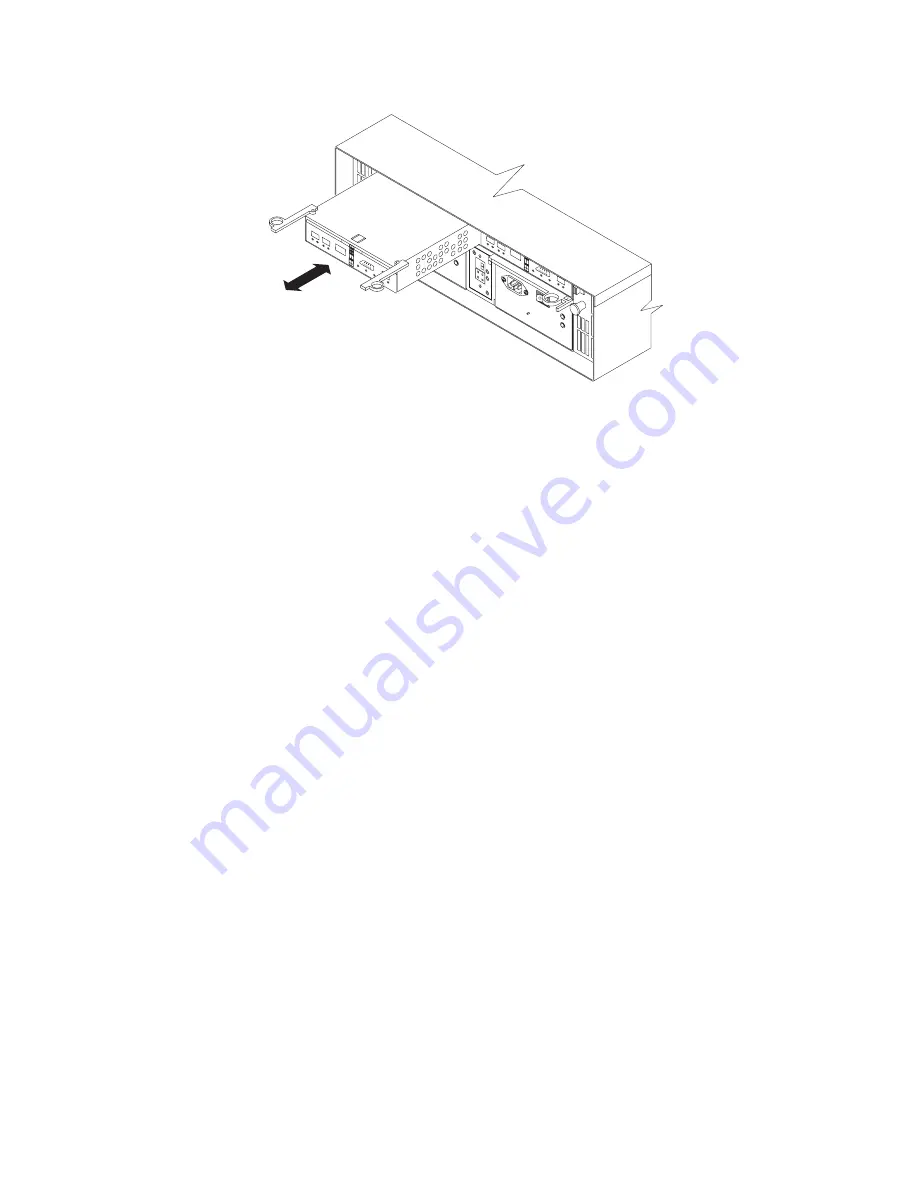
Figure
57.
Pull-rings
for
removing
a
controller
Chapter
5.
Installing
and
replacing
components
73
Summary of Contents for TotalStorage DS4300 Turbo
Page 2: ......
Page 8: ...vi IBM TotalStorage DS4300 Fibre Channel Storage Server Installation and User s Guide...
Page 12: ...x IBM TotalStorage DS4300 Fibre Channel Storage Server Installation and User s Guide...
Page 16: ...xiv IBM TotalStorage DS4300 Fibre Channel Storage Server Installation and User s Guide...
Page 30: ...xxviii IBM TotalStorage DS4300 Fibre Channel Storage Server Installation and User s Guide...
Page 87: ...Battery LED Figure 47 Battery LED Chapter 4 Operating the storage server 57...
Page 88: ...58 IBM TotalStorage DS4300 Fibre Channel Storage Server Installation and User s Guide...
Page 128: ...98 IBM TotalStorage DS4300 Fibre Channel Storage Server Installation and User s Guide...
Page 134: ...104 IBM TotalStorage DS4300 Fibre Channel Storage Server Installation and User s Guide...
Page 136: ...106 IBM TotalStorage DS4300 Fibre Channel Storage Server Installation and User s Guide...
Page 144: ...114 IBM TotalStorage DS4300 Fibre Channel Storage Server Installation and User s Guide...
Page 154: ...124 IBM TotalStorage DS4300 Fibre Channel Storage Server Installation and User s Guide...
Page 160: ...130 IBM TotalStorage DS4300 Fibre Channel Storage Server Installation and User s Guide...
Page 163: ......
Page 164: ...Part Number 39M5579 Printed in USA GC26 7722 01 1P P N 39M5579...


