Replacing
the
microprocessor
Attention
Do
not
open
your
computer
or
attempt
any
repair
before
reading
the
“Important
safety
information”
in
the
Quick
Reference
that
was
included
with
your
computer
or
in
the
Hardware
Maintenance
Manual
(HMM)
for
the
computer.
To
obtain
copies
of
the
Quick
Reference
or
HMM
,
go
to
http://www.ibm.com/pc/support/.
When
you
receive
a
new
microprocessor,
you
will
also
receive
a
new
heat
sink
and
vacuum
pen.
You
must
use
the
new
heat
sink
with
the
new
microprocessor.
If
you
use
the
old
heat
sink
with
the
new
microprocessor,
your
computer
might
over
heat
and
could
cause
intermittent
problems.
Important
Do
not
touch
the
gold
contacts
on
the
bottom
of
the
microprocessor.
Use
the
vacuum
pen
provided
to
remove
and
install
the
microprocessor.
If
you
must
touch
the
microprocessor,
touch
only
the
sides.
This
section
provides
instructions
on
how
to
replace
the
microprocessor.
Important
Leave
your
computer
turned
off
for
at
least
one
hour
before
removing
the
microprocessor
to
allow
the
thermal
interface
between
the
microprocessor
and
the
heat
sink
time
to
cool
down.
1.
Open
the
computer
cover.
See
2.
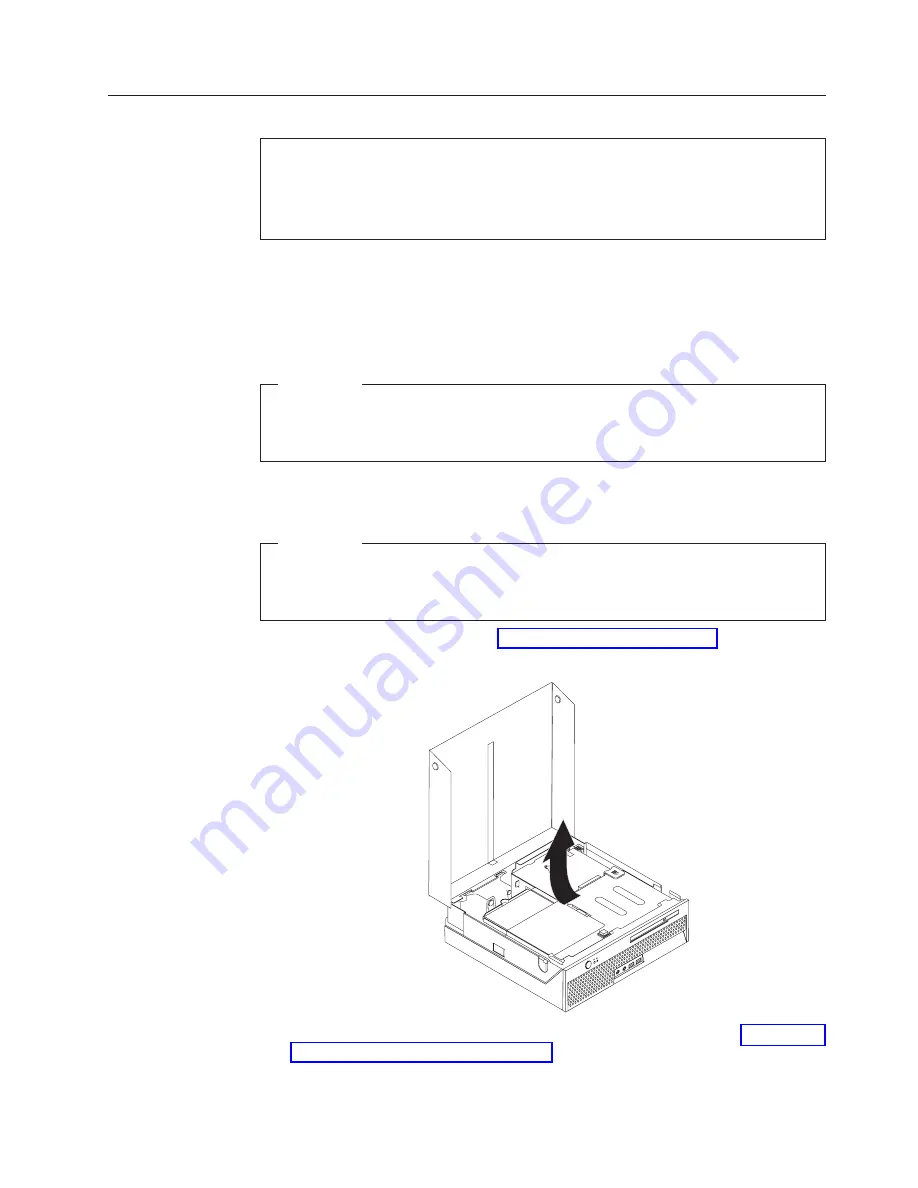
Pivot
the
drive
bay
assembly
upward
to
gain
access
to
the
system
board.
3.
Locate
the
microprocessor
fan
connector
on
the
system
board.
See
4.
Disconnect
the
microprocessor
fan
cable
from
the
system
board.
Chapter
2.
Replacing
hardware
13
Summary of Contents for ThinkCentre 8104
Page 2: ......
Page 6: ...iv Hardware Replacement Guide...
Page 36: ...28 Hardware Replacement Guide...
Page 37: ......
Page 38: ...Part Number 39J8095 Printed in USA 1P P N 39J8095...


