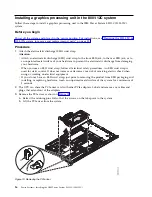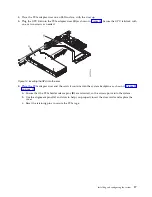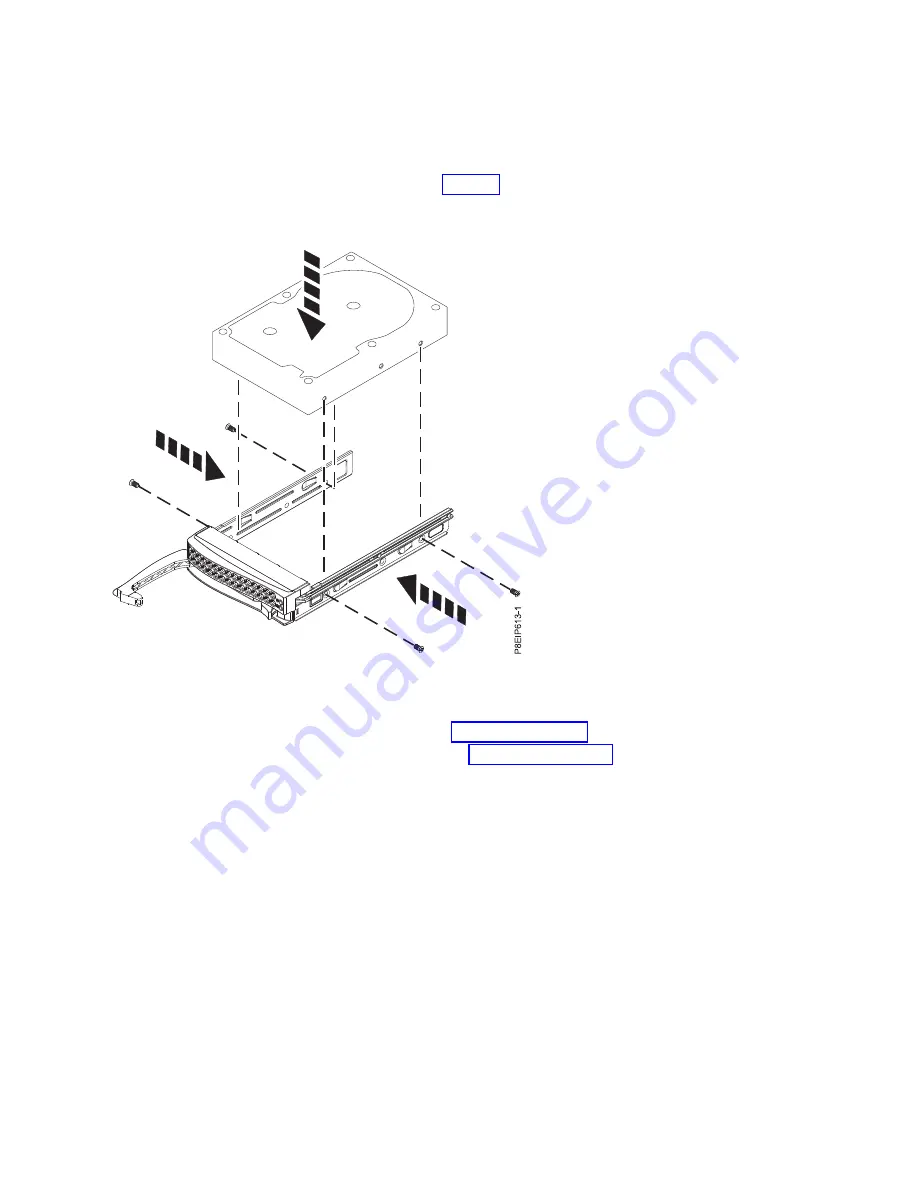
4.
For 3.5-inch drives, remove the plastic filler from the carrier. For 2.5-inch drives in a 3.5-inch
opening, there is a 2.5-inch tool-less drive carrier.
5.
Install a drive into the tray. Orient the drive such that the connectors are pointing to the rear of the
drive.
v
A 3.5-inch drive fills the tray, as shown in Figure 8. Fasten the drive to the sides of the tray with
four screws (two screws on each side).
v
A 2.5-inch drive slides into the rear of the tool-less drive carrier.
a.
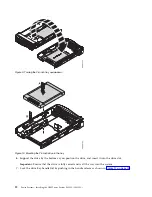
Turn the tray upside down as shown in Figure 9 on page 12.
b.
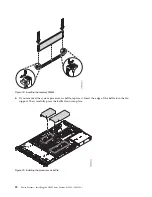
Open the retention spring (B) as shown in Figure 10 on page 12.
c.
Place the 2.5-inch drive (A) into the tray, aligning the pins with the screw holes in the drive.
d.
When the pins are aligned, close the retention spring, allowing the pins to secure the drive in
the tray.
e.
Turn the tray right side up.
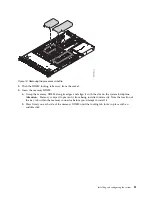
Figure 8. Mounting the 3.5-inch drive in the tray
Installing and configuring the system
11
Summary of Contents for Power System S821LC
Page 1: ...Power Systems Installing the IBM Power System S821LC 8001 12C IBM...
Page 2: ......
Page 3: ...Power Systems Installing the IBM Power System S821LC 8001 12C IBM...
Page 16: ...xiv Power Systems Installing the IBM Power System S821LC 8001 12C...
Page 117: ...Figure 62 Connecting the power cords to the system Installing and configuring the system 101...
Page 118: ...102 Power Systems Installing the IBM Power System S821LC 8001 12C...
Page 130: ...114 Power Systems Installing the IBM Power System S821LC 8001 12C...
Page 131: ......
Page 132: ...IBM Printed in USA...

