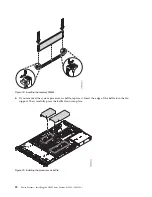
6.
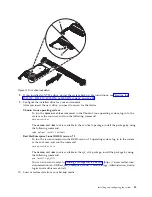
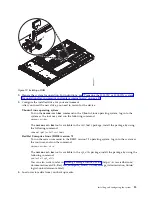
Support the drive by the bottom as you position the drive, and insert it into the drive slot.
Important:
Ensure that the drive is fully seated and is all the way into the system.
7.
Lock the drive bay handle (A) by pushing in the handle release as shown in Figure 11 on page 13.
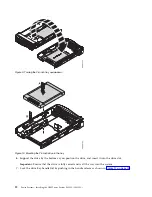
Figure 9. Turning the 2.5-inch tray upside-down
Figure 10. Mounting the 2.5-inch drive in the tray
12
Power Systems: Installing the IBM Power System S821LC (8001-12C)
Summary of Contents for Power System S821LC
Page 1: ...Power Systems Installing the IBM Power System S821LC 8001 12C IBM...
Page 2: ......
Page 3: ...Power Systems Installing the IBM Power System S821LC 8001 12C IBM...
Page 16: ...xiv Power Systems Installing the IBM Power System S821LC 8001 12C...
Page 117: ...Figure 62 Connecting the power cords to the system Installing and configuring the system 101...
Page 118: ...102 Power Systems Installing the IBM Power System S821LC 8001 12C...
Page 130: ...114 Power Systems Installing the IBM Power System S821LC 8001 12C...
Page 131: ......
Page 132: ...IBM Printed in USA...

