


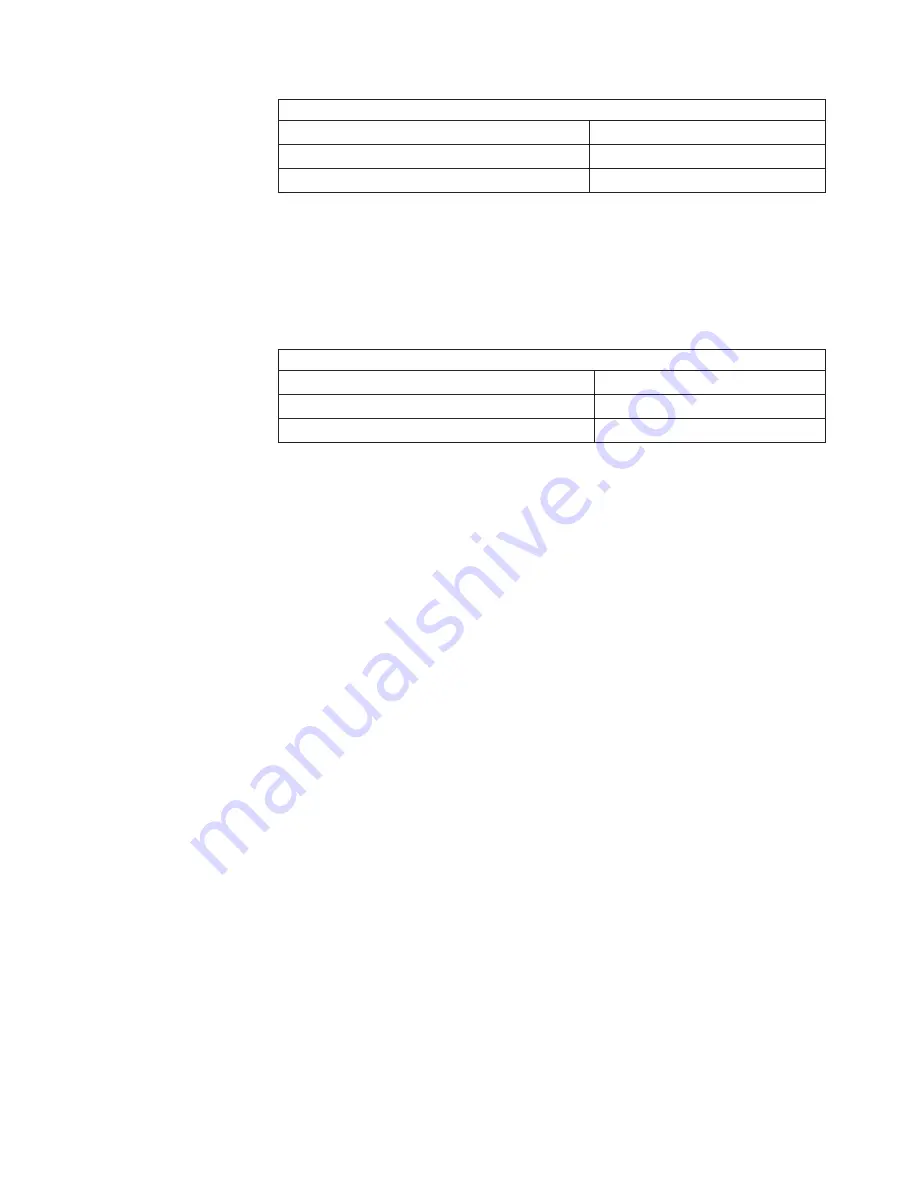
installation
sequence
on
system
board
DIMMs
Slots
First
pair
of
DIMMs
1,
2
Second
pair
of
DIMMs
3,
4
v
If
you
install
a
second
microprocessor
(microprocessor
2),
install
the
first
pair
of
DIMMs
for
the
microprocessor
in
DIMM
connectors
5
and
6
on
the
microprocessor
option
board.
If
you
install
a
second
pair
of
DIMMs
for
the
microprocessor,
install
the
pair
in
DIMM
connectors
7
and
8
on
the
microprocessor
board.
See
“Installing
a
second
microprocessor”
on
page
32
for
more
information
about
the
microprocessor
option.
The
following
illustration
shows
the
microprocessor
board
DIMM
installation
sequence.
installation
sequence
on
microprocessor
board
DIMMs
Slots
First
pair
of
DIMMs
5,
6
Second
pair
of
DIMMs
7,
8
v
Your
computer
supports
two-way
memory
interleaving
across
the
memory
banks
for
each
microprocessor.
v
The
amount
of
usable
memory
will
be
reduced
depending
on
the
system
configuration.
A
certain
amount
of
memory
must
be
reserved
for
system
resources.
The
BIOS
will
display
the
total
amount
of
installed
memory
and
the
amount
of
configured
memory.
To
obtain
a
full
16
GB
or
more
of
usable
memory,
you
must
install
a
second
microprocessor
and
memory.
v
When
you
restart
the
computer
after
adding
or
removing
DIMMs,
the
computer
displays
a
message
that
the
memory
configuration
has
changed.
Complete
the
following
steps
to
install
a
pair
of
DIMMs:
1.
Read
the
safety
information
beginning
on
page
v,
and
“Handling
static-sensitive
devices”
on
page
11.
2.
Turn
off
the
computer
and
all
attached
devices
(see
“Turning
off
the
computer”
on
page
41);
then,
disconnect
all
power
cords
and
external
cables.
3.
Remove
the
side
cover
(see
“Removing
the
cover”
on
page
15).
4.
Remove
the
support
bracket
(see
“Removing
and
installing
the
support
bracket”
on
page
16).
5.
For
easier
access
to
the
memory
modules
on
the
system
board,
rotate
the
drive
cage
out
of
the
computer
until
it
locks
into
place.
You
might
need
to
disconnect
the
power
cables
from
the
drives
before
you
rotate
the
cage
all
the
way.
Note:
If
you
are
installing
memory
modules
on
the
microprocessor
board
for
a
second
microprocessor
on
the
computer,
it
is
not
necessary
to
move
the
drive
cage.
6.
If
you
are
installing
DIMMs
for
microprocessor
1,
and
you
have
installed
a
second
microprocessor
on
the
computer,
remove
the
microprocessor
2
air
baffle:
a.
Lift
up
on
the
large
end
of
the
baffle
until
it
releases.
b.
Slide
the
baffle
toward
the
front
of
the
computer;
then,
lift
the
baffle
out
of
the
computer.
Chapter
2.
Installing
the
hardware
31
Summary of Contents for IntelliStation A Pro
Page 3: ...IntelliStation A Pro Type 6224 Installation Guide...
Page 20: ...8 IntelliStation A Pro Type 6224 Installation Guide...
Page 62: ...50 IntelliStation A Pro Type 6224 Installation Guide...
Page 66: ...54 IntelliStation A Pro Type 6224 Installation Guide...
Page 100: ...88 IntelliStation A Pro Type 6224 Installation Guide...
Page 104: ...92 IntelliStation A Pro Type 6224 Installation Guide...
Page 105: ......
Page 106: ...Part Number 88P9043 Printed in USA 1P P N 88P9043...


