9.1
9.2
9.3
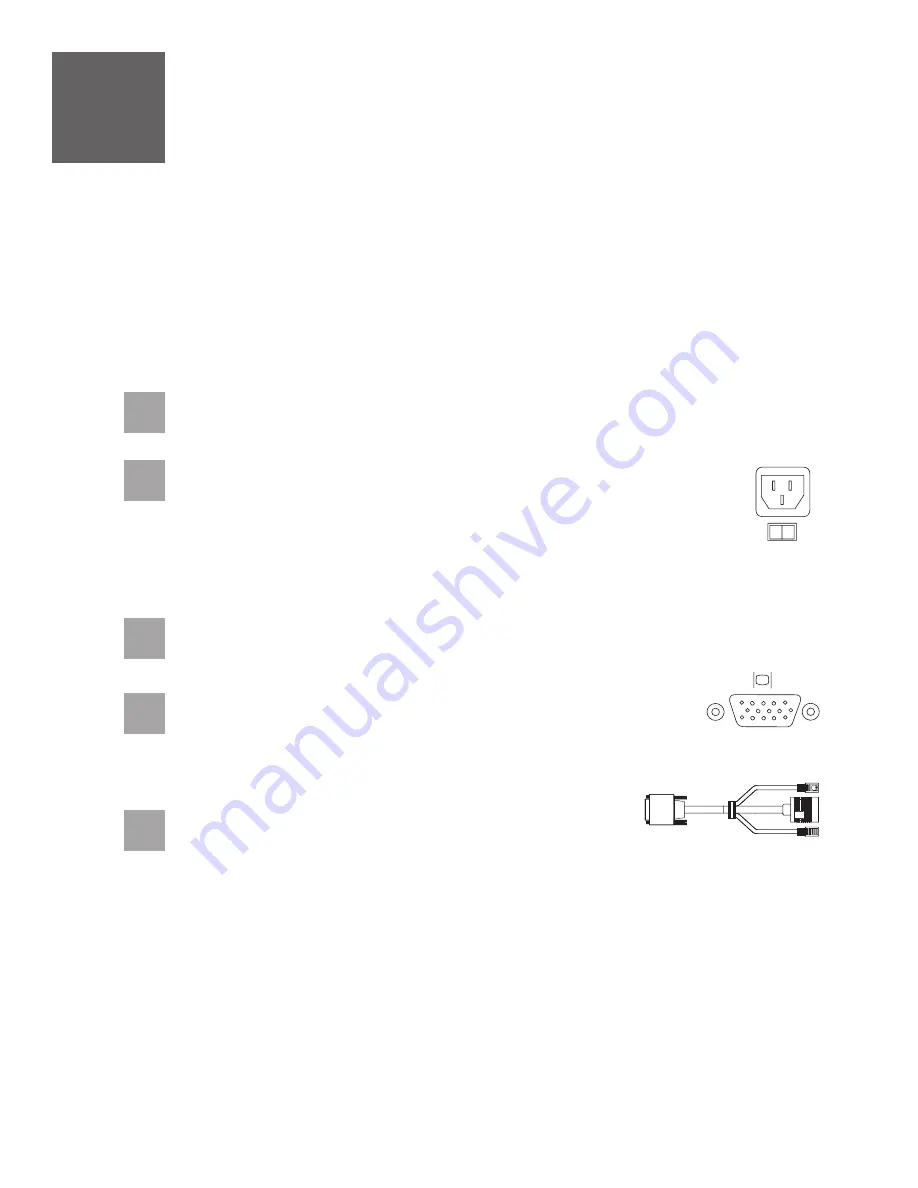
Route the power cords through the rings or clamps, if available, on the
back of the server, and connect to the server, monitor, and HMC.
Do
not connect the power cords to a power source until instructed to
do so.
9.4
Attach the monitor cable to the monitor connector on the HMC and
tighten the screws.
Tip:
If you are using the rack-mounted LCD monitor and keyboard (7316-TF3), use the
C2T-to-KVM adapter breakout cable to attach to the HMC.
An HMC is a system that connects to the server and manages it through a network.
If you are using a rack-mounted HMC, these steps assume it is already installed in the rack.
If you need to install the HMC into the rack, follow the instructions in the IBM Systems Hardware Information
Center, and return to this guide when you are ready to begin cabling your HMC. For details about how to access
the information center, see task 11
If you are not using an HMC to manage your server, skip this task and go to task 10
.
Cable the server
and twinaxial console
Finish your system setup.
If you are using any optional adapters for the HMC, connect the cables to the appropriate
adapter connectors in the PCI slots of your server and HMC.
Cable the HMC and the server
9
Important:
Ensure that if there is a voltage switch next to the power connector on the
monitor, it is in the appropriate position for the voltage used in your geography.
Connect the mouse and keyboard cables to the appropriate ports on the back
of the HMC. If your mouse and keyboard use Universal Serial Bus (USB)
cables, you can connect these to the ports on the front of the HMC.
9.5
If you are not using a modem, skip to step 9.6.
If you are using the integrated HMC modem, connect the telephone cable to the modem
and to the analog jack on the wall. If you are using an external modem, connect the
modem data cable to the external modem and to a serial port on the HMC. Then connect
the telephone cable to the external modem and to the analog jack on the wall.


