background image

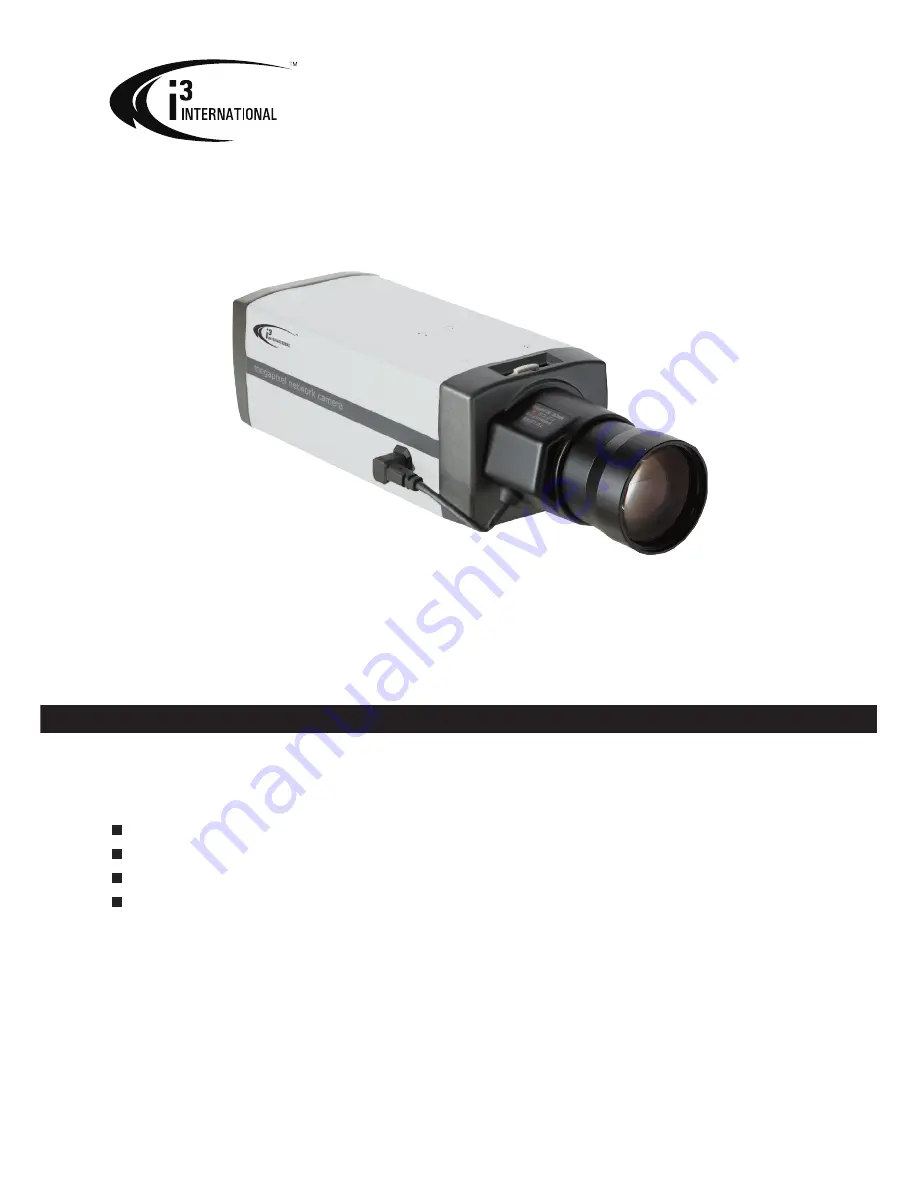
Ax41C1M MP NETWORK Camera 

Instruction Manual                  


Before attempting to connect or operate this product, please read these 

instructions carefully and save this manual for future use.

CONTENTS

SAFETY INFORMATION...

..................................................

Product Overview ............................................................. 

SPECIFICATION.................................................................. 

INSTALLATION................................................................

2
4
7
9

Summary of Contents for AX41C1M MP

Page 1: ...Instruction Manual Before attempting to connect or operate this product please read these instructions carefully and save this manual for future use CONTENTS SAFETY INFORMATION Product Overview SPECIFICATION INSTALLATION 2 4 7 9 ...

Page 2: ...ower consumption requirements of this camera before powering the camera on Incorrect voltage may cause irreparable damage to the video camera and will effectively void the camera warranty Cleaning For maximum optical clarity the camera dome or lens must remain clean Use a soft dry cloth to remove finger prints or dust from the dome cover Use a blower to remove dust from the lens Clean the body wit...

Page 3: ...cates that ungrounded Hazardous Voltage exists within the unit The voltage level may cause personal electric shock hazards The triangle symbol with exclamation mark indicates that there are important operation and maintenance instructions in the Instruction Manual 3 ...

Page 4: ...ly and automatically on objects relieving users of the need to adjust the focus manually Easy Installation The cable management bracket enables easy installation in any location including walls surfaces and ceilings The camera s built in user friendly I O connectors also help reduce installation time and maintenance costs SD Memory Card Storage The camera is equipped with an SD card that enables r...

Page 5: ...PRODUCT OVERVIEW 5 2 Camera Overview ...

Page 6: ...ection It also supports PoE Power over Ethernet Power Indicator power indicator Red light indicates power connection Power terminal DC12V AC24V red port power white port power Make sure to connect the power connector to correct ports and when the power supply is DC12V RS485 function reserved RS485 function reserved GND ground AUDIO IN audio input port AUDIO OUT audio output port ALM OUT alarm outp...

Page 7: ...Lens Mount CS mount Gamma correction 0 45 Minimum illumination 0 3 lux TV Out F1 2 10 IRE White balance 2500ºK 9600ºK BLC On and OFF Audio Two way Mono Audio Full duplex Alarm Yes 1x DI 1x DO SD card slot Support micro SDHC card up to 32 Gb Intelligent video Video motion detection Power requirement Power requirement DC12V AC24V PoE Power consumption 5W Max Power connector Screwless Terminal Block ...

Page 8: ...port RJ45 with LEDs Video port YES Audio in out port YES Mechanism Dimensions LxWxH 114 x 66 x 65 mm 4 5 x 2 6 x 2 6 Weight Camera Only 320g 0 70 lb Warranty 3 year labour and part NOTE The specification is subject to change without notice ...

Page 9: ...s Smartly This network box camera provides Smart Focus to obtain correct focus on a subject instead of requiring users to adjust focus manually 9 view zones are provided When you obtain correct focus on each view zone the green light will be turned on 1 Directly connect the video output cable to your monitor 2 Press the reset button until the power is on 3 The nine zones will appear in your monito...

Page 10: ... Direct X 9 0 or above Power Supply The camera requires a DC12V AC24V PoE power supply Make sure you use the correct power supply before connecting to this network camera Use a RJ45 network connector to connect the camera to your computer or hub switch Switch A one Gigabit Switch is required to monitor two or more cameras from the same computer i iP Pro Server Crossover direct connection LAN VIA a...

Page 11: ... 1 Setting IP This is a network based camera and must be assigned an IP address first Enter a default IP address manually The camera s default IP address is 192 0 0 16 and submask address is 255 255 255 0 Obtain an IP address automatically from the DHCP server You don t need to change the camera s IP address if your network uses a DHCP server 3 4 2 Connect the Camera to a Personal Computer 1 Conne...

Page 12: ...or both MPEG4 and Motion JPEG video modes 6 Images of the camera can be viewed through Internet Explorer Before viewing follow these steps to enable the display a Enable Cookies as shown below In Internet Explorer click Internet Options on the Tools menu On the Privacy tab move the settings slider to Low or Accept All Cookies Click OK b Set Browser setting when proxy sever is used when a proxy ser...

Page 13: ...ke effect 7 Type your set IP address into the browser 8 Then you should be able to see the camera image screen as follows Click Custom level This will open the Security Settings Internet Zone screen Scroll down to the ActiveX controls and plug ins radio buttons and enable all of them as shown in the illustrations INSTALLATION 13 ...

Page 14: ...ble with Windows XP 1 Insert the CD in the CD ROM drive 2 Double click AnnexxusFinder exe to run the program Follow the instructions to install 3 After successfully installing Annexxus Finder double click the Annexxus Finder icon which is displayed in your desktop An Annexxus Finder window will pop out The window will display a list of net cameras which you are using currently 14 ...

Page 15: ... data for the IP camera 3 There is NO need for Input Password It is ONLY pertaining to upgrading firmware 4 Live View Live view is designed for general users to control the camera Video Format Snapshot Recording LED Live and Setup functions are listed on the live view Please note only administrators can access Setup to configure camera settings 4 1 Video Format Select a resolution type for live vi...

Page 16: ...the Snapshot button to take a picture which will be automatically saved into an automatically created C Document and Settings Administrator My Documents IPCAM folder on your computer 5 Camera settings Setup Button Click on Setup to configure camera settings 5 1 Image Settings 16 ...

Page 17: ... 5 1 1 Image Basic Setting Every parameter of Basic Setting affects the displayed image Specify appropriate parameters in the following section Camera Name enter a desired network camera name The name will be displayed at the top of the Live page Video Codec Choose a compression mode to be displayed in Live View 17 ...

Page 18: ...ble or disable this function MJPEG Setting Quality set the image s quality as Basic Normal or Best H 264 Setting Bit Rate according to your bandwidth specify a value for data transmission rate kbit s Frame Rate frame rate is the image transfer speed 5 is 5 images transmission per second 10 is 10 images transmission per second etc If Auto is selected the camera will decide the image transfer speed ...

Page 19: ...e field first and then the corresponding values contained in the frame rate filed will be displayed for selection Here lists the corresponding values Min 500 or max 10000 Bit Rate according to your bandwidth specify a value for data transmission rate kbit s Frame Rate the frame rate is the image transfer speed 5 1 2 Image Advanced Settings Video Codec Field Frame Rate Field H 264 MPEG4 MPEG 30 15 ...

Page 20: ...balance if the external light source is incandescent Day and Night detects changes in the level of light at any time of day and then switches to the optimum surveillance mode according to the light level Auto This mode is always on The camera will change either to Color Mode or Black White Mode depending on the light level AES automatic exposure values which determine how much light passes through...

Page 21: ...Click Communication to view the current network settings including Network and NTP Configure all Network and NTP settings in the Network section 1 DHCP the IP address is automatically obtained when this is checked otherwise uncheck it to set up the network settings manually If you enable the DHCP function just specify DNS and HTTP Ports in the below fields 2 IP Address specify your IP address here...

Page 22: ...mmend using the default path Contact your Network Administrator if it needs to be changed 7 Press Save to save your settings NTP Server Setting NTP Server assign an IP address or domain name for a time server Time Zone select a correct time zone 5 3 System In this section you can configure the system settings including Time Stamp Current Date Time and New Date Time 22 ...

Page 23: ...mera time by Synchronize with Computer Time or Synchronize with NTP Server Then select a date format type YYYY MM DD MM DD YYYY and DD MM YYYY are choices provided Synchronize with Computer Time synchronize your camera s date and time with the computer s time Synchronize with NTP Server synchronize your camera s date and time with the NTP server s time 5 3 5 Update 23 ...

Page 24: ...pop up will appear asking you to confirm Click Yes Factory Default Resets the camera to factory settings but keeps the Network settings After clicking a pop up will appear asking you to confirm Click Yes Hard factory default Resets the camera to factory settings and will cause all parameters including the IP address to be reset After clicking a pop up will appear asking you to confirm Click Yes 5 ...

Page 25: ...er enter a user name and password Then specify his her role as Admin or Viewer Press Add to add a user or to modify a user s password or authority 5 3 6 Logs It displays all login and alarm records 5 4 3 Alarm You can set to trigger alarms on the conditions that an event or action signal has been sent to the camera 25 ...

Page 26: ... Sensibility set sensibility level as Lowest Low Medium High or Highest Or input a value from 0 to 99 in the customized threshold field Higher number gets higher sensitivity Press Save to save your settings Action Configure image transfer settings after triggering an alarm Digital Output select OFF to disable this function or ON to enable this function If select ON choose an output file s resoluti...

Page 27: ...i INTERNATIONAL INC 1 866 840 0004 www i3international com Canada 780 Birchmount Road Unit 16 Scarborough ON M1K 5H4 U S A 440 Lawrence Bell Drive Suite 16 Williamsville NY 14221 ...

Reviews: