-
Anti-Flicker: reduce color rolling for indoor environment.
-
Lens Format: choose an appropriate lens matching with the lens size which you have
installed.
-
BLC (Backlight Compensation): this function adjusts the image to compensate for areas
that are too dark due to insufficient light.
ON: enable the BLC function.
OFF: disable the BLC function.
-
Brightness: adjust the image brightness level, to “Low”, “Middle” or “High”. The default is
“Middle”.
-
Contrast: adjust the image contrast level, to “Low”, “Middle” or “High”. The default is
“Middle”.
-
Saturation: adjust the image saturation level, to “Low”, “Middle” or “High”. The default is
“Middle”.
-
Sharpness: adjust the image sharpness level, to “Low”, “Middle” or “High”. The default is
“Middle”.
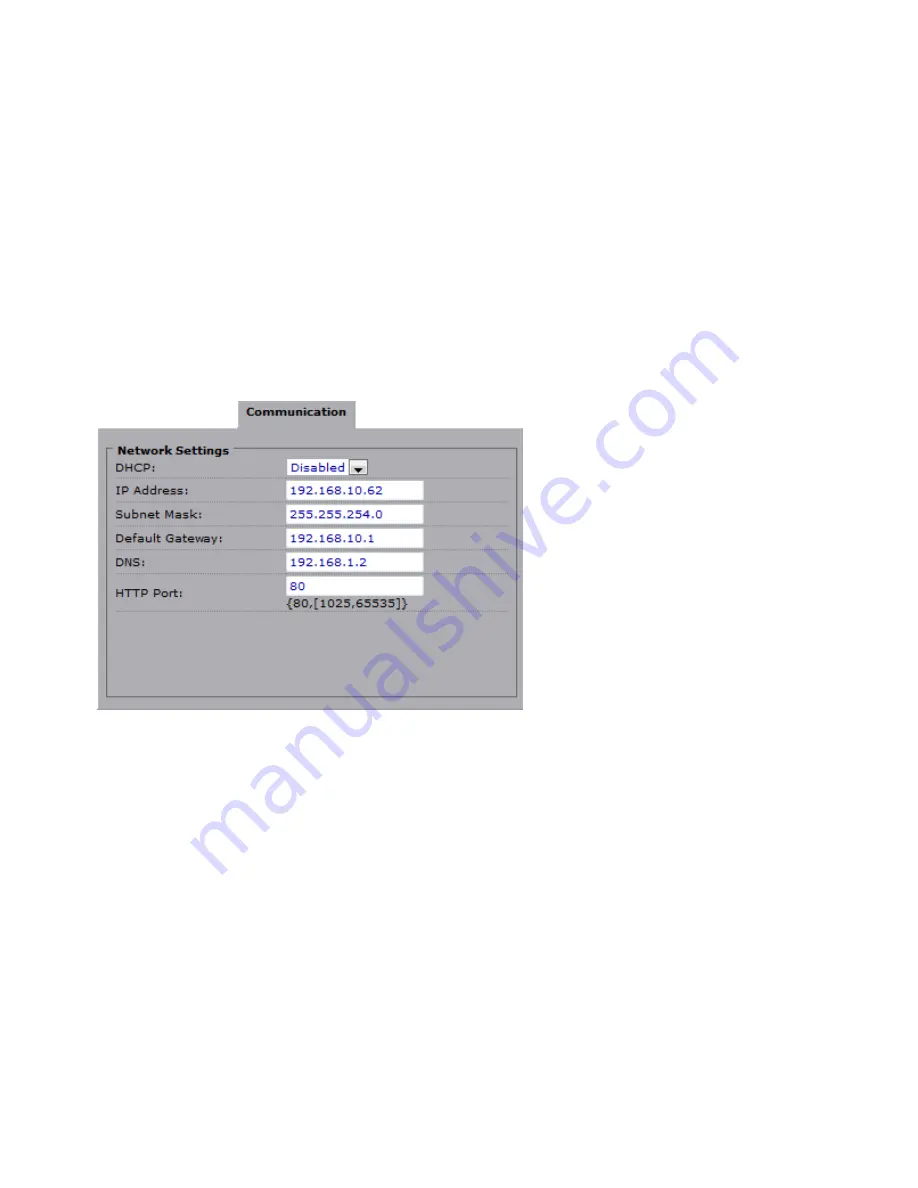
Communication:
Click “Communication” to view the current network settings, including “Network”, “FTP”, “SMTP” and “NTP”.
Configure all Network, FTP, SMTP and NTP settings in the Network section.
1. DHCP: the IP address is automatically obtained when this is checked; otherwise, uncheck it to set up
the network settings manually. If you enable the DHCP function, just specify DNS and HTTP Ports in
the below fields.
2. IP Address: specify your IP address here if you don’t select DHCP.
3. Subnet Mask: use default number: 255.255.255.0.
4. Default Gateway: leave blank as default setting. It is not required if it is not used. Please contact your
Network Administrator for Default Gateway information.
5. DNS: leave blank as default setting. It is not required if it is not used. Please contact your Network
Administrator for DNS information.
6. HTTP Port: We recommend using the default path. Contact your Network Administrator if it needs to
be changed.
7. Press “Save” to save your settings.
8.


