background image

10

Operation

•  

Sound mode

: Standard/Music/Movie/

Sports/User.

•  

Treble

: adjust treble frequency.

•  

Bass

: adjust bass frequency.

•  

Balance

: adjust balance between left and 

right speaker.

•  

Auto volume

: set the auto volume 

correction on/off.

•  

SPDIF mode

: select PCM/Auto/Off.
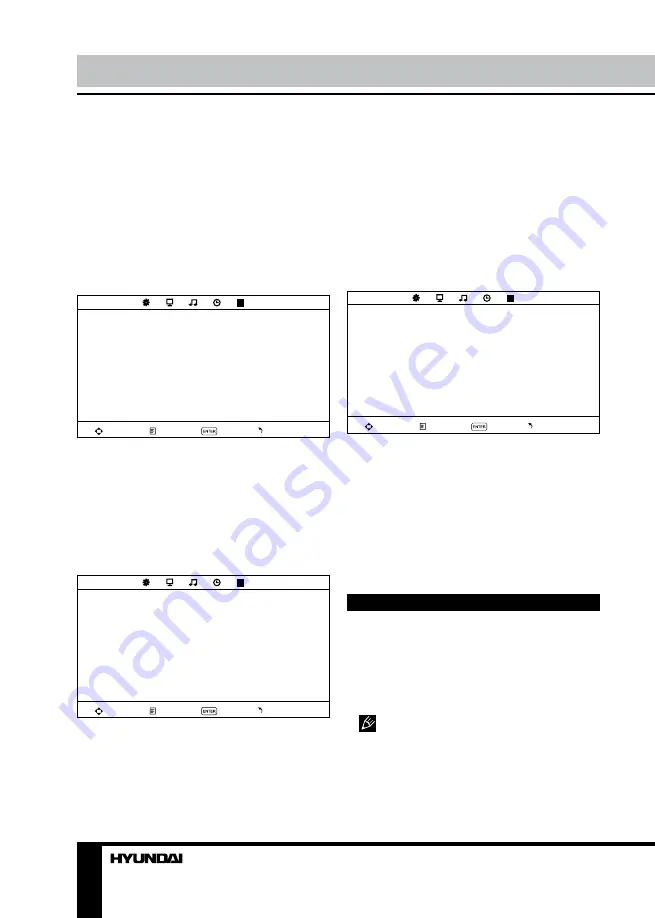
Timer setting

TIME

Sleep timer
Auto sleep
OSD timer

Move

Menu

Enter

Exit

•  

Sleep timer

: select the period until 

automatic switch-off of the unit (10 - 240 min).

•  

Auto sleep

: select the period of time after 

which the unit will automatically switch off if no 
operation is done.

•  

OSD timer

: select the period of time after 

which the OSD will be hidden.

Option setting

OPTION

OSD language
TT language
Aspect ratio
Blue screen
Key lock
Reset
Software upgrade (USB)

Move

Menu

Enter

Exit

•  

OSD Language

: select the language of 

the OSD menu.

•  

TT Language

: select teletext language.

•  

Aspect ratio

: Auto/4:3/16:9/Zoom1/

Zoom2. The set of available aspects can vary 

depending on the current signal source.

•  

Blue screen

: set on or off blue screen 

activation when no signal.

•  

Key lock

: select ON to lock all buttons on 

the panel. Set OFF to unlock the buttons.

•  

Reset

: reset the parameters to initial 

factory settings. 

•  Software upgrade

: this option is intended 

for using by qualified technicians only.

Screen setting 

(only for PC mode)

SCREEN

Auto adjust
Horizontal Pos.
Vertical Pos.
Clock
Phase

Move

Menu

Enter

Exit

•  

Auto adjust

: automatical setting of the 

parameters.

•  

Horizontal Position

: adjust horizontal 

position of the image.

•  

Vertical Position

: adjust vertical position 

of the image.

•  

Clock

: adjust the image frequency 

manually.

• 

 Phase

: adjust the phase manually.

USB operation

Insert a USB into the USB jack. Select 

Media source and press ENTER button. The 
screen will show a USB playback window, in 
which you can select Music, Photo, Movie and 
Text contents to play by pressing LEFT/RIGHT 
cursor buttons and ENTER button.

  USB file systems supported: FAT, 

FAT32. 2.0 USB version is supported, maximum 
capacity is 320 Gb. For correct and satisfactory 
operation, licensed USB devices of famous 
brands should be used with this unit. Avoid using 
USB devices of unknown brands. Playback of 

Summary of Contents for H-LEDVD15V6

Page 1: ...LED TV with built in DVD player Instruction manual H LEDVD15V6 c DVD...

Page 2: ...nt safeguards Installation Wall mounting Stand installation Connection Connection Outdoor antenna connection Other connections Operation Control elements Front panel Back panel Remote controller Chang...

Page 3: ...cord from the AC outlet also unplug the signal cables from the input ports when the unit is unused for long periods of time When unplugging the plug always hold the wide slot do not touch the metal p...

Page 4: ...romagnetic environment Fasten the wheel of the product or shelf with wheels when installing this product If it moves or is tipped over it may be damaged Do not place any fire source such as candleligh...

Page 5: ...cable If the video source has a HDMI output jack you can connect the signal to the unit by HDMI cable not included Component input is intended for receiving component video signal if connected to the...

Page 6: ...Disc slot 11 RF antenna jack 12 Left audio input RCA 13 Right audio input RCA 14 Composite video input 15 Component video input 16 Power input 17 USB port 18 HDMI input 19 PC VGA input 20 PC audio in...

Page 7: ...ITLE button 23 Yellow button button 24 Blue button button 25 E W button 26 SUBTITLE SUBPAGE button 27 DVD button Changing the battery 1 Remove the battery compartment cover on the back of the RC 2 Ins...

Page 8: ...letext operations option Select a TV channel in order to pick up the picture signal of Teletext Teletext button functions are as follows TEXT Press this button to enter into TEXT mode Press this butto...

Page 9: ...am edit menu Delete Select the channel you want to delete Press red button to delete the channel Rename Highlight the needed channel Press green button then press UP DOWN buttons to select a symbol Pr...

Page 10: ...set on or off blue screen activation when no signal Key lock select ON to lock all buttons on the panel Set OFF to unlock the buttons Reset reset the parameters to initial factory settings Software up...

Page 11: ...Turn on and off the DVD function Turn on the LCD TV and then select DVD source or press DVD button to enter DVD mode Insert disc Put the disc in the intake bin the disc will be automatically absorbed...

Page 12: ...SLEEP MENU button on the RC to turn on off PBC in order to use title menu function System setup 1 Press SETUP button to enter the setup menu In Setup menu press SETUP button again to quit the setup p...

Page 13: ...trol playing content and protect your children from violence and erotic The disc the level of which is higher than the setting level cannot be played Password Change the password The initial factory p...

Page 14: ...ect the audio signal cord properly Set the sound system properly The RC does not work Batteries are improperly installed or exhausted Make sure the positive and the negative polarities are correct Rea...

Page 15: ...eletext pages 1000 USB movie photo and audio support Power supply DC adapter 110 240 V 50 60 Hz 12 V 2 5 A Power consumption 30 W Electric shock protection class II Unit dimensions with stand 400 x 16...

Page 16: ...16 USB DVD DVD 16 17 17 17 19 19 19 20 20 20 20 21 21 21 21 22 22 23 23 23 24 24 25 25 25 26 26 26 27 27 27 27 27 27 27 27 27 28 28 28 28 29 29 30 30 30 31 32...

Page 17: ...17 SAWA 17 25012 220...

Page 18: ...18 LCD 10 18 2...

Page 19: ...19 4 4 75...

Page 20: ...20 75 RCA VGA VGA PC HDMI HDMI HDMI VCR DVD RCA 5 1 RCA 75...

Page 21: ...21 6 7 1 2 3 4 5 1 CH 2 VOL 3 MENU 4 TV AV 5 POWER 6 7 8 9 10 11 12 RCA 13 RCA 14 15 16 17 USB 18 HDMI 19 PC VGA 20 21 22 23 24 25 11 8 9 10 12 13 14 15 17 16 18 19 20 21 22 23 24 25...

Page 22: ...7 26 1 POWER 2 3 SOURCE REVEAL 4 SIZE ZOOM 5 SLEEP MENU 6 ENTER 7 VOL VOL 8 SLEEP 9 LIST REPEAT 1 2 3 10 11 12 TEXT 13 HOLD STILL 14 CANCEL 15 INFO INDEX 16 17 AUDIO 18 RECALL 19 EXIT 20 CH CH 21 SETU...

Page 23: ...SLEEP MENU 10 240 SLEEP AUDIO TV Nicam Stereo Mono Dual I Dual II SOURCE TV AV AV YPbPr HDMI PC DVD TV CH CH 0 9 1 200 RECALL INFO ZOOM 4 3 16 9 1 2 TEXT TEXT HOLD INDEX SIZE REVEAL SUBPAGE 0001 SUBPA...

Page 24: ...24 2 VOL 3 ENTER CH 4 CH 5 VOL CH 6 MENU EXIT MENU ENTER...

Page 25: ...25 NTSC SPDIF SPDIF PCM 10 240 USB 4 3 16 9 1 2 USB...

Page 26: ...26 PC c USB USB USB USB ENTER USB ENTER USB USB 2 0 320 FAT FAT32 USB ENTER ENTER ENTER INFO ENTER REPEAT EXIT...

Page 27: ...27 DVD DVD DVD DVD DVD 12 AVI AVI 2 2X 4X 8X 16X 32X SUBTITLE AUDIO AUDIO...

Page 28: ...28 REPEAT TITLE ENTER SLEEP MENU PBC PlayBack Control 1 SETUP SETUP 2 3 4 5 ENTER 6 OSD PS LB OSD...

Page 29: ...29 000000 136900...

Page 30: ...30...

Page 31: ...31 1 1 2 1 3 2 4 1 5 4 6 1 7 1 8 1 9 1 10 1...

Page 32: ...32 15 6 40 8 1366 x 768 16 9 PAL SECAM B G DK I CD R RW DVD R RW DVD R RW USB NICAM 2 x 2 RCA USB VGA HDMI 200 1000 USB 220 50 60 110 240 12 2 5 30 II 400 x 165 x 318 1 8 2 6...

Page 33: ......

Reviews: