


5
Before you start
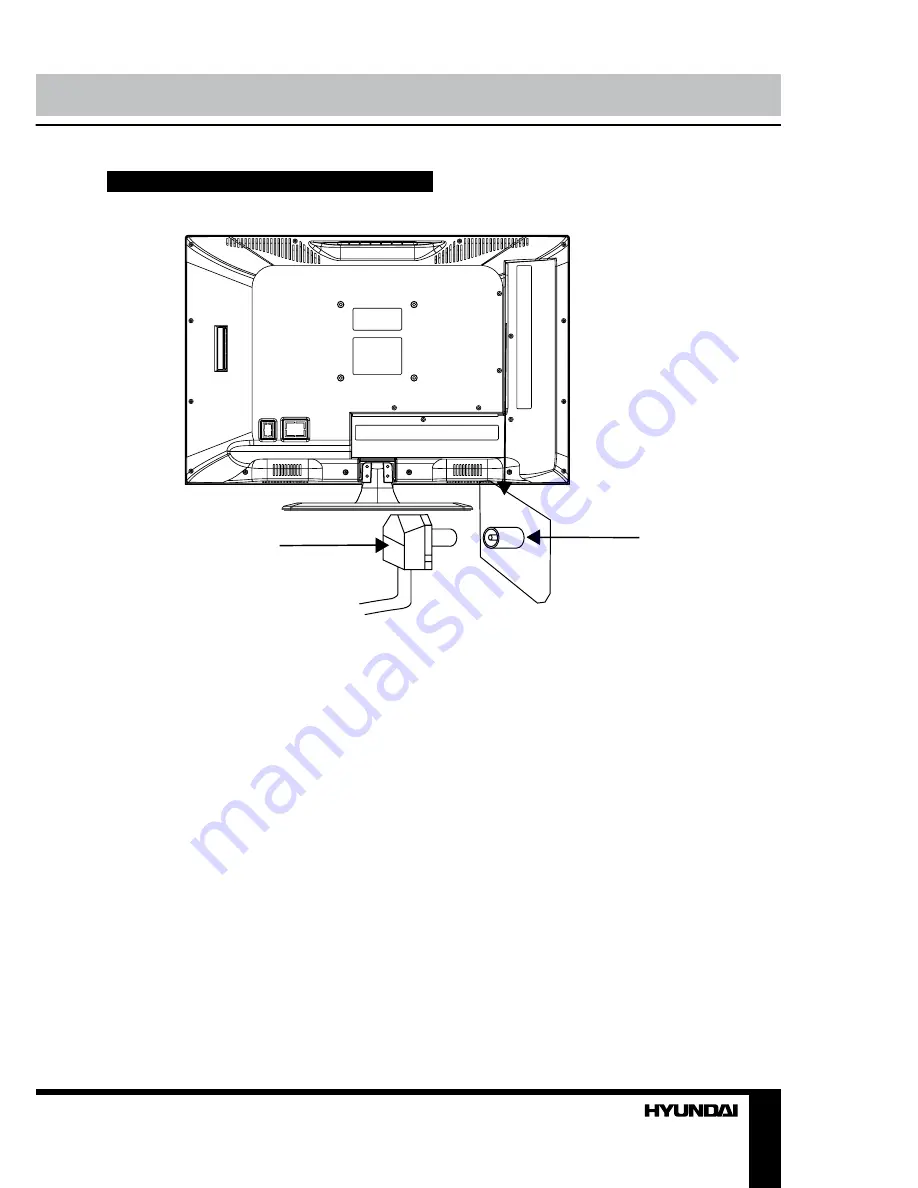
Connection
Outdoor Antenna Connection
Use 75
Ω
coaxial cable plug or 300-75
Ω
impedance converter to plug in antenna input
terminal on the rear of the cabinet.
Other connections
• Connect the audio sources (Including
DVD, VCDR, CAMCORDER and PC) to the
proper Audio input jacks ‘L’ and ‘R’.
• Connect the video source to the
Composite video jack by RCA cable.
• If the video source has a SCART terminal
jack, you can connect the signal to the monitor
by the SCART cable (not included). SCART
can be used as both input and output.
• Component input Y/Pb/Pr is intended
to receive component video signal from the
external device.
• Connect the power cord to the DC
adaptor, then connect the adapter to the DC
power jack of this unit.
• When using the LED as a computer
screen, connect the PC to the VGA jack from
the monitor by the relevant cable (not included).
• This unit has PC audio in jack. Connect
this jack to PC main unit with related audio
cable in PC mode and adjust the volume to
what you want.
• If the video source has a HDMI output
jack, you can connect the signal to the monitor
by the HDMI cable (not included).
• Connect your headphones or earphones
(not included) to the headphone socket of
this unit. When earphones are connected, the
sound output through the built-in speakers of
this unit is mute.
• Coaxial output is intended for transmitting
multi-channel sound to an external decoder
(e.g. in 5.1-CH format). RCA cable should be
used for connection.
75 Ohm co-axis cable
TVRF antenna jack
Antenna cable connector
Summary of Contents for H-LED22V13
Page 1: ...LED TV with built in DVD player Instruction manual H LEDVD19V13 c DVD...
Page 19: ...19 SUN 1200400 220...
Page 20: ...20 LCD 10 18 2...
Page 21: ...21 5 8 4 4 8 100...
Page 27: ...27 FAV NTSC SPDIF SPDIF PCM 10 240 USB...
Page 29: ...29 ENTER ENTER ENTER OK OK YELLOW REPEAT DVD DVD DVD...
Page 32: ...32 1 MTS D SETUP MTS D SETUP 2 Dolby Digital 3 4 5 OK 6 Dolby Digital Dolby digital...
Page 33: ...33 PAL NTSC 0000...
Page 34: ...34...
Page 35: ...35 1 1 2 1 3 1 4 5 5 USB 1 6 1 7 1 8 1 9 1 10 1...
Page 37: ......


