background image

7

NOTE:

·

You may want to monitor playback during recording. You can adjust the sound with the VOLUME control. This adjustment does not affect
the content of recording

·

Sometimes when recording from FM you may hear a whistling noise due to interference. Set the FM MODE to a different position to step
down such interference

MAINTENENCE AND CARE

·

Check your batteries regularly, old or discharged batteries should be replaced. If the unit is not going to be used for some time or is being
run exclusively on the alternative power, remove the batteries to avoid leakage and damage.

·

Electronic products of this kind should never be subjected to moisture or extreme temperatures.

·

If necessary, clean the unit with a piece of cloth dampened with water only (be sure the AC power cord is disconnected from the power
supply).

·

The heads and capstan are in constant contact with the moving tape. Use a small cotton bud with alcohol or special tape head cleaner to
clean these parts. Never touch the heads with anything metallic.

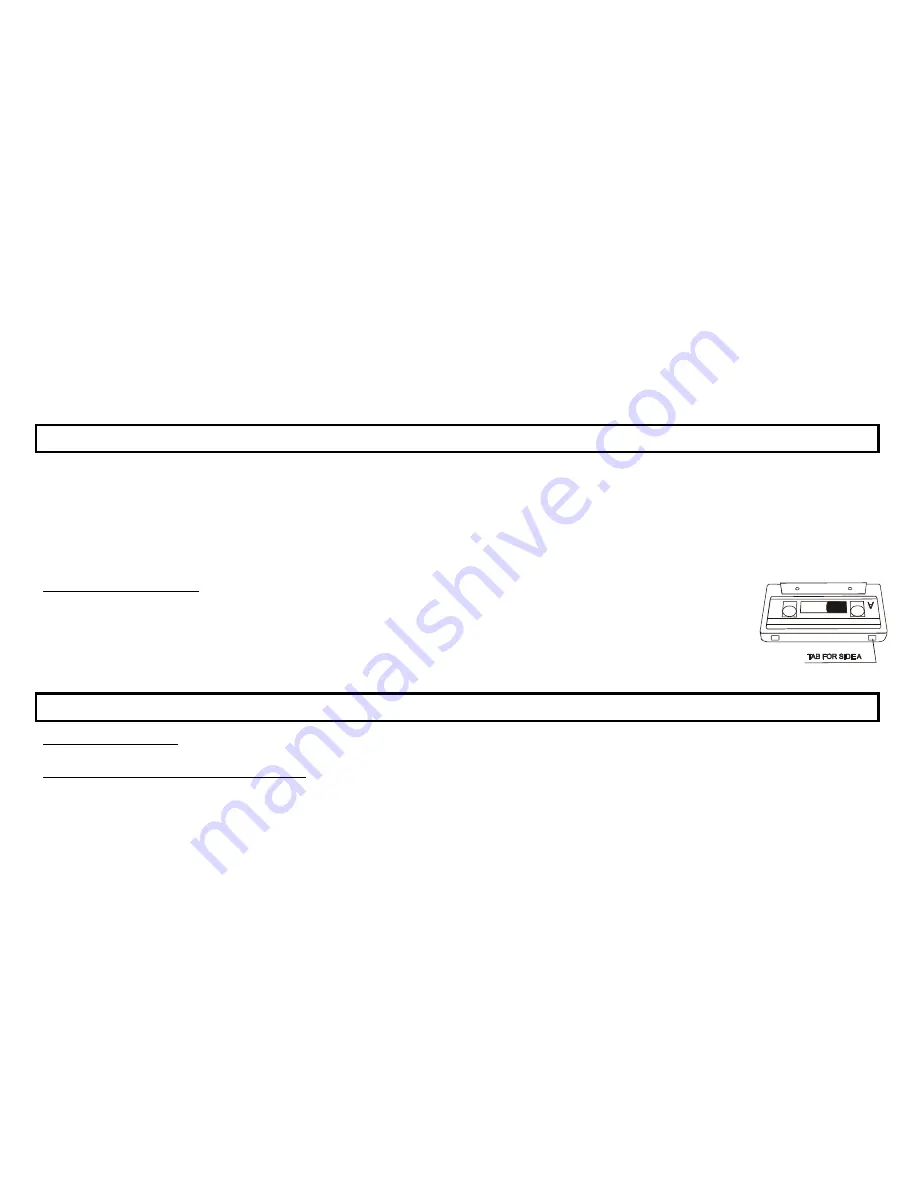
ERASE PROTECTION

·

To prevent accidental erasing of a cassette, simply break off the two plastic tabs located on the cassette tape s rear
side.

·

When a cassette with removed plastic tabs is inserted, the recording button cannot be pressed.

·

If a cassette is to be erased and re-recorded at a later stage, simply cover the holes on the cassette where the tabs
were removed, with a piece of strong adhesive tape.

SPECIAL FEATURES

AUTOMATIC STOP

During playback or recording, the unit will shut itself off automatically at the end of tape.

AUTOMATIC LEVEL CONTROL (ALC)

The unit incorporates with built-in ALC circuitry which automatically adjust the optimum recording level without overloading during recording or
dubbing.

Summary of Contents for H-2206

Page 1: ...H 2206 PORTABLE STEREO RADIO DOUBLE CASSETTE RECORDER Instruction manual...

Page 2: ...Button Deck B 12 Pause Button 13 Stop Eject Button 14 Fast Forward Button 15 Rewind Button 16 Play Button 17 Record Button 18 Tuning Knob 19 Power Indicator 20 FM Stereo Indicator 21 Dial Pointer 22 D...

Page 3: ...compartment cover AC OPERATION Before the first connecting of the appliance check that voltage indicated on the rating label corresponds the mains voltage in your home Plug the corresponding end of c...

Page 4: ...sired broadcasting band with Band switch Rotate the Tuning control regulator to receive the desired broadcast Adjust the level of sound with Volume control switch To turn off the radio set the Functio...

Page 5: ...et the Function switch to TAPE position Press the STOP EJECT button on desk or to open the cassette compartment Insert a cassette with tape upwards and push the cassette door to close the cassette com...

Page 6: ...PAUSE button on deck to pause the tape recording Press the STOP EJECT button on deck when the recording is finished Set the Dubbing Mode switch to HI position if you wish to activate high speed copyin...

Page 7: ...power cord is disconnected from the power supply The heads and capstan are in constant contact with the moving tape Use a small cotton bud with alcohol or special tape head cleaner to clean these par...

Page 8: ...stop function is in operation The RECORD button cannot be pressed down with a cassette tape inside A tape with its safety tab removed has been inserted The TAPE does not play The PAUSE button is depr...

Page 9: ...9 1 2 3 4 5 FM 6 7 8 9 10 11 B 12 13 14 15 16 17 18 19 20 FM 21 22 23 A 24 B 25 26 27 28 29 127 220 127 220...

Page 10: ...10 TAPE 6 UM 1 D...

Page 11: ...11 RADIO DUBBING TAPE 3 5 RADIO...

Page 12: ...12 FM AM FM FM FM FM STEREO FM MONO Record Play Fast forward Rewind Stop Eject Pause STOP EJECT PLAY PAUSE...

Page 13: ...13 STOP EJECT PAUSE PLAY PAUSE PLAY PAUSE PLAY TAPE RECORD PAUSE PLAY PAUSE PAUSE STOP EJECT HI...

Page 14: ...14 DUBBING SPEED A B PLAY A RECORD PLAY B STOP EJECT RECORD PLAY B RADIO RECORD PLAY STOP EJECT...

Page 15: ...15 TAPE FM PLAY RECORD PAUSE...

Page 16: ...16 220 50 RMS 2 5 2 2 066 2 4 x x 518 x 142 x 165...

Reviews: