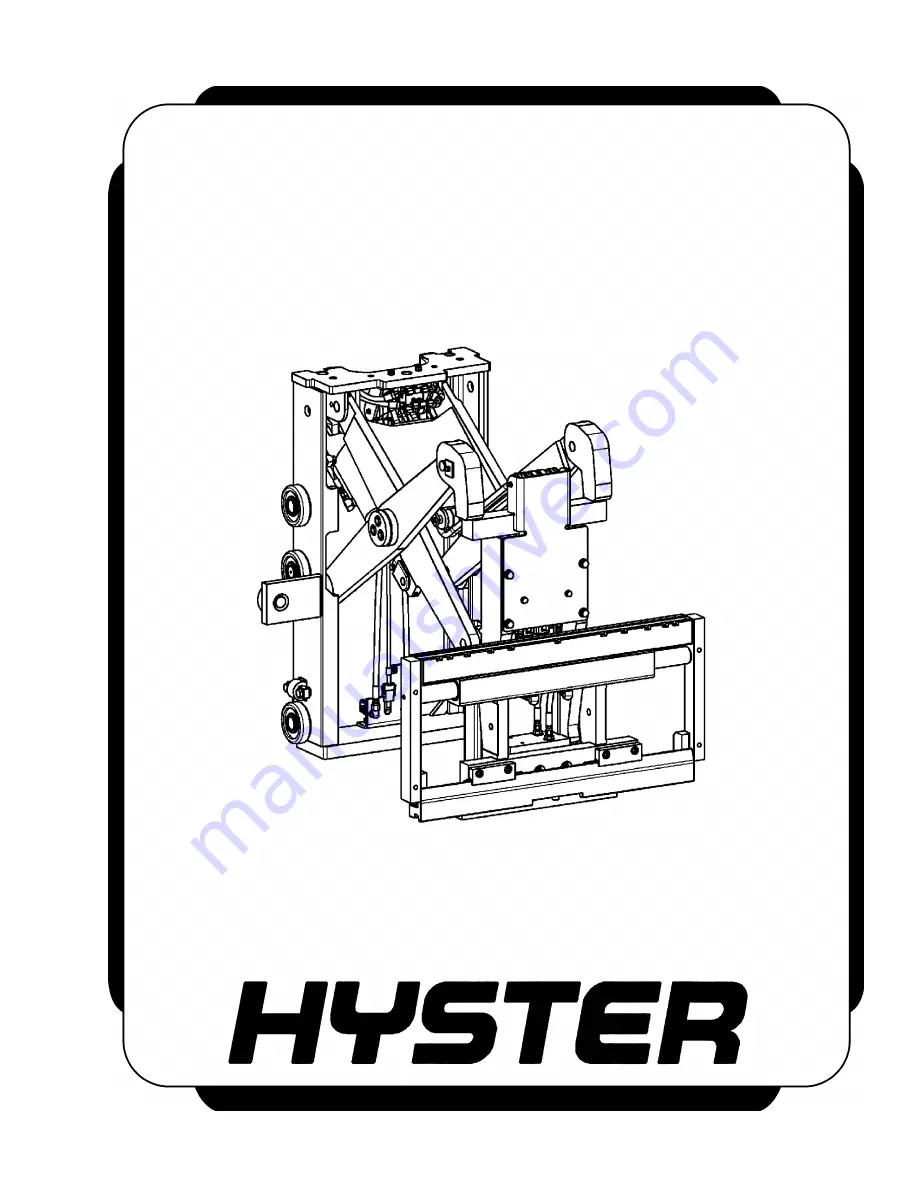
REACH CARRIAGES
N30XMDR3, N45XMR3 [G138]; N30XMXDR3,
N45XMXR3 [B264]; W20/30ZR [B455]; N25XMDR3,
N30-40XMR3 [C470]; N50XMA3 [C471]
PART NO. 1503619
4500 SRM 971
Page 1: ...REACH CARRIAGES N30XMDR3 N45XMR3 G138 N30XMXDR3 N45XMXR3 B264 W20 30ZR B455 N25XMDR3 N30 40XMR3 C470 N50XMA3 C471 PART NO 1503619 4500 SRM 971...
Page 2: ...Replacement parts must meet or exceed the specifications of the original equipment manufacturer Make sure all nuts bolts snap rings and other fastening devices are removed before using force to remov...
Page 3: ...thout Sideshifter 13 Disassemble Without Sideshifter 14 Clean and Inspect 14 Assemble Without Sideshifter 14 Install Without Sideshifter 14 Single Reach Scissor Arms 16 Remove and Disassemble 16 Clean...
Page 4: ...ments 35 Adjust Wear Plug 35 Adjust Side Rollers 36 Adjust Thrust Rollers 37 Adjust Reach Cylinders 38 Specifications 39 Troubleshooting 42 N30XMXDR3 N45XMXR3 N30 40XMR2 N25XMDR2 N30XMDR2 N45XMR2 and...
Page 5: ...it your head when working around raised forks Also be careful not to trip over forks on or near the floor If possible remove forks from carriage before safety chaining mast WHEN WORKING NEAR THE MAST...
Page 6: ...orking Near Mast 4500 SRM 971 Figure 1 Safety Chain the Mast Legend for Figure 1 A TWO STAGE MAST B THREE STAGE MAST 1 OUTER WELDMENT 2 INNER WELDMENT 3 INTERMEDIATE WELDMENT 4 SAFETY CHAIN 5 FREE LIF...
Page 7: ...ion The parts of the reach assemblies are shown in Figure 2 Figure 10 and Figure 11 The rear and front frame assemblies are connected by a scissor linkage The top of the scissor arm weldment at the in...
Page 8: ...Description 4500 SRM 971 Figure 2 Hydraulic Parts for Double Reach Assembly Single Reach is Similar 4...
Page 9: ...nnot move The rear frame must be in the same position as it is in the mast The rear frame must also be fas tened so that it cannot move on the support The support must be strong enough to allow full e...
Page 10: ...of the fork will move through the fork re moval notch Lower the carriage further or raise the fork so the top hook of the fork is disengaged from the top crossmember Move the carriage away from the fo...
Page 11: ...TE Removing the pins at the chain anchors will disconnect the lift chains without changing the chain adjustment Always adjust the chains if new lift chains or other components are installed 7 Hold the...
Page 12: ...chains hoses or cable to the masts 4 On three stage masts remove the safety chains installed in Step 4 Lower the reach assembly for access to the chain anchors at the back of the free lift cylinder U...
Page 13: ...move and replace load rollers wear plugs weldments or lift cylinders it is necessary to remove the two stage mast assembly from the truck Reach Assembly Repair NOTE Most repairs of the reach assembly...
Page 14: ...ydraulic lines at the bot tom of the rear frame Cap or plug the hydraulic lines and valve ports to prevent dirt from enter ing the system Make note of the location of all cable ties for replacement du...
Page 15: ...rame Without Sideshifter 6 Remove mobile frame 21 Used on sideshift only 7 Remove polymer wear strips 1 2 3 and 19 8 Remove pin retaining hardware 4 5 and 6 9 Use a punch to remove pins 8 10 Remove ti...
Page 16: ...fter CLEAN AND INSPECT WARNING Cleaning solvents can be flammable and toxic and can cause skin irritation Wear protection for eyes and skin When using cleaning sol vents always follow the recommendati...
Page 17: ...d blocks at the channels of the rear frame to make sure that the load bearings cannot move in the channel See Figure 7 CAUTION Do NOT use steam to clean the load bearings Do not use compressed air on...
Page 18: ...manufacturer CAUTION Do NOT use steam to clean the load bearings Do not use compressed air on the bearings The bearings are sealed and permanently lu bricated The air can force the lubricant out of t...
Page 19: ...rame and mast weld ments from moving Install the safety chains as de scribed in Safety Procedures When Working Near Mast in this section 3 Use the crane to move the outer frame for align ment with the...
Page 20: ...oulder bolt and nut Use a drift to remove the pins that fasten the rod ends of the reach cylinders to the scissor arm weldment Use wire to hold each reach cylinder and their hoses in a position for cl...
Page 21: ...BEARING AND SHIM 8 BEARING 9 LUBE FITTING 10 MAIN BUSHING 11 THRUST WASHER 12 SHEAVE 13 RETAINING RING 14 FRONT ARM LOAD BEARING AND SHIM 15 INNER ARM WELDMENT 16 BUSHING 17 BUSHING 18 PIN 19 SCREW 20...
Page 22: ...ad rollers Install a thin coat of multipurpose grease on all new bushings all thrust washers all shims all stub shafts and all pins of the scissor arm assembly WARNING The points between the scissor a...
Page 23: ...r the following procedures refer to Figure 11 NOTE The reach assembly must be in the fully extended position WARNING There are pinch points on the reach car riage that can cause an injury Use clamps a...
Page 24: ...Double Reach Scissor Arms 4500 SRM 971 Figure 11 Double Reach Scissor Arms 20...
Page 25: ...or the scissor arm weldment B WARNING The points between the scissor arms and the in ner frame are pinch points and can cause an in jury Do NOT put your finger in the hole when you remove the pins Use...
Page 26: ...the shoulder bolts and pivot pins that fasten scissor arm weldment B to the inner frame Move scissor arm weldment B and put it on the floor without damaging the hose sheave mount Remove the bushings C...
Page 27: ...ft Tighten the two capscrews at the end pivots to 41 N m 30 lbf ft WARNING The scissor arm assembly is heavy and can cause an injury during installation NEVER put any part of your body between the inn...
Page 28: ...embly can also be removed after the scissor assembly has been re moved CAUTION DO NOT operate any functions if the outer frame has been removed Hydraulic oil can come out of the hoses 1 If the outer f...
Page 29: ...4500 SRM 971 Inner Frame Assembly Figure 12 Inner Frame 25...
Page 30: ...ft chains so they do not move over the chain sheaves WARNING The reach assembly or inner frame assembly is heavy and can cause an injury if it tips or falls Make sure the reach assembly is stable duri...
Page 31: ...h enough force to cause an injury Always use the correct snap ring pliers and wear eye and face protection during removal or installation 4 Remove the snap rings from the stub shaft for the load rolle...
Page 32: ...ng removal Use new snap rings Install the load rollers on the inner frame Install the shims at each location as marked during disassembly 2 Adjust the carriage side rollers during assembly See Adjust...
Page 33: ...5 Remove the safety chains and the lifting eyes from the carriage or inner frame CAUTION DO NOT operate any functions if the outer frame has been removed Hydraulic oil can come out of the hoses 6 Aft...
Page 34: ...n The RH and LH reach cylinders are not interchangeable 6 Have a helper hold the reach cylinder to keep it from falling Use a drift to remove the pins that fasten each end of cylinder to the frame Rem...
Page 35: ...ve for correct alignment at the mounts for the scissor arms 1 If removed install the correct rod end on the rod as marked during removal Install new bushings in all four mounts for the reach cylinders...
Page 36: ...ns of the manufacturer Cylinder components can be disassembled to repair the seals if damaged Consult the Parts Manual to select the proper cylinder repair kit for your truck Replace all parts include...
Page 37: ...4500 SRM 971 Tilt Cylinder 1 NUT 2 TILTING FRAME 3 WASHER 4 WASHER 5 SEAL 6 PISTON 7 SEAL 8 WIPER RING 9 SEAL 10 ROD 11 BLOCK 12 BUSHING 13 FRONT FRAME Figure 17 Tilt Cylinder 33...
Page 38: ...own for stability use a crane and chains to raise the frame Install a solid 100 mm 4 in block under each fork heel and near each fork tip Lower the frame so the forks are on the blocks and install a c...
Page 39: ...ift chains are the support for the reach as sembly If the lift chains are loose operate the system to raise the reach assembly until the lift chains are the support See Figure 18 WARNING NEVER loosen...
Page 40: ...remove the reach assembly 2 If necessary remove the reach assembly from the mast See Reach Assembly Removal and Instal lation 3 Add or remove shims under the side rollers to reduce the clearance betw...
Page 41: ...ust rollers of the reach assem bly See B of Figure 20 Figure 20 Reach Assembly Side and Thrust Roller Widths 3 If the distance B is more than 4 mm 0 16 in less than the maximum measurement of Step 1 i...
Page 42: ...2 0 24 in 3 If the distance is not within specifications on both sides loosen the capscrews at the rod ends of the reach cylinders Use a wrench on the wrench flats to rotate the cylinder rods for adju...
Page 43: ...e 203 N m 150 lbf ft Scissor Arms Torques Center Pivot Capscrews 41 N m 30 lbf ft End Pivot Capscrews Double Reach Only 39 N m 29 lbf ft Reach Cylinder Torques M8 Bolt 34 N m 25 lbf ft Reach Mechanism...
Page 44: ...ec 24V Sideshift per 7 Travel Time Maximum Load 2041 kg 4500 lb 4 to 5 sec 4 to 5 sec Fast Reach Time Minimum Load 0 kg 0 lb 2 7 to 3 5 sec 3 7 to 4 5 sec Fast Reach Time Maximum Load 1361 kg 3000 lb...
Page 45: ...100 psi 60 Amps No Load 24 V 11 721 kPa 1700 psi 127 5 Amps Capacity Load 24 V 11 721 kPa 1700 psi 142 5 Amps No Load 36 V 11 721 kPa 1700 psi 85 Amps Retract Capacity Load 36 V 11 032 kPa 1600 psi 95...
Page 46: ...ght 1 66 sec Troubleshooting N30XMXDR3 N45XMXR3 N30 40XMR2 N25XMDR2 N30XMDR2 N45XMR2 AND N50XMA3 PROBLEM POSSIBLE CAUSE PROCEDURE OR ACTION The forks will not extend tilt or sideshift and there is pow...
Page 47: ...or damaged Connect or repair wiring W20 30ZR PROBLEM POSSIBLE CAUSE PROCEDURE OR ACTION The forks will not extend tilt or sideshift Extend tilt or sideshift buttons are not operating correctly Replace...
Page 48: ...________________________________________ ____________________________________________________________ ____________________________________________________________ _____________________________________...
Page 49: ......
Page 50: ...TECHNICAL PUBLICATIONS 4500 SRM 971 10 07 4 03 11 02 7 02 5 01 Printed in U S A...