background image


Hyperion Wireless MSE Installation Guide


www.wrensolutions.com


7L781 Rev A 200428


8


S

EAL


CABLE


PENETRATION

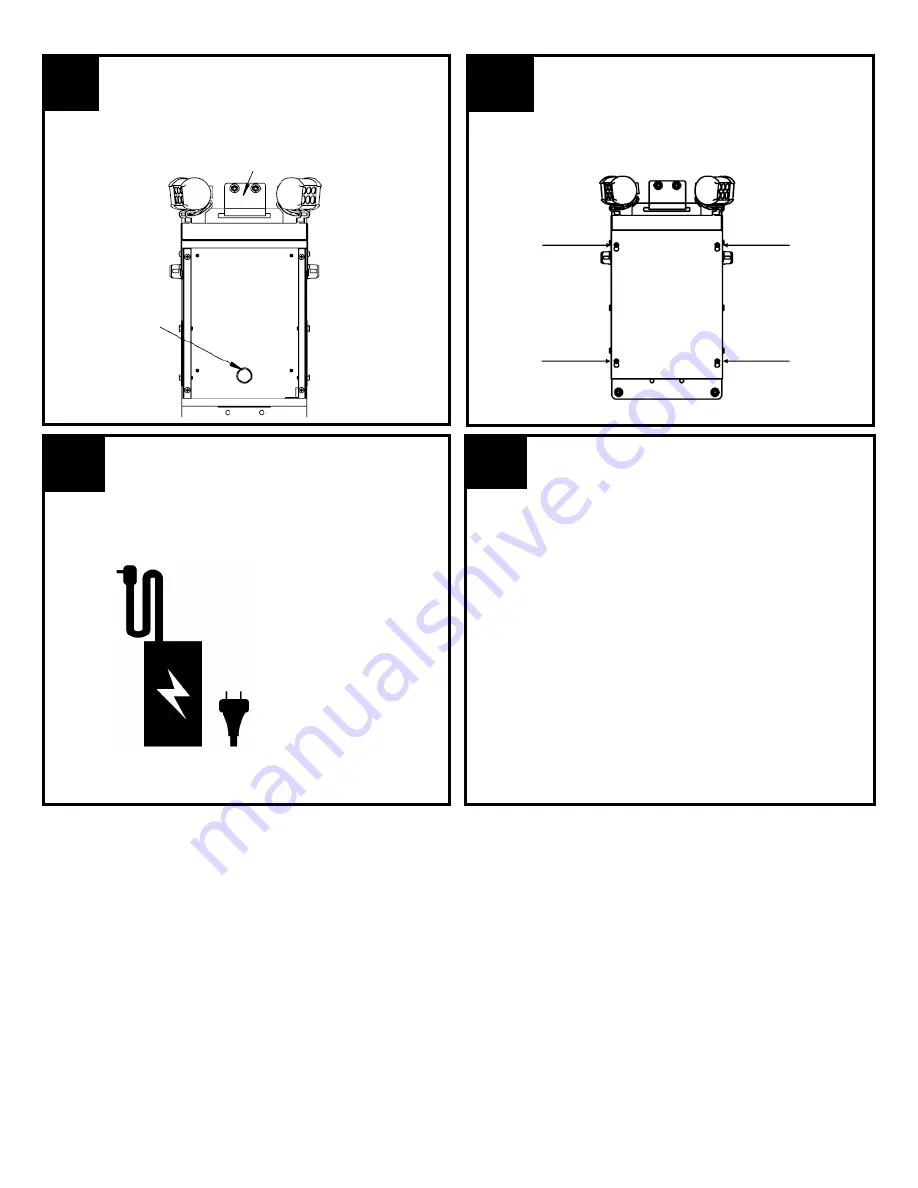
Seal the Cable Penetration using an appropriate 
outdoor sealant.   


9


A

TTACH


THE


DOOR


Attach the door and secure all four fasteners.


10


C

ONNECT

 P

OWER


Connect the power supply to AC110V.


11


The device is now powered on and ready to be added 

to Hyperion.  


Refer to the 

Hyperion User Manual 

for setup details.  


Summary of Contents for HYP-MSEWENR-W

Page 1: ...Hyperion Wireless MSE Installation Guide www wrensolutions com 7L781 Rev A 200428 INSTALLATION GUIDE HYPERION MODULAR SECURITY ENCLOSURE HYP MSEWENR W ...

Page 2: ... indicate any affiliation with or sponsorship of or by Wren All rights reserved NOTICES RF Exposure for FCC WARNING To satisfy FCC RF exposure requirements for mobile transmitting devices a separation distance of 31 cm or more should be maintained between the antenna of this device and persons during device operation To ensure compliance operations at closer than this distance is not recommended T...

Page 3: ...bit Steps to install masonry sleeve anchors Using a hammer drill and drill bit provided in Hardware Anchor Kit drill a hole 3 5 deep Clean out the hole of all debris Set the nut flush with the top of the sleeve anchor Insert the sleeve anchor through the fixture into the hole in the wall until the washer and nut are tight against the mounting plate Turn the nut until finger tight then use a wrench...

Page 4: ...ty of the radio and antenna We suggest a minimum 3 foot zone surrounding the area Mounting Height The minimum recommended mounting height for the Hyperion Radio is 10 feet from ground level Mounting heights over or under 10 feet are acceptable but the areas must be free and clear of any obstructions NOTE OBSTRUCTIONS WILL NEGATIVELY IMPACT RADIO PERFORMANCE ENSURE THAT THERE ARE NO OBSTRUCTIONS ES...

Page 5: ...nting Hook in the desired location Use 2 of the anchors provided in the hardware kit Refer to the masonry sleeve anchor instructions in this document for proper installation of anchors 3 PREP THE WALL FOR MOUNTING Hang the MSE on the Mounting hook Mark all four anchor locations and the cable entry location Install the Anchors ...

Page 6: ...S Remove the MSE from the hanger and drill the anchor holes using the masonry bit provided Install the anchors per the instructions provided in this document Drill a 3 4 cable entry hole in the marked location 5 MOUNT THE MSE Hang the MSE on the hanger and secure the device to all four installed anchors ...

Page 7: ...ABLING Cabling Specifications For extended low voltage runs we suggest the use of 18AWG or larger The maximum cabling distance is 100 feet Cabling Procedure Run power cable through wall and into the MSE Attach the cable to the DC power con nector on the Power IN Power IN NOTE ONLY USE THE POWER SUPPY PROVIDED WITH THE DEVICE IMPROPER CABLING COULD DAMAGE THE EQUIPMENT AND VOID PRODUCT WARRANTY Pow...

Page 8: ...ATION Seal the Cable Penetration using an appropriate outdoor sealant 9 ATTACH THE DOOR Attach the door and secure all four fasteners 10 CONNECT POWER Connect the power supply to AC110V 11 The device is now powered on and ready to be added to Hyperion Refer to the Hyperion User Manual for setup details ...

Reviews: