INSTRUCTIONS
7
INSTALLATION OF THE LOW PROFILE LEG KIT
NOTE: The below instructions assume that you have already used the standard sized legs and are
switching to the low profile legs. If you want to assemble the stand with the low profile legs from
the start, simply use the Low Profile Corner Legs V1 and Low Profile Corner Legs V2 in place of the
standard length corner legs when assembling the bottom tray stand. Be sure to install the Low Profile
Corner Legs V1 at two opposite corners from each other, and the Low Profile Corner Legs V2 at the
two remaining opposite corners. They must be installed this way or the assembly will be incorrect.
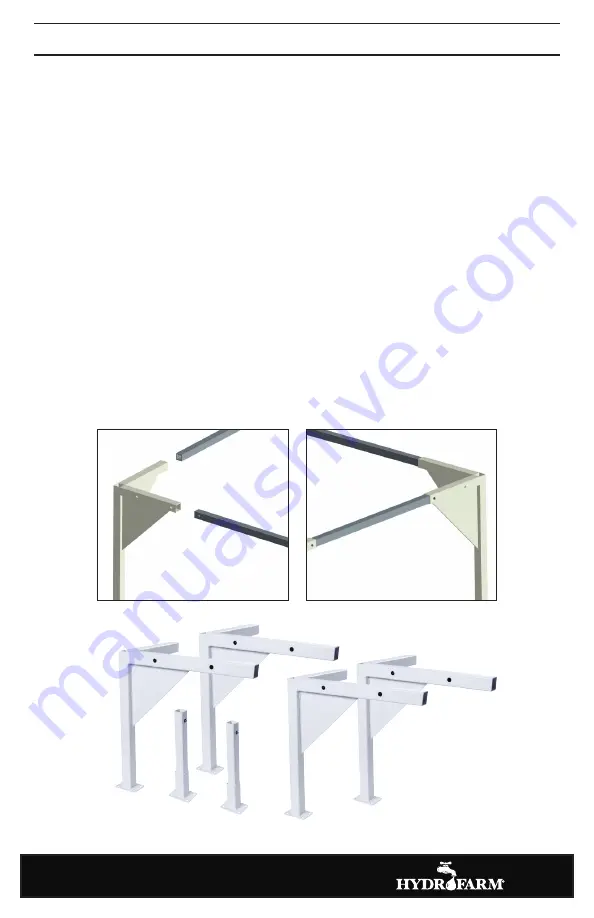
1. To install the Low Profile Leg Kit, first decouple all four Corner Legs (Parts A & E) from the End Rails
(Part F) and Side Rails (PartB) by depressing the spring buttons and detach them from the Side
Rails and End Rails.
2. Replace the Corner Legs V1 (Part A) with the Low Profile Corner Legs V1 (Part A2) and replace the
V2 Corner Legs (Part E) with the Low Profile Corner Legs V2 (Part B2).
NOTE: This stand can also be easily adjusted to accommodate both 4' x 6' and 3' x 6' size flood
tables. To adjust for 4' x 6' tables, depress the spring buttons on either end of the Side Rails (Part
B) and slide (collapse) the side rails all the way toward the corners until the spring buttons lock
in the innermost holes in the Corner Legs. This will reduce the length of the stand from 8' to 6'.
To adjust the stand for 3' x 6' tables, adjust to reduce the stand’s length to 6' as just described
above, and then also collapse the End Rails (Part F) completely on both sides in the same
manner, which will reduce the tray stand’s width from 4' to 3'.
Item Code AASLP48


