Installation and Maintenance Manual
29
Clock Functions
Setting the time and Date
The Smart Touch Controller is equipped with a 24 hour (military time), 365 day clock, so that events
of significance can be logged and stamped with both the time and the date. This feature is useful
to record key historical operational data and a log of Alerts, Faults and Errors all of which can be
accessed via the RS232 port with a PC computer or a PDA using the Palm OS. Optional Hy-
Security supplied software and cables are required in order to read this data.
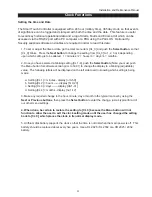
1. To set or adjust the time or date, go the User menu item [CL_0] and push the Select button, so that
[CL_0] blinks. Press the Next button to change the setting from [CL_0] to 1, 2, 3 or 4 depending
upon which setting is to be altered. 1 = minutes / 2 = hours / 3 = days / 4 = months.
2. Once you have selected a blinking setting [CL 1-4], push the Select button (Note: you must push
the Menu button for software version prior to h3.01) to change the display to a blinking (adjustable)
value. The following letters will be displayed on the left side to aid in knowing which setting is being
made:
a. Setting [CL 1] = minutes - display [ni 0-59]
b. Setting [CL 2] = hours —— display [hr 0-23]
c. Setting [CL 3] = days —— display [dA 1-31]
d. Setting [CL 4] = months - display [no 1-12]
3. Make any required change to the hour, minute, day or month in the typical manner by using the
Next or Previous buttons, then press the Select button to enter the change, just as typical for all of
our other menu settings.
4. When done, be certain to restore the setting to [CL 0] because the Menu button will not
function to allow the user to exit the clock setting mode until the user has changed the setting
back to [CL 0], which places the clock in its normal display mode.
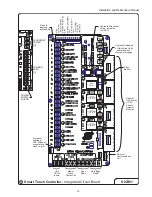
5. A lithium disk battery supports the clock so that the time is not lost when the main power is off. This
battery should be replaced about every five years. Use a DL 2025 / DL 2032 or a CR 2025 / 2032
battery.


