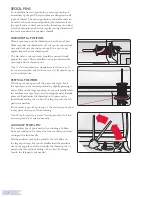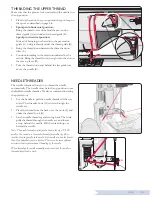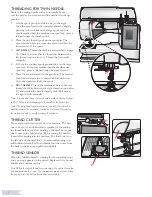
2:2
1
2
3
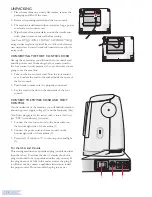
UNPACKING
3ODFHWKHPDFKLQHRQDVWXUG\ÁDWVXUIDFHUHPRYHWKH
packaging and lift off the cover.
2. Remove the packing material and the foot control.
3. The machine is delivered with an accessory bag, a power
cord and a foot control cord.
4. Wipe the machine, particularly around the needle and
stitch plate to remove any soil before sewing.
Note: Your HUSQVARNA VIKING
®
SAPPHIRE
™
960Q
sewing machine is adjusted to provide the best stitch result at normal
room temperature. Extreme hot and cold temperatures can affect the
sewing result.
CONNECTING THE FOOT CONTROL CORD
$PRQJWKHDFFHVVRULHV\RXZLOOÀQGWKH
foot control cord
and the power cord. Connecting the foot control cord to
WKHIRRWFRQWUROLVRQO\QHFHVVDU\WKHYHU\ÀUVWWLPH\RXDUH
going to use the machine.
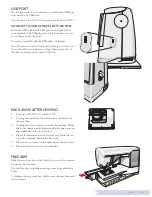
1. Take out the foot control cord. Turn the foot control
over. Connect the cord to the socket inside the space of
the foot control.
3XVKÀUPO\WRPDNHVXUHLWLVSURSHUO\FRQQHFWHG
3. Lay the cord in the slot on the underside of the foot
control.
CONNECT THE POWER CORD AND FOOT
CONTROL
2QWKHXQGHUVLGHRI WKHPDFKLQH\RXZLOOÀQGLQIRUPDWLRQ
DERXWWKHSRZHUVXSSO\YROWDJH9DQGWKHIU]
Note: Before plugging in the foot control, check to ensure that it is of
type “FR5” (see underside of foot control).
1. Connect the foot control cord to the front socket on
WKHERWWRPULJKWVLGHRI WKHPDFKLQH
2. Connect the power cord to the rear socket on the
ERWWRPULJKWVLGHRI WKHPDFKLQH
3. Press the
2,VZLWFKWR´,µWRWXUQRQSRZHUDQGOLJKW
For the USA and Canada
7KLVVHZLQJPDFKLQHKDVDSRODUL]HGSOXJRQHEODGHZLGHU
WKDQWKHRWKHU7RUHGXFHWKHULVNRI HOHFWULFVKRFNWKLV
SOXJLVLQWHQGHGWRÀWLQDSRODUL]HGRXWOHWRQO\RQHZD\,I
WKHSOXJGRHVQRWÀWIXOO\LQWKHRXWOHWUHYHUVHWKHSOXJ,I
LWVWLOOGRHVQRWÀWFRQWDFWDTXDOLÀHGHOHFWULFLDQWRLQVWDOO
the proper outlet. Do not modify the plug in any way.
Summary of Contents for Sapphire 960Q
Page 1: ...KEEPING THE WORLD SEWING User s Guide ...
Page 4: ......
Page 30: ...2 12 ...
Page 62: ...5 6 ...


