Assembly
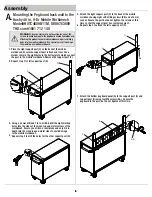
Mounting
the Pegboard back wall to the
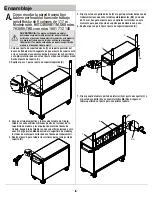
1. Place the right support post (C) on the back of the mobile
marker to mark the eight holes in the bottom plate which connect
Using a power drill and 1/8 in. drill bit, drill the eight marked
6
A.
6
Model#HOTC4609B11M, SKU#763089
WARNING
:
Use special care to not over-tighten any of the
Attaching this product to your mobile workbench requires drilling
the wood top or mobile workbench.
workbench. Ensure you drill on a level plane and only 3/4 in.
Repeat step 3 to drill the holes for the other support post (D).
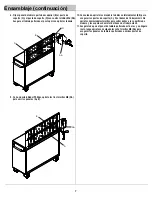
Attach the right support post (C) to the back of the mobile
socket. Secure the post but do not tighten the screws at this
Repeat step 5 to attach the left support post (D).
Husky 46 in. 9-Dr Mobile Workbench
screws to avoid damage to the pegboard or mobile workbench.
holes into the mobile workbench. Use special care not to damage
workbench. Ensure the support post is flush and level. Use a
the post to the mobile workbench. Remove the support post (C).
3.
holes into the sides of the wood top and metal corners of the
depth into the wood top and metal sides to avoid damage
4.
5.
workbench using eight self-drilling screws (BB) and a 10 mm
time so that the support post has some movement.
6.
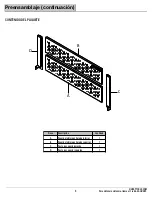
C
D
C
BB
D
BB
Repeat step 1 for left support post (D) .
2.
to the mobile workbench.
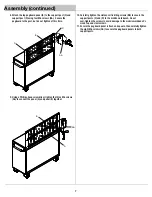
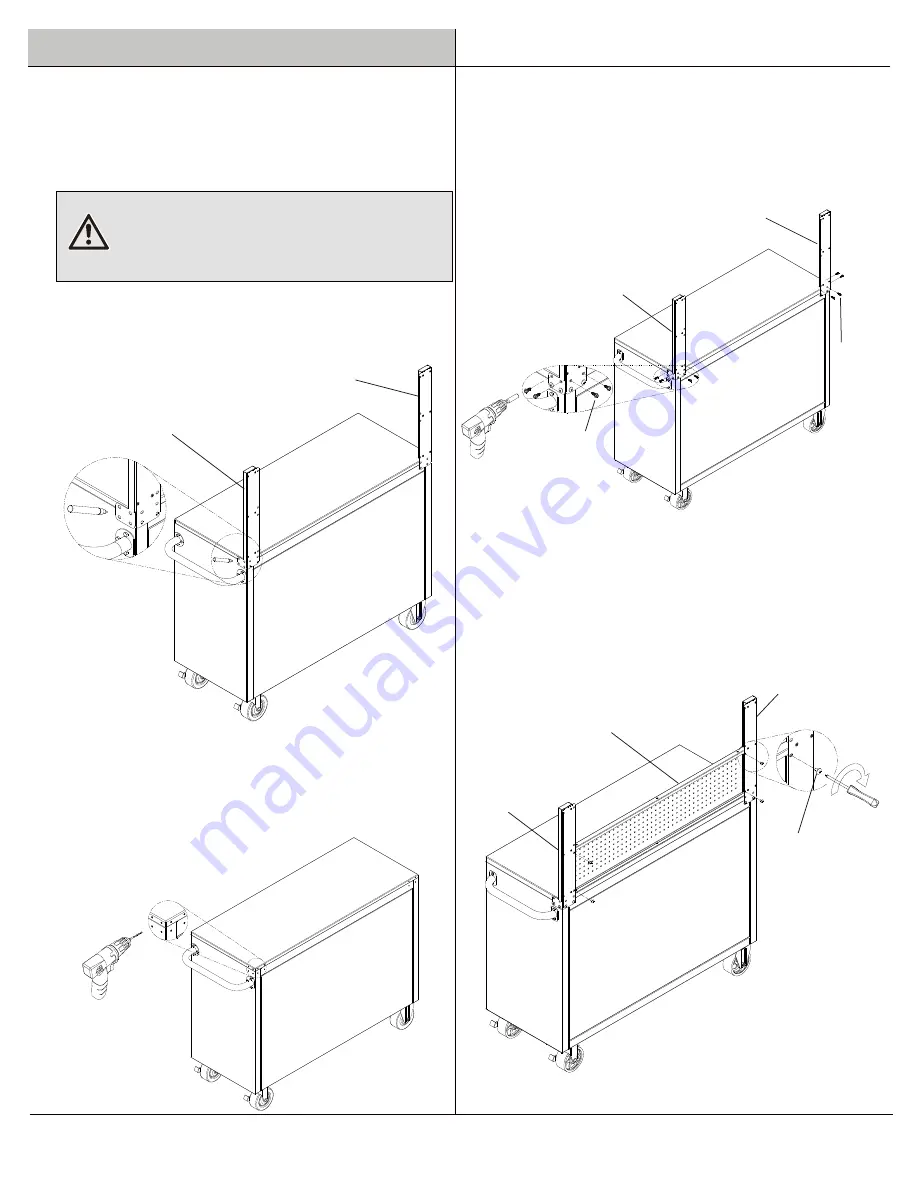
Attach the bottom pegboard panel (A) to the support post (C) and
pegboard to the post, but do not tighten at this time.
7.
support post (D) using four M6 screws (AA). Secure the
A
C
D
AA
THD.com#1001 712 148


