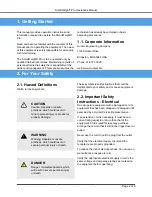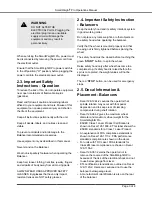
WARNING
DO NOT ALTER THE
ELECTRICAL PLUG. Plugging the
electrical plug into an unsuitable
supply circuit will damage the
equipment and may result in
personal injury.
When servicing the SmartWeight® Pro, power must
be disconnected by removing the power cord from
the electrical outlet.
Ensure that the SmartWeight® Pro power switch is
in the off position ("O" position) before plugging the
power cord into the electrical power outlet.
2.3. Important Safety
Instructions - Operation
To reduce the risk of fire, do not operate equipment
near open containers of flammable liquids
(gasoline).
Read and follow all caution and warning labels
affixed to your equipment and tools. Misuse of this
equipment can cause personal injury and shorten
the life of the equipment.
Keep all instructions permanently with the unit.
Keep all decals, labels, and notices clean and
visible.
To prevent accidents and/or damage to the
Balancerrecommended accessories.
Use equipment only as described in this manual.
Never stand on the Balancer.
Wear non-slip safety footwear when operating the
Balancer.
Keep hair, loose clothing, neckties, jewelry, fingers,
and all parts of body away from all moving parts.
ALWAYS WEAR OSHA APPROVED SAFETY
GLASSES. Eyeglasses that have only impact
resistant lenses are NOT safety glasses.
2.4. Important Safety Instruction
- Balancers
Keep the safety hood and its safety interlock system
in good working order.
Do not place any tools, weights, or other objects on
the safety hood while operating the balancer.
Verify that the wheel is mounted properly and that
the wing nut is firmly tightened before spinning the
wheel.
The safety hood must be closed before touching the
green “
START
” button, to spin the wheel.
Raise safety hood only after wheel has come to a
complete stop. If safety hood is raised before the
spin is com-pleted, the weight values will not be
displayed.
The red “
STOP
” button, can be used for emergency
stops.
2.5. Decal Information &
Placement - Balancers
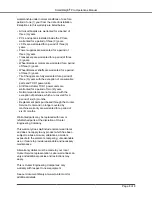
• Decal 128-1244-2 cautions the operator that
spindle rotation may occur with foot pedal
depression and to keep clear of clamping
components during shaft rotation.
• Decal 128-964-2 gives the maximum wheel
diameter and maximum wheel weight for the
SmartWeight® Pro.
• EN/IEC Class 1 Laser Product Certification is
shown on Decal 128-1638-2. This label shows the
EN/IEC standards for a Class 1 Laser Product.
• An explanation of FDA compliance standards is
shown on Decal 128-1117-2. FDA performance
standards compliance is shown on the decal.
• For units with TDC Laser, FDA standards for
Class 2M laser compliance are shown on Decal
128-1155-2.
• Decal 128-381-2 warns the operator not to
remove the covered of the SmartWeight® Pro
because of the risk of the electrical shock and not
to use below garage floor level.
• ETL certification standards are outlined on Decal
128-1120-2. Users are cautioned not to use the
balancer below garage level.
• A manufacturer's identification is also on the rear
of the balancer.
SmartWeight
®
Pro Operations Manual
Page 3 of 8


