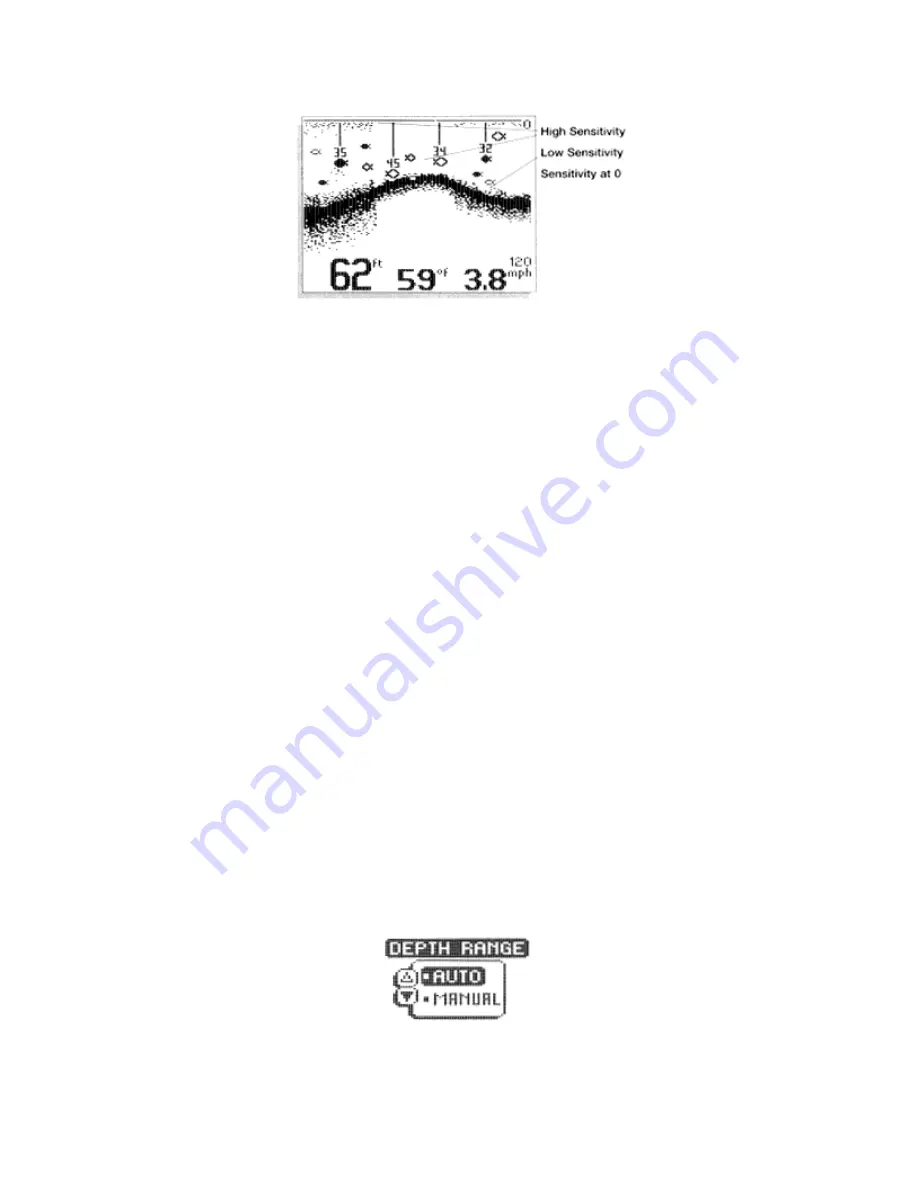
Increasing the bias ( +1 t5 ) causes the unit to display the information from progressively
smaller sonar returns. By decreasing the sensitivity bias (-1 through –5), the unit effectively filters
small sonar returns.
In murky or muddy water, it is often advantageous to reduce the sensitivity bias. This prevents the
display from being cluttered with sonar returns from debris or suspended particles. In very clear
or very deep water, it may be desirable to increase the sensitivi ty bias since even the smallest
sonar return may be of interest to the user.
To adjust Sensitivity, press MENU repeatedly until the Sensitivity heading is displayed. When the
Sensitivity menu appears, use the UP ARROW to increase the sensitivity bias, or the DOWN
ARROW to reduce sensitivity bias. By holding either ARROW button depressed, the unit will
sequence through the available settings until you release the button or the end of the adjustment
range is reached. If additional time is needed to study a menu, press and hold the MENU button
and the menu will remain on-screen indefinitely.
If a setting limit is reached, the ARROW symbol attached to the menu appears to be hollow which
indicates that the related button has no further function. Also, the audible “error” consisting of
multiple chirps will be heard.
After an adjustment is made, the menu disappears and the new sensitivity setting begins to affect
new sonar information as it flows on-screen. If additional adjustment is needed, the UP ARROW
or DOWN ARROW can be pressed without having to first press MENU.
The sensitivity setting is remembered in memory after the unit is powered off.
DEPTH RANGE
The Depth Range function controls the vertical distance displayed on the graphic area of the
display. There are 9 different depth ranges available. The top of the range is always 0, or the
surface of the water. Ranges of 0-15 feet, 0-30 feet, 0-60 feet, 0-120 feet, 0-180 feet, 0-240 feet,
0-360 feet, 0-480 feet, and 0-600 feet are available. The range which positions the bottom
depiction closest to the bottom of the graphic area of the display will best utilize the available
display resolution.
Summary of Contents for Wide Portrait
Page 1: ......


