Page 6
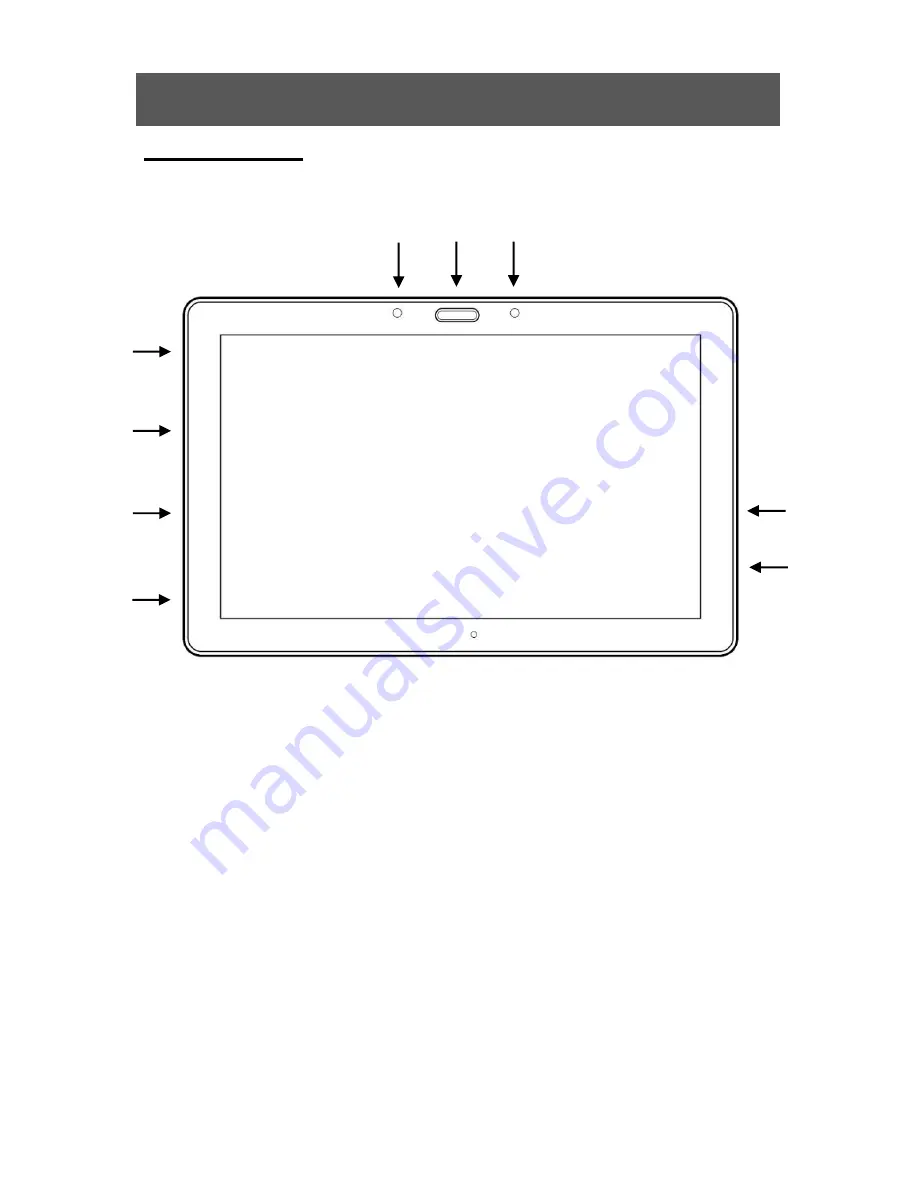
PRODIGI CONNECT AT A GLANCE
Front Face
1. Back Button (not a physical button)
2. Home Button
3. History Button (not a physical button)
4. MicroSD slot
5. USB slot
6. Speaker
7. Stylus
8. Headphone slot
Note:
Tablet is inserted in stand upside down
intentionally, for better camera usage.
3
2
1
4
5
6
6
8
7
Summary of Contents for Prodigi Connect 12
Page 1: ......
Page 2: ......
Page 9: ...Page 7 Bottom Edge 1 Volume Down Up 2 Power Button Back Side 1 Camera 2 LED 2 1 1 2 ...
Page 11: ...Page 9 1 Open Banner Button Folding stand 1 ...
Page 12: ...Page 10 Distance camera 1 Distance camera 2 Distance camera stick 1 2 ...
Page 13: ...Page 11 Front view Back view with battery cover removed ...
Page 16: ...Page 14 2 Next unfold the top panel until it is roughly parallel with the lower panel ...
Page 44: ...Page 42 You can attach your camera to a desk ...
Page 45: ...Page 43 You can attach your camera to the side of the folding stand s frame ...
Page 46: ...Page 44 You can attach your camera to the top of the folding stand s frame ...
Page 47: ...Page 45 DO NOT use the distance camera unless it is attached to a solid object ...
Page 73: ......
Page 74: ......
Page 75: ......
Page 76: ...ACCD 0131 REV 03 ...


