


GT-191/GT-220 V2 Graphics Display
8 /
21
www.huion.com
2. Product Basic Operation
2.1 Using The Pen
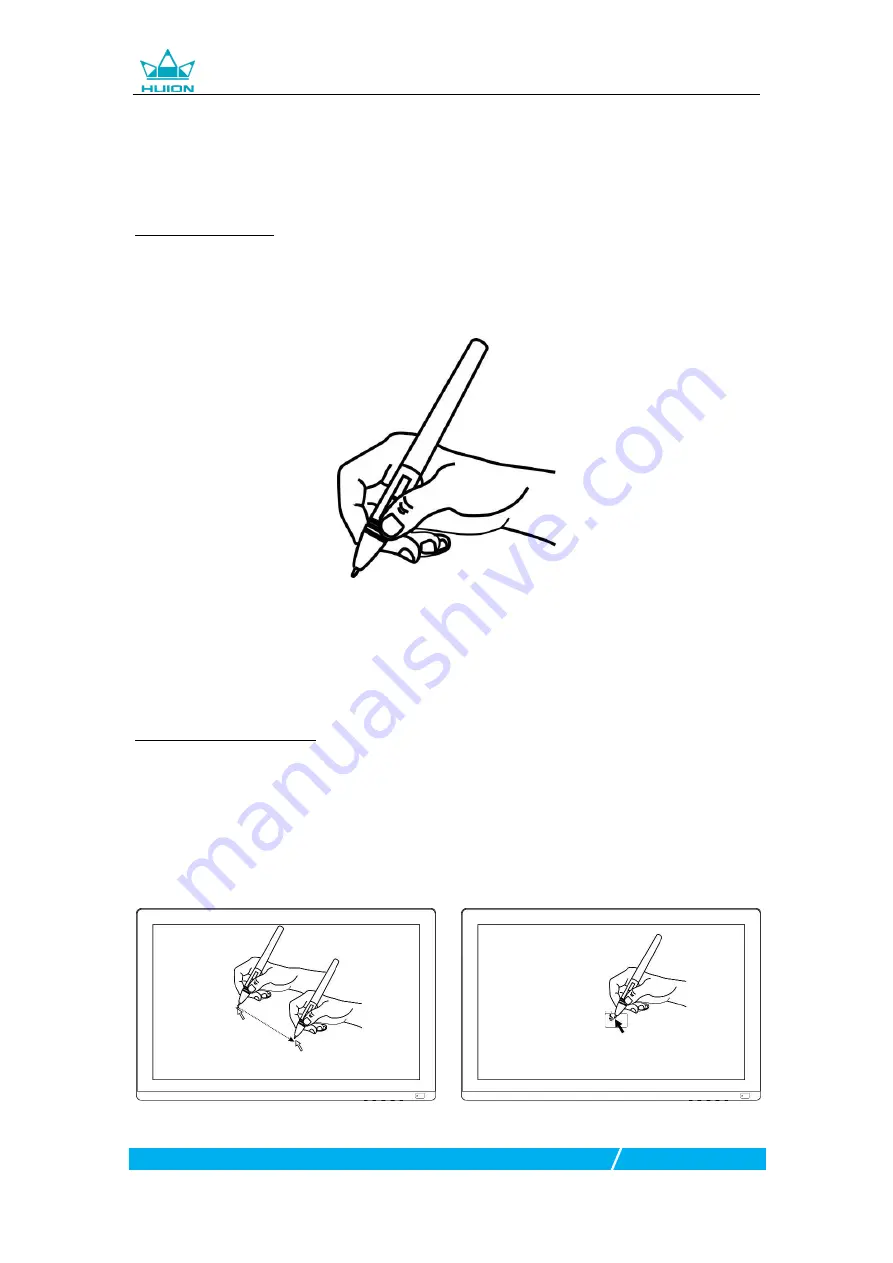
2.1.1 Hold the pen
Hold the pen as you hold a normal pen or pencil. Adjust your grip so that you can
toggle the side switch easily with your thumb or forefinger. Be careful not to
accidentally press the switch while drawing or positioning with the pen.
Notice: When not in use, place the pen in the pen case or on the desk. Do not place
the pen on the surface of screen, which may interfere with the use of other screen
cursor positioning equipment, it may also cause your computer unable to enter the
sleep mode.
2.1.2 Position the cursor
Move the pen slightly above the active area without touching the screen surface,
the cursor will move to the new position accordingly.
Press the pen tip on the screen to make a selection. Tap the screen once with the
pen tip, or touch it to the screen with enough pressure to register a click.


