Kim Floodlight
Software Instructions (For RGBW only) Continued
Three Ways to Select Color:
15. From “Color Wheel”
Tap on the “House/Home” symbol in
the bottom left side of the screen on
the navigation bar.
Rotate your finger around the color
wheel until you find your desired color.
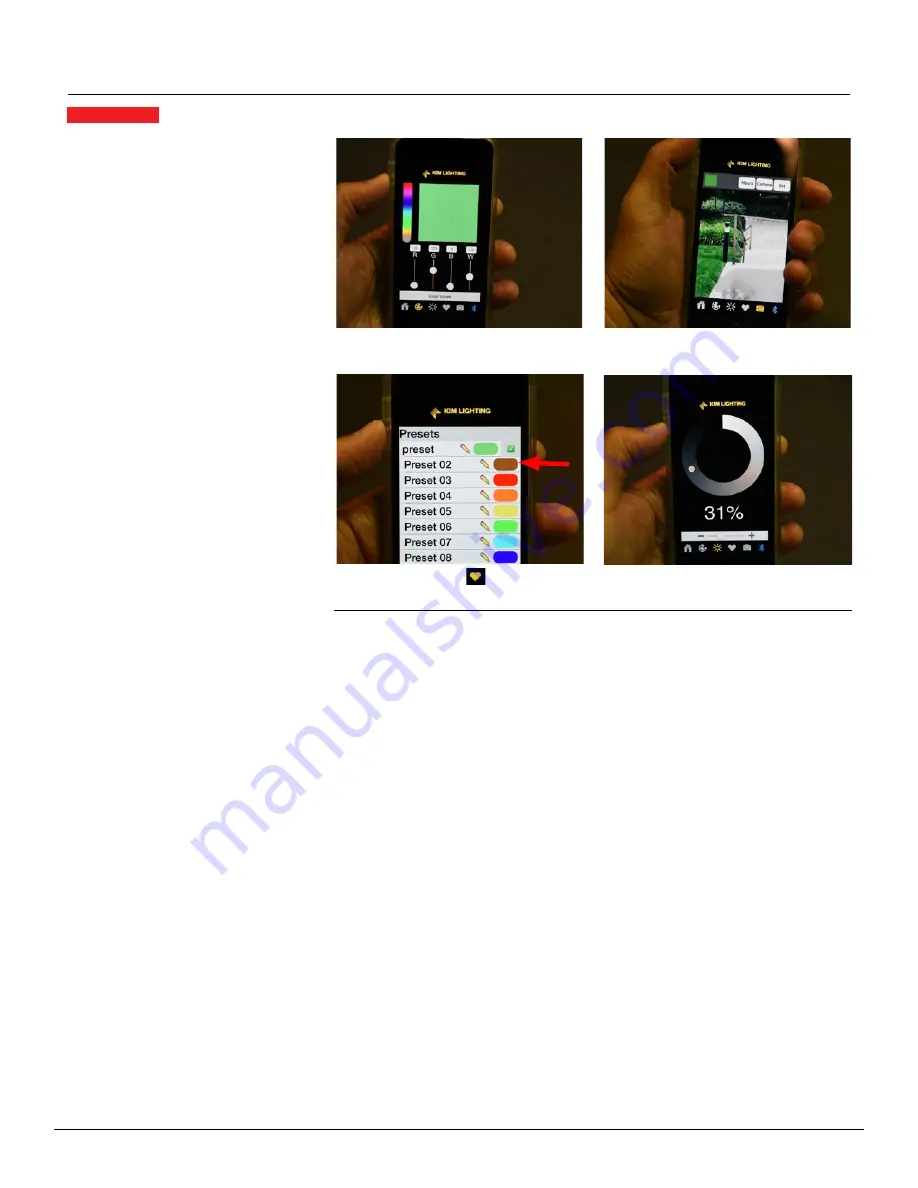
16. From “Color Palette”
Tap on the painter’s “color palette”
symbol on the navigation bar at the
bottom of your screen. You can either
swipe your finger up and down the
“color bar” on the left of the screen to
choose your desired color, or you can
create your perfect color by individually
moving the RGBW bars up and down
until you reach the result you were
looking for.
17. From “Camera”
Tap on the “Camera” symbol on the
navigation bar running along bottom
of the screen. Across the top, there are
2 buttons that you can select:
Album Button
– Click on to enter your
device‘s photo album. Tap on/Select a
photo that contains a color you would
like to use. Once photo is opened,
drag finger across your screen in order
to move the “blue circle” over the
color you would like to use from the
photo. Tap “Set” and the luminaire
will immediately change to that color.
Camera Button
– Select, and your
device’s camera will open up. Take a
photo of something that contains a
color that you would like the KFL
RGBW luminaire to match. Drag finger
across your device’s screen/photo to
move the “blue circle” over the color
you would like to use. Once you find
the color, tap “Set” and the luminaire
will immediately change to that color.
Save A Preset Color:
18.
Adjust the luminaire to a color you
would like to save for future use. Tap
on the “Heart” symbol located on the
middle-right of the navigation bar
running along the bottom of your
device’s screen.
19.
To save your color, swipe to the left
over one of the default presets and tap
the “check mark” symbol.
20.
Your color is now saved in preset slot.
21.
To “Rename” a preset color, tap the
“pencil” symbol adjacent to the color
it represents, delete the default preset
name (i.e. Preset 01, Preset 02, etc.),
and name your new preset color
whatever you would like.
16.
Select a color.
23.
Adjust intensity.
18.
Save preset.
17.
Select color from a camera
or a photo.
ANDROID OS
(Cont. from previous page)
Adjust Intensity/Dim:
22.
Tap on the “Starburst” symbol located
on the middle-left of the navigation
bar running along the bottom of your
device’s screen.
23.
Rotate your finger around the perimeter
of the “Intensity Wheel” to achieve
your desired dim/intensity setting.
Dimming:
24.
Dimming/adjusting the intensity can
also be achieved by sliding the bar
between the plus and minus symbols
back and forth.
© 2019 KIM LIGHTING
• 17760 Rowland Street • City of Industry, CA 91748 • 626-968-5666
Page 10


