3
Important Ink Information
After the printheads are installed and primed with ink, do not open the printhead latch unless you are installing
new printheads or moving the printer outside your home or office. In addition, you should maintain proper ink
levels in the ink tanks when printing.
Maintain proper ink levels
Use the ink level lines on the ink tanks to determine when to fill the tanks and how much ink should be added.
Never print when any of the ink tanks has less than the minimum amount of ink. Printing with too little ink or filling
tanks with too much ink can damage the printer and affect print quality. Make sure you match the color of the ink to
the color on the ink tank when you refill an ink tank. See the Start here booklet for instructions on how to fill the ink
tanks.
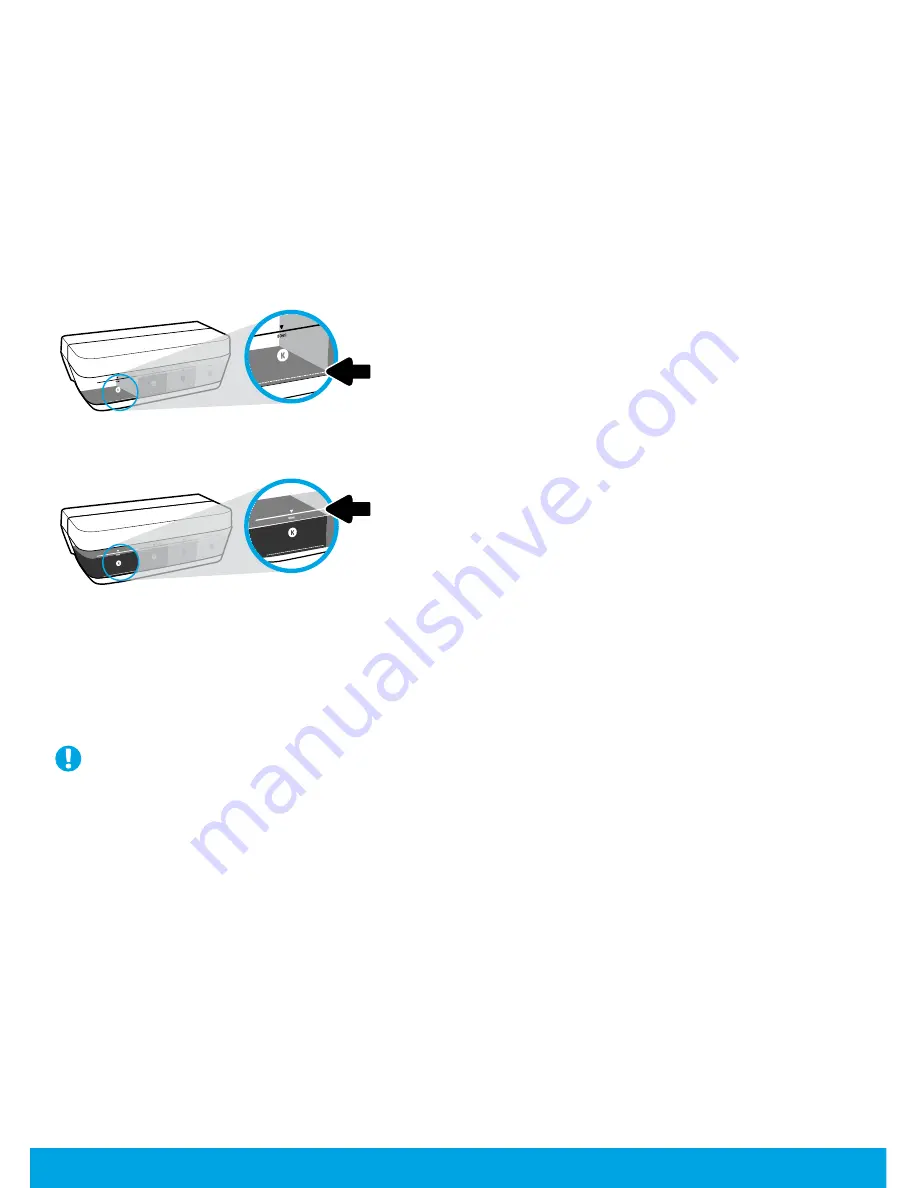
Minimum ink level
Ink level should never go below the minimum ink line.
Printing with ink level below the minimum line may cause
damage to your printer.
Maximum ink level
Do not fill ink above the maximum ink line. Overfilling
might cause ink leakage. When you refill, some ink might
be left in the ink bottle. You can save the remaining ink by
storing the ink bottle in a dry cool place for future refilling.
NOTE
: Product service or repairs required as a result of filling the ink tanks improperly and/or using non-HP ink will
not be covered under warranty.
Moving printer after setup
To prevent damage to the printer or ink leakage, follow these instructions.
If you are moving the printer within your home or office, keep the printhead latch closed, and keep the printer level.
If you are moving the printer outside your home or office, follow the instructions in the relevant section of the Start
here booklet provided in the printer box or the user guide available at
www.support.hp.com
.
Display Error
Solution
Printhead Carriage Stall
1.
Open the front door, and then open the printhead access door.
2.
Make sure the printhead latch is properly closed and the print carriage is not
obstructed.
IMPORTANT:
Do not open the printhead latch but check that it is pushed down
firmly. Keep printhead latch closed unless installing new printheads or moving
printer outside your home or office.
3.
Close printhead access door, then front door.
4.
Press (the
Resume
button) to continue printing.
Paper Jam
Clear the jam, and then press (the
Resume
button) to continue printing.
For more information, see the user guide on
www.support.hp.com
or the
electronic Help installed with HP printer software.
System Maintenance Required
Open the printhead access door completely, and then close it immediately.
This process helps remove ink buildup and maintains the best print quality
throughout the life of the printer.
IMPORTANT:
Do not open the printhead latch unless you get this message, or
are installing new printheads, or moving the printer outside your home or office.
Out of Paper
The
Error
icon ( ), the
Paper
Error
icon ( ), and
Resume
light (
) are blinking.
1.
Load paper in the input tray.
2.
Press (the
Resume
button) to continue printing.
NOTE
: For more information on how to load paper, see the user guide on
www.support.hp.com
or the electronic Help installed with HP printer software.
OR
Printhead Problem
The
Error
icon ( ), one or both
Printhead
icons (
), and
Printhead Alert
light(
)
are blinking.
Flashing left printhead icon: Indicates an error with the tri-color printhead.
Flashing right printhead icon: Indicates an error with the black printhead.
If you are setting up the printer for the first time, make sure you have removed
the tape from the printhead.
If you have been using your printer and are starting to see print quality
problems, the printhead indicated needs to be replaced. Contact HP support at
www.support.hp.com
to get a replacement printhead.


