


1.
Turn off power to the computer and the display that you are connecting to the computer.
2.
Remove the rear port cover on the computer.
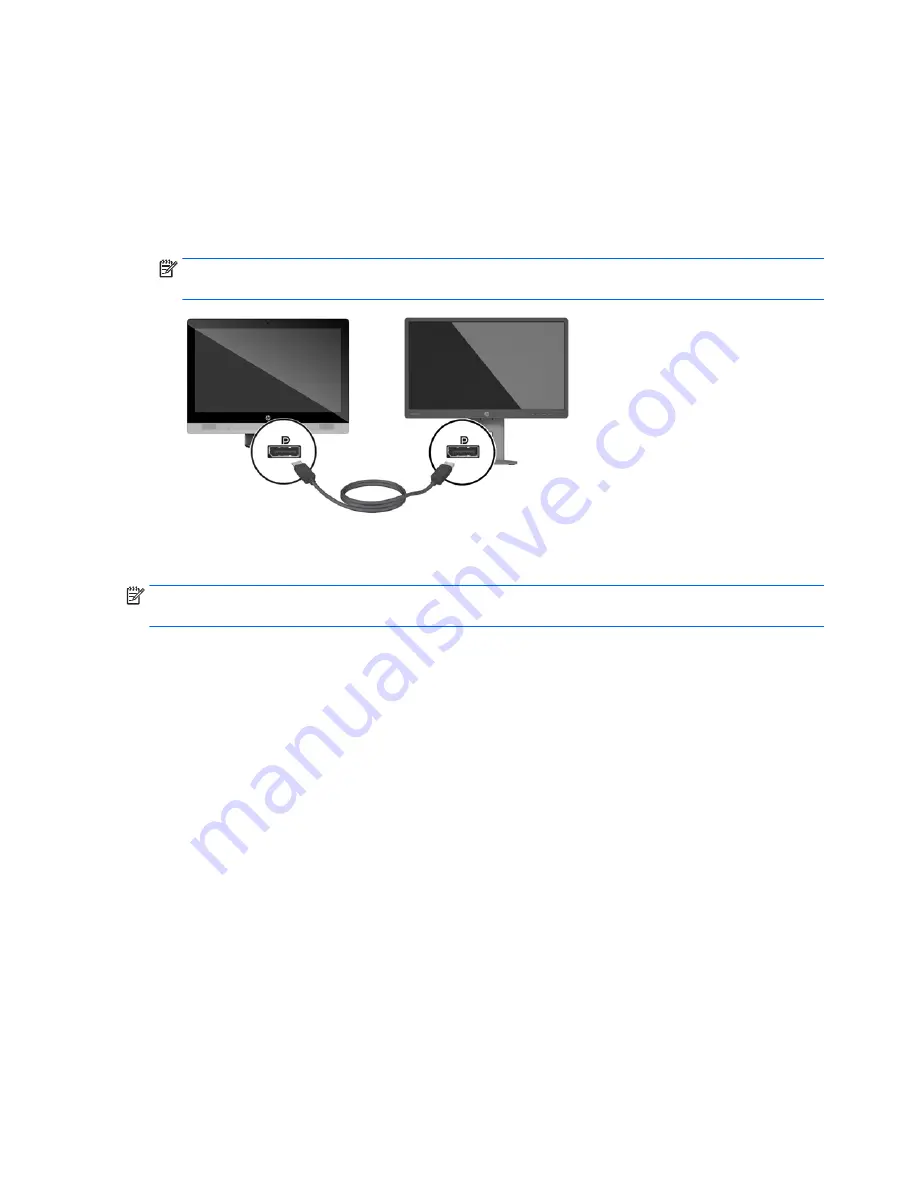
3.
If your display has a DisplayPort connector, connect a DisplayPort cable directly between the
DisplayPort connector on the rear of the computer and the DisplayPort connector on the display.
4.
If your display does not have a DisplayPort connector, connect a DisplayPort video adapter to the
DisplayPort connector of the computer. Then connect a cable (VGA, DVI. or HDMI, depending on your
application) between the adapter and a display.
NOTE:
When a DisplayPort adaptor is used, the rear port cover cannot be installed unless a
DisplayPort extender cable is used in conjunction with the adaptor.
5.
Replace the rear port cover on the computer.
6.
Turn on power to the computer and the display.
NOTE:
Use the graphics card software or the Windows Display Settings to configure the display as a
mirrored image of the computer display or an extension of the computer display.
Disconnecting cables
1.
You may need to remove the cable lock, if one is installed on the rear of the computer.
2.
Place the computer face down on a soft flat surface. HP recommends that you set down a blanket,
towel, or other soft cloth to protect the bezel and screen surface from scratches or other damage.
3.
If the rear port cover is installed, remove the cover.
4.
Disconnect the cables from the ports.
26
Chapter 2 Setup


