


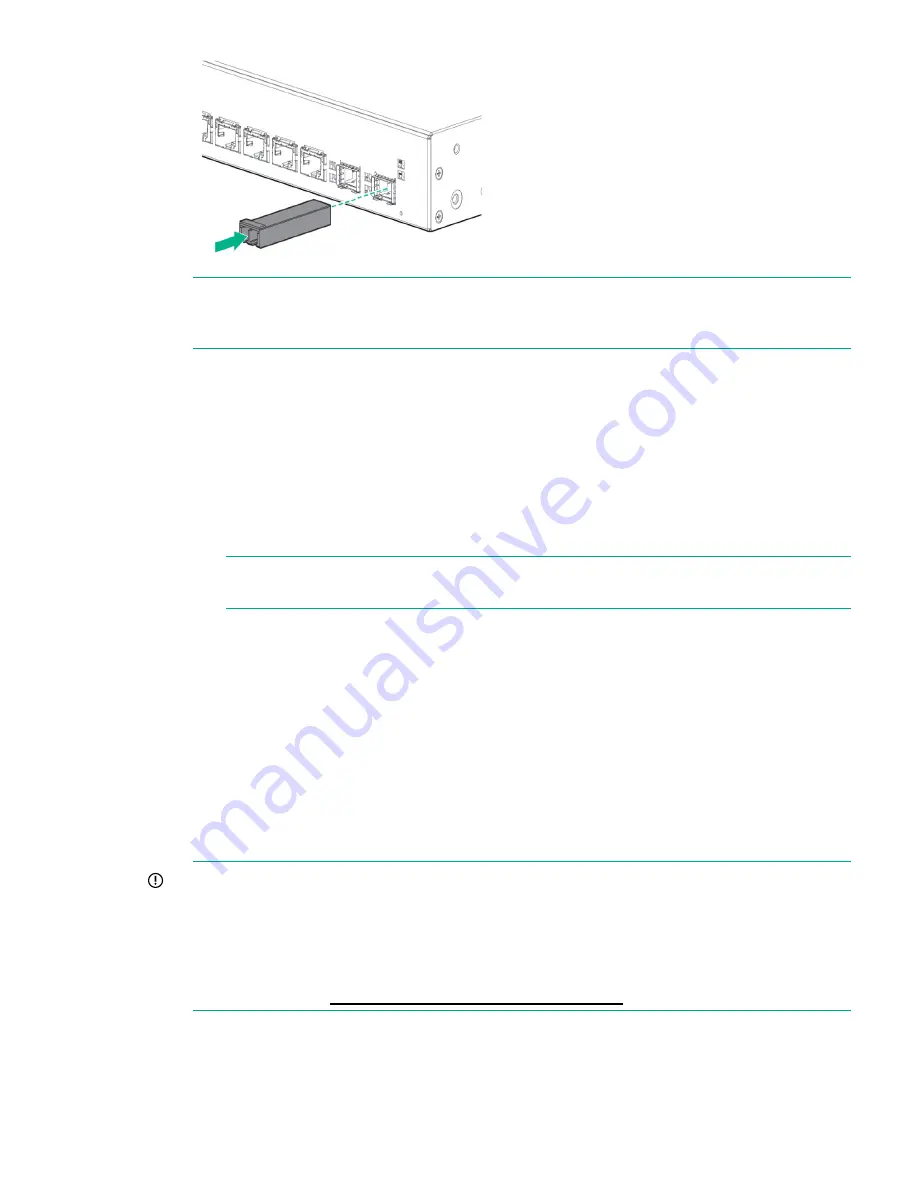
NOTE:
For transceiver connections, install and use only Hewlett Packard Enterprise
mini-GBIC/SFP transceivers supported by the switch. See
“SFP/SFP+ installation notes”
(page 8)
.
Example: Initial Switch Configuration
1.
Reconfigure the PC’s IP address and Subnet Mask so that it can communicate with the
switch.
a.
Click
Start > Control Panel.
Type adapter in the search box, and then, click
View
network connections
.
b.
Select and right-click
Local Area Connection
, then click
Properties
.
c.
Click the
Networking
tab. Select Internet Protocol Version 4 (TCP/IPv4) under
This
connection uses the following items
, and then click
Properties
.
NOTE:
Be sure to record all your PC’s current IP settings to be able to restore them
later.
d.
On the
General
tab, click
Use the following IP address
.
e.
For
IP address
, enter an IP address in the same range as the switch’s default IP address.
For example, enter
192.168.1.12
.
f.
For
Subnet mask
, enter
255.255.255.0
, then click
OK
.
g.
Click
Close
(or
OK
) to close the
Local Area Connection Properties
screen.
2.
Open your Web browser on the PC, and enter the switch factory-default IP address,
http://192.168.1.1
, to access the switch’s Web interface.
3.
Click
Log on
to log on to the switch. (The default username is
admin
. There is no default
password).
4.
Click
Network Setup > Get Connected
and configure IP network settings on the switch for
operation on your network
IMPORTANT:
When the switch starts, it attempts to obtain an IP address from a DHCP
server. If the DHCP server is unreachable, the switch falls back to a static IP address, that
is, 192.168.1.1. If a DHCP address is obtained then you must determine the IP address
assigned to the switch. To determine the IP address, access your DHCP server files or use
LLDP (Link Layer Discovery Protocol) commands on a connected device (such as another
switch). For more information on
Initial Configuration
, see
Installation and Getting Started
Guide
available at
http://www.hpe.com/support/manuals
.
5.
Click the
Save Configuration
button on the browser configuration screen to save your
settings. (This step also preserves your settings when the switch is rebooted.)
You are done with initial switch configuration. Disconnect the LAN cable from your PC and connect
the switch into the network. Be sure to return your PC to its original network settings before
connecting to your network.
Example: Initial Switch Configuration
7


