4
Using the Design Gallery Menu
You can use the
Design Gallery
features to enhance your captured images.
1.
While in
Playback
, use
to scroll to an image, then press
.
2.
Use
to highlight the
Design Gallery Menu
tab.
3.
Use
to highlight an option, then press
and follow the on-screen instructions.
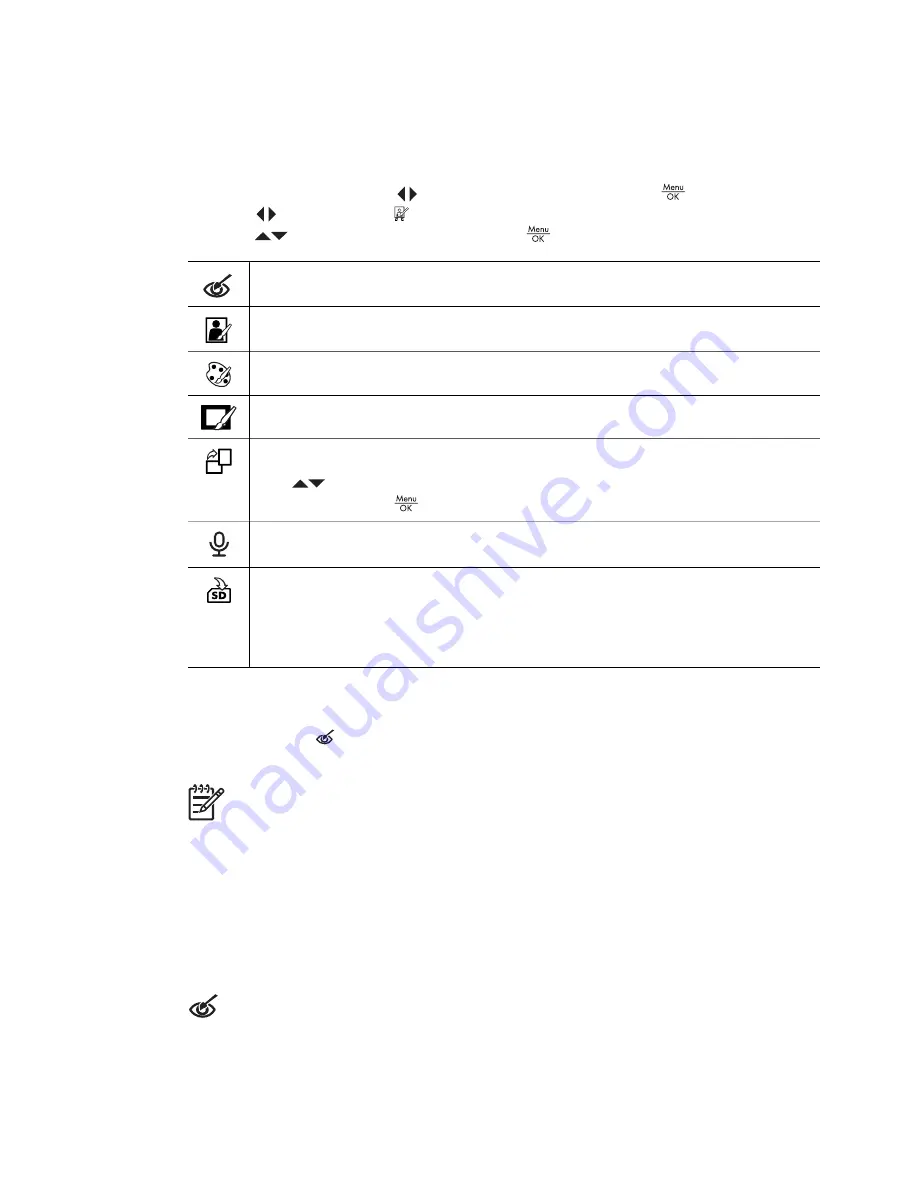
Remove Red Eyes
—See
Removing red eyes
on page 22
.
Apply Artistic Effects
—See
Applying artistic effects
on page 23
.
Modify Color
—See
Modifying colors
on page 23
.
Add Borders
—See
Adding borders
on page 23
.
Rotate
—Rotates images in 90-degree increments.
Use
to rotate the image clockwise or counter-clockwise in 90-degree
increments. Press
to save the image in the new orientation.
Record Audio
—See
Recording audio
on page 24
.
Move Images to Card
—Moves images from internal memory to a memory
card. Available only if there are images in internal memory and a memory card
is installed.
To move images, select this option and follow the on-screen prompts.
Removing red eyes
When you select
Remove Red Eyes
, the camera processes the current still image
to remove red eyes from the subjects.
Note
To prevent red eyes in images, see
Red-Eye
under
Setting the flash
on page 15
.
The red-eye removal process takes a few seconds, after which the image displays with
green boxes around corrected areas, along with the
Remove Red Eyes
sub-menu:
●
Save Changes
(Default)—Overwrites the original image and returns to the
Design
Gallery Menu
.
●
View Changes
—Displays a magnified view of the image with green boxes around
the corrected areas.
●
Cancel
—Returns to the
Design Gallery Menu
without saving the red eye changes.
Remove Red Eyes
is only available for still images taken with a flash.
22


