background image


25

Menu option 

Description 

Available option 

Speed Position 

Management 

Add speed point:

 The 

satellite positioning will 
manually add speed to 
the camera location. You 
can add up to 200 speed 
camera locations to the 
built-in system. 

Delete speed point:

 All 

added speed camera 
locations will be deleted.


Add speed point /   
Delete speed point 

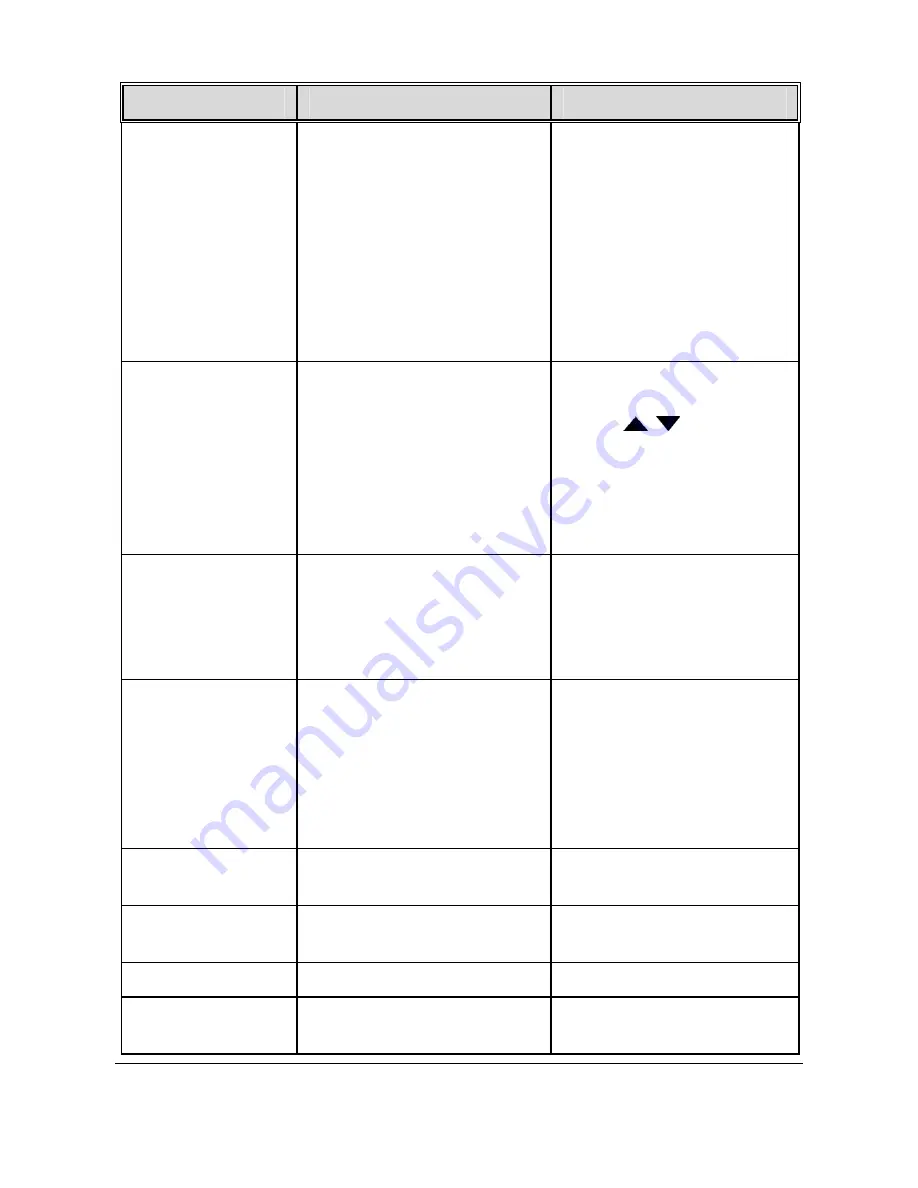
Speed Limit Alert 

Set a customized 
maximum speed limit. 
When the vehicle speed 
exceeds the maximum, 

warning tone is 
automatically triggered


and a warning message is 
displayed on the screen.


Press 

/  

button to 

set the speed limit. You 
can set the speed limit 
from 50km/h to 200km/h.

WDR 

Present a crisp and clear 
picture quality with 
harmonious contrast in a 
high contrast, high 
discrepancy environment.

On / Off


Language 

Set the on-screen display 
menu language. 

English


繁体中文  /  简

体中文 

한국어

  / 

日本

  / 

Русский


/


Deutsch / 

Français /


Italiano /


Español


/


Português /


Türkçe 

File Deletion 

Delete the file(s).   

Video / Emergency / 
Picture 

TV standard 

Set the TV type based on 
your local region.   

NTSC / PAL 

Format 

Format the memory card. 

Yes / No 

Default 

Reset all settings to 
factory default settings.   

Yes / No 

Summary of Contents for f210

Page 1: ......

Page 2: ...Getting Started 8 2 1 Inserting the Memory Card 8 2 2 Installing in Vehicles 9 2 2 1 Mount to Windshield 9 2 2 2 Adjust the device position 10 2 3 Connecting to Power 11 2 4 Powering the Device On Off 12 2 4 1 Auto Power On Off 12 2 4 2 Manual Power On Off 12 2 5 Initial Settings 13 2 5 1 Set Automatic Recording 13 2 5 2 Set the Date and Time 13 3 Using the Car Recorder 14 3 1 Recording Videos 14 ...

Page 3: ...6 3 1 5 Taking Snapshot 17 3 1 6 4 GRID FUNCTION CHART in the LCD screen 17 3 2 Playback Videos and Photos 18 3 2 1 Playing Videos 19 3 2 2 Viewing Photos 19 3 2 3 The Playback Screen 20 3 2 4 Deleting Files 21 4 Adjusting the Settings 22 4 1 Using the Menu 22 4 2 Menu Tree 23 5 Installing the Software 26 6 SuperCar 27 7 Specifications 28 ...

Page 4: ...e the separation between the equipment and receiver Connect the equipment into an outlet on a circuit different from that to which the receiver is connected Consult the dealer or an experienced radio TV technician for help This device complies with Part 15 of the FCC Rules Operation is subject to the following two conditions 1 This device may not cause harmful interference and 2 this device must a...

Page 5: ...lated products Notes on Installation 1 Install the device near the rear view mirror to obtain the best open field view Do NOT install the camcorder in a location that will obstruct your required driving view 2 Make sure that the lens is within the wiping range of the windscreen wiper to ensure a clear view even when it rains 3 Do not touch the lens with your fingers Finger grease may be left on th...

Page 6: ...eption GPS reception performance on each device may differ The accuracy of the location results from different devices The values displayed in this system such as speed position and the distance warning to the speed camera set points may be inaccurate due to the influence of surrounding environment They are for your reference only The HP Car Camcorder f210 is intended for non commercial use within...

Page 7: ...or screen 128 degree Wide angle lens Motion detection Automatic Emergency recording for collision detection Supports micro SDHC up to 32GB Class 6 or greater speed required for HD video 1 2 Package Contents The package contains the following items In case there is any missing or damaged item contact your dealer immediately Car Recorder Video cable Bracket CD ROM Quick start guide USB cable User ma...

Page 8: ...d Slot 11 Down Button 5 USB Connector 12 Enter Button 6 HD Mini HDMI Connector 13 Wide Angle Lens 7 Back Button 14 Speaker Note To operate the device press the corresponding buttons 7 10 11 12 according to guide icons shown the screen Top and Bottom Views Side Left and Right Views Front View Rear View 1 3 4 10 8 13 2 5 7 11 12 6 14 9 ...

Page 9: ... the micro SD cards for this camcorder It is recommended to format the micro SD cards before the initial use To remove the memory card Push to eject the memory card out of the slot Note 1 Do not remove or insert the memory card when the device is powered on This may damage the memory card 2 Please use a 32GB Class 6 or above Micro SD card 3 Please format the micro SD cards before the initial use ...

Page 10: ...e Slide it into the bracket holder until you hear a click 2 With the suction cup laying flat position the suction cup on the windshield 3 Hold the base firmly on the windshield and press down the clamp to mount the car holder to the windshield Make sure the base is securely locked in place ...

Page 11: ... the device position 1 Loose the knob to swivel the device vertically 2 Loose the knob to swivel the device horizontally up to 360 3 Then tighten the knob to make sure the device is securely locked in place Knob Knob ...

Page 12: ...arger to the cigarette lighter socket of your vehicle Once the vehicle engine is started the camcorder automatically powers on Note 1 The orange LED lights up while the battery is charging 2 Please take note if the environment temperature reaches 45 C or above the car adapter still can supply power to camcorder but it will not charge the battery This is the characteristic of Lithium polymer batter...

Page 13: ...after the camcorder powers on See Set Automatic Recording 2 5 1 Once the vehicle engine shuts down the camcorder automatically saves the recording and turns off the power within 10 seconds See Delay Shutdown 4 2 2 4 2 Manual Power On Off To manually turn on the power press the POWER button To turn off press and hold the POWER button for at least 2 seconds To reset press and hold the POWER button f...

Page 14: ...e OSD menu 2 Press the button to select Automatic Record and press the button 3 Press the button to select On and press the button 4 Press the BACK button to exit the menu 2 5 2 Set the Date and Time To set the correct date and time do the following 1 Press the button to enter the OSD menu 2 Press the button to select Date Time and press the button 3 Press the button to adjust the value and press ...

Page 15: ...some cars the recording will continue when the engine is switched off If this happens do one of the following Manually turn off the cigarette lighter Remove the car adapter from the cigarette lighter 3 1 2 Record all other types of videos 1 Press the button to start recording 2 Press the button to stop recording Note 1 One video file is saved for every 3 or 5 minutes of recording See Using the Men...

Page 16: ...lision Detection function is enabled and a collision is detected the emergency recording function of the device will automatically be triggered The emergency recording file is created as a new file which will be protected to avoid being overwritten by normal cycling recording A 4 GB memory card can save up to 5 emergency video files and 8 GB or above memory card can save up to 10 emergency video f...

Page 17: ...3 1 6 explanation 4 Add speed cam point Press the button to add a speed cam point 5 Resolution Indicates the video resolution 6 GPS icon When a GPS fix is established the icon will show on the top right corner of the screen 7 Battery Indicates the remaining battery power 8 Guide icon Stop Press the button to stop the recording 9 Guide icon Emergency Press the button to continuously record the vide...

Page 18: ... the button to stop the recording first 3 1 6 4 GRID FUNCTION CHART in the LCD screen Please push button when you are recording then you can see the 4 GRID FUNCTION CHART in the LCD screen No Item 1 Driving speed 2 Time 3 Driving direction 4 Distance warning to the speed camera set points Note The driving speed and driving direction will become gray scale chart if GPS has no signal 4 2 1 3 ...

Page 19: ...nter the OSD menu 3 Press the button to select the file category that you want to browse and press the button 4 Press the button to view the next or the previous file and press the button to view the file in full screen Note From the standby screen you can directly enter Playback mode by pressing button The last recorded video is displayed on the screen ...

Page 20: ...e for the desired video file and press the button to play the video 6 Press the button to pause the playback Press it again to resume 3 2 2 Viewing Photos To view photos do the following 1 If recording is in progress press the button to stop recording 2 Press the button to enter the OSD menu 3 Press the button to select File Playback and press the button 4 Press the button to select Picture and pr...

Page 21: ...d time 2 Guide icon Back Press the button to return to file selection display 3 Guide icon Previous Press the button to view the previous video photo 4 Guide icon Next Press the button to view the next video photo 5 Guide icon Pause Press the button to pause the video playback 6 Duration Indicates the elapse time 7 Battery Indicates the remaining battery power ...

Page 22: ...n 4 Press the button to select the file category and press the button 5 Press the button to select the file that you want to delete and press the button to enter the Delete menu 6 Press the button to select an option Item Description Delete One Delete the current displayed file Delete All Deletes all files 7 Press the button to confirm delete Note Deleted files CANNOT be recovered Ensure the files...

Page 23: ...ay OSD menus 1 If recording is in progress press the button to stop recording 2 Press the button to open the OSD menu 3 Press the button to select a menu option and press the button to enter the selected menu 4 Press the button to select the desired setting and press the button to confirm the setting 5 Press the button to exit the menu ...

Page 24: ...e time and you cannot manually change the time On Off Date Time Set the date and time Press button to adjust the value press the button to switch the field and confirm Time Stamp Enable Disable the date stamp On Off Resolution Set the video resolution 1080p 1920x1080 720p 1280x720 EV Set the exposure compensation Press button to set the exposure level You may customize it between 1 0 1 0 LCD Setti...

Page 25: ...unction is enabled and the power off button is pressed the system alert message Press OK Key to Power off or enter motion detection after 10sec will pop on the screen Under motion detection mode the device will automatically start recording when any object movement is detected On Off Collision Detection Enable Disable the collision detection If this function is enabled and any collision is detecte...

Page 26: ... is automatically triggered and a warning message is displayed on the screen Press button to set the speed limit You can set the speed limit from 50km h to 200km h WDR Present a crisp and clear picture quality with harmonious contrast in a high contrast high discrepancy environment On Off Language Set the on screen display menu language English 繁体中文 简 体中文 한국어 日本 語 Русский Deutsch Français Italiano...

Page 27: ... your PC Laptop optical drive 2 If the CD does not execute automatically please use Windows File Manager to execute the Install_CD exe file in the CD The following screen will be shown up 3 Press the Menu item to start the installation process according to the instructions on screen ...

Page 28: ...Current Duration Total Duration 7 Compass 15 Signal Noise Ratio SNR 8 Speed Meter 16 G Sensor Note 1 To display the route on Google Maps please make sure the internet is connected before starting the video playback 2 Video files MOV TS and GPS G Sensor files NMEA must be stored in the same folder before starting the playback 15 11 10 7 13 14 16 1 6 2 3 4 5 12 8 9 ...

Page 29: ...pixels Lens Wide Angle Fixed Focus lens F2 4 f 3 0mm Focus range 1 5m Infinity Resolution Full HD 1920 x 1080 30fps HD 1280 x 720 30fps Movie Clip Format MOV Resolution 3M 2304 x 1536 Still image Snapshot Format DCF JPEG Exif 2 2 Shutter Electronic shutter Auto 1 2 1 2000 sec G Sensor 3 Axis G Force sensor ISO Auto White Balance Auto Microphone Yes Speaker Yes Interface Mini USB Mini C Type HDMI ...

Page 30: ... in 470mAH Li polymer rechargeable This battery is NOT replaceable Operating Temperature 10 60 C Operating Humidity 20 70 RH Storage Temperature 20 80 C Dimensions 70 mm x 63 mm x 31 mm 2 7 in x 2 5 in x 1 2 in Weight Approx 94g 3 3oz ...

Page 31: ...Copyright 2013 All rights reserved All other marks products or company names mentioned in this guide are trademarks of their respective companies ...

Reviews: