Paper
Load
Media
Media
Type
Paper
Ready
Align
Cartridges
7Ć4 Calibrations
C3187Ć90000
Cartridge Alignment
When to Align Cartridges
If you suspect that the plotter is not producing plots of the highest quality, you can run a
simple cartridgeĆalignment routine that will ensure that the print cartridges are aligned.
Perform this routine also after clearing a media jam.
The alignment is also automatically performed after each time you replace or reseat the print
cartridges. In this case, the plotter uses the first sheet of media that you load to perform the
alignment.
CarriageĆLED Calibration
The cartridgeĆalignment routine includes calibration of the carriage LED. This is the optical
sensor on the cartridge carriage, used to find the left and right media edges during media
loading. (This calibration is independent of the setupĆsheet calibration. The setupĆsheet
calibration calibrates the same LED, but the values stored are used only for scanning a setup
sheet and are separate from the values strored during the cartridge alignment.)
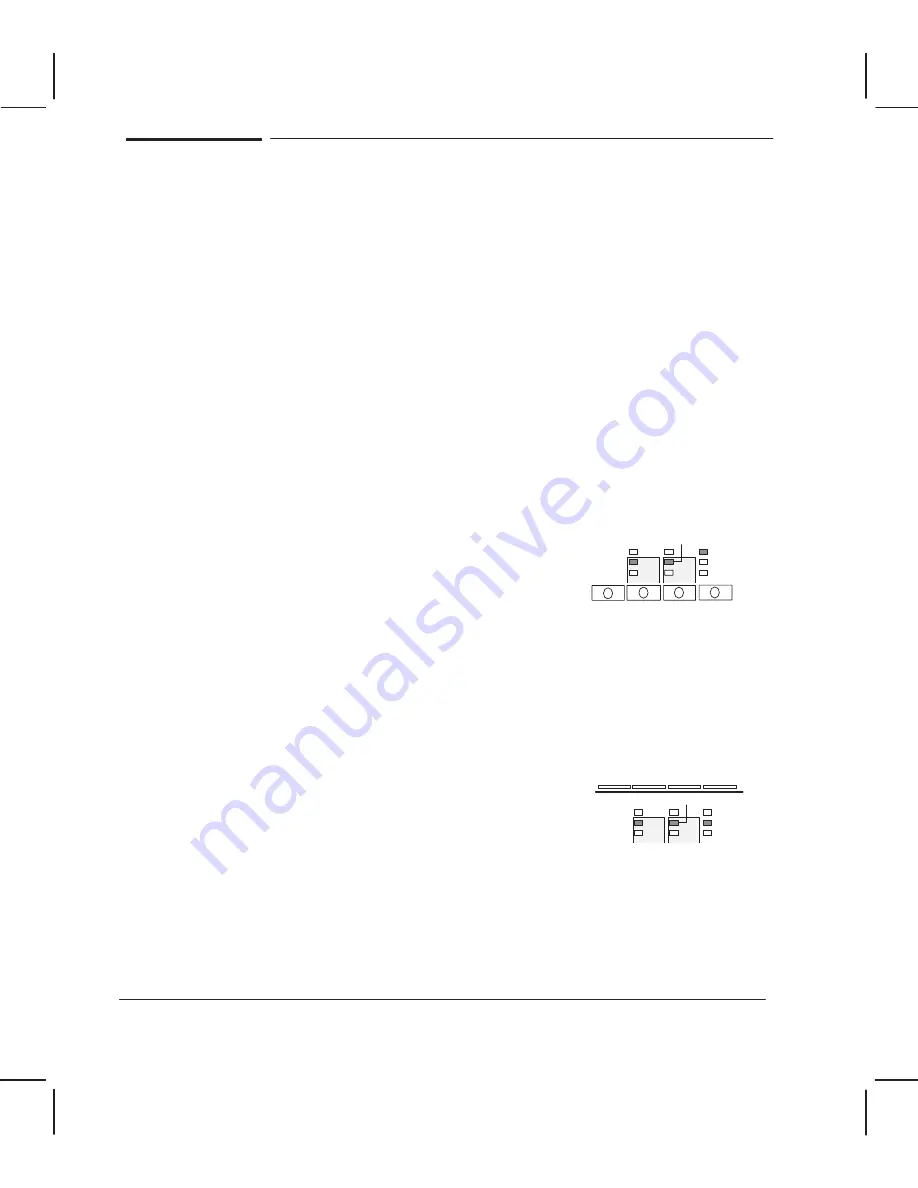
Aligning Cartridges
,
With the plotter
, ensure the mediaĆjam
lever (pinchĆarm lever) is
and the window
.
The
Load Media
light should be on.
.
Choose the correct
Media Type
on the front panel: If you are using plotting paper, as
recommended in the following step, turn the
Paper
LED on. The
Final
and
Draft
lights
have no significance for this procedure and either can be on.
A
Load an AĆsize or A4Ćsize sheet of good quality plotting paper. (You can also use larger
media sizes.) The
Ready
LED lights up.
4
Press the
Align Cartridges
key.
5
Wait one minute for the ink to dry and unload the paper.
Summary of Contents for CalcPad 200
Page 1: ... ...
Page 3: ... ...
Page 14: ... ...
Page 15: ... ...
Page 19: ... ...
Page 22: ...2Ć4 Site Planning and Requirements C3187Ć90000 ...
Page 23: ... ...
Page 27: ... 4 1 2 3 4 5 6 mm 0 25 in 5 1 2 3 4 5 B A B A A B A B X X X ...
Page 31: ... ...
Page 33: ... ...
Page 65: ... ...
Page 139: ... ...
Page 149: ...8Ć0 8 Troubleshooting ...
Page 178: ...8Ć30 Removal and Replacement C3187Ć90000 ...
Page 179: ...9Ć0 9 Product History and Service Notes ...
Page 193: ...10Ć1 10 Parts and Diagrams ...
Page 197: ...10Ć5 Parts and Diagrams C3187Ć90000 Legs and Media Bin 1 2 3 3 4 5 6 7 1 3 4 3 3 3 3 3 8 8 ...
Page 199: ...10Ć7 Parts and Diagrams C3187Ć90000 Window Center and Bottom Covers To Carriage ...
Page 203: ...10Ć11 Parts and Diagrams C3187Ć90000 Left Endcover and Trim ...
Page 205: ...10Ć13 Parts and Diagrams C3187Ć90000 Right Endcover and Trim ...
Page 207: ...10Ć15 Parts and Diagrams C3187Ć90000 Carriage Axis Drive Left End ...
Page 209: ...10Ć17 Parts and Diagrams C3187Ć90000 Service Station 1 2 3 3 4 5 7 6 6 ...
Page 215: ...10Ć23 Parts and Diagrams C3187Ć90000 Media Drive Assemblies ...
Page 219: ...10Ć25 Parts and Diagrams C3187Ć90000 Bail and Overdrive Assemblies ...
Page 221: ...10Ć27 Parts and Diagrams C3187Ć90000 Pinch Arm Assembly ...
Page 227: ... ...
Page 231: ... ...
Page 244: ...IndexĆ04 C3087Ć90000 ...
Page 245: ... ...


