


Installing and Configuring the Core Switch 2/64
62
Core Switch 2/64 V4.1 Installation Guide
Note:
For proper airflow, the SFP media side of the SAN Switch 2/64 must face the
rear of the rack. This mounting allows air to enter from the front of the rack and to
exhaust at the rear of the rack, similar to other rack-mounted equipment. This prevents
switch overheating, which may cause it to fail.
Note:
The HP System/e Rack installation procedure in this section provides general
guidelines for installing a switch in the rack. Please note that the figures show
installation of an edge switch. Installing the Core Switch 2/64 in the HP System/e
Rack works similarly.
Use these steps to install the switch in the HP System/e rack.
1. Verify that all required hardware is available.
2. Choose a mounting location in the rack for the switch.
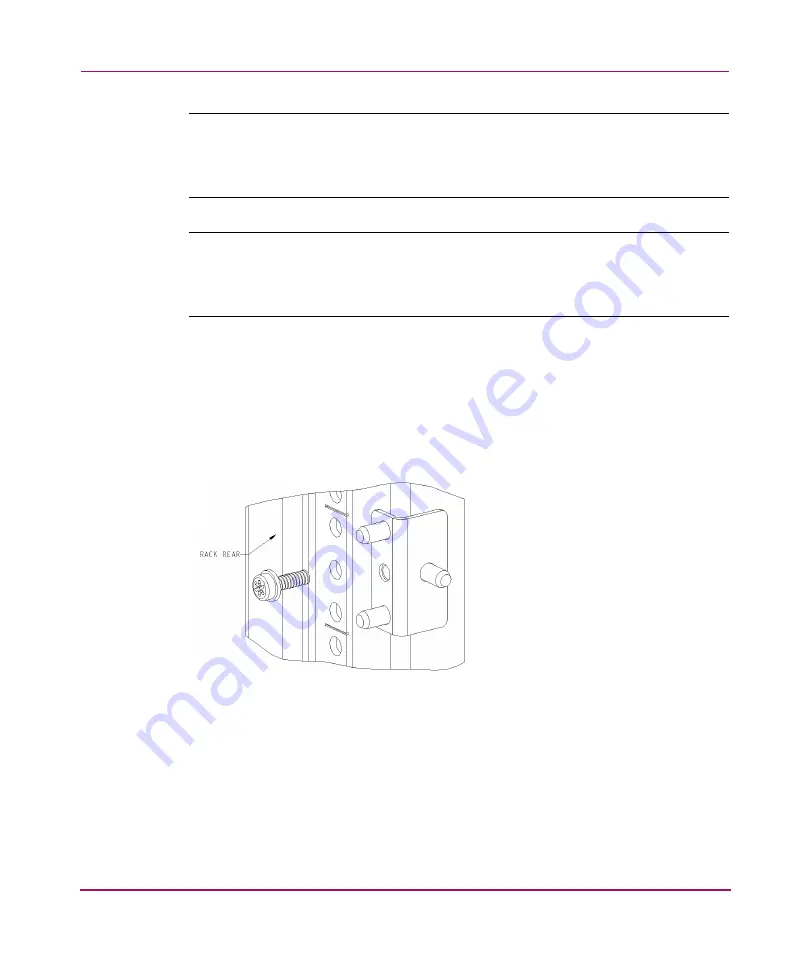
3. Install each of the two mounting brackets with (1) M5 Torx head screw with
captive lock washers as shown in
Figure 12: Installing the mounting brackets
Summary of Contents for AA-RS2WC-TE
Page 12: ...Contents 12 Core Switch 2 64 V4 1 Installation Guide ...
Page 34: ...Overview 34 Core Switch 2 64 V4 1 Installation Guide ...
Page 88: ...Installing and Configuring the Core Switch 2 64 88 Core Switch 2 64 V4 1 Installation Guide ...
Page 168: ...Running Routine Operations 168 Core Switch 2 64 V4 1 Installation Guide ...
Page 198: ...Technical Specifications 198 Core Switch 2 64 V4 1 Installation Guide ...
Page 224: ...Setting Up and Configuring Modems 224 Core Switch 2 64 V4 1 Installation Guide ...


