background image

i

installation

 & 

operation


manual

 | 

dlv


heating


system


IOM216306-000

Corporate & Manufacturing 
Headquarters

5723 E. Alki Ave.
Spokane, WA 99212 USA

509.536.8660

[email protected]

Oil & Gas Office

21732 Provincial Blvd.  
Suite 170
Katy, TX 77450 USA

281.600.3700

[email protected]

Europe Office

HOTSTART GmbH
Am Turm 86
53721 Seigburg, Germany

+49.2241.12734.0

[email protected]

Asia Pacific Office

HOTSTART Asia Pacific Ltd.
2-27-15-4F Honkomagome
Bunkyo-ku, Tokyo
113-0021, Japan

+81.3.6902.0551

[email protected]

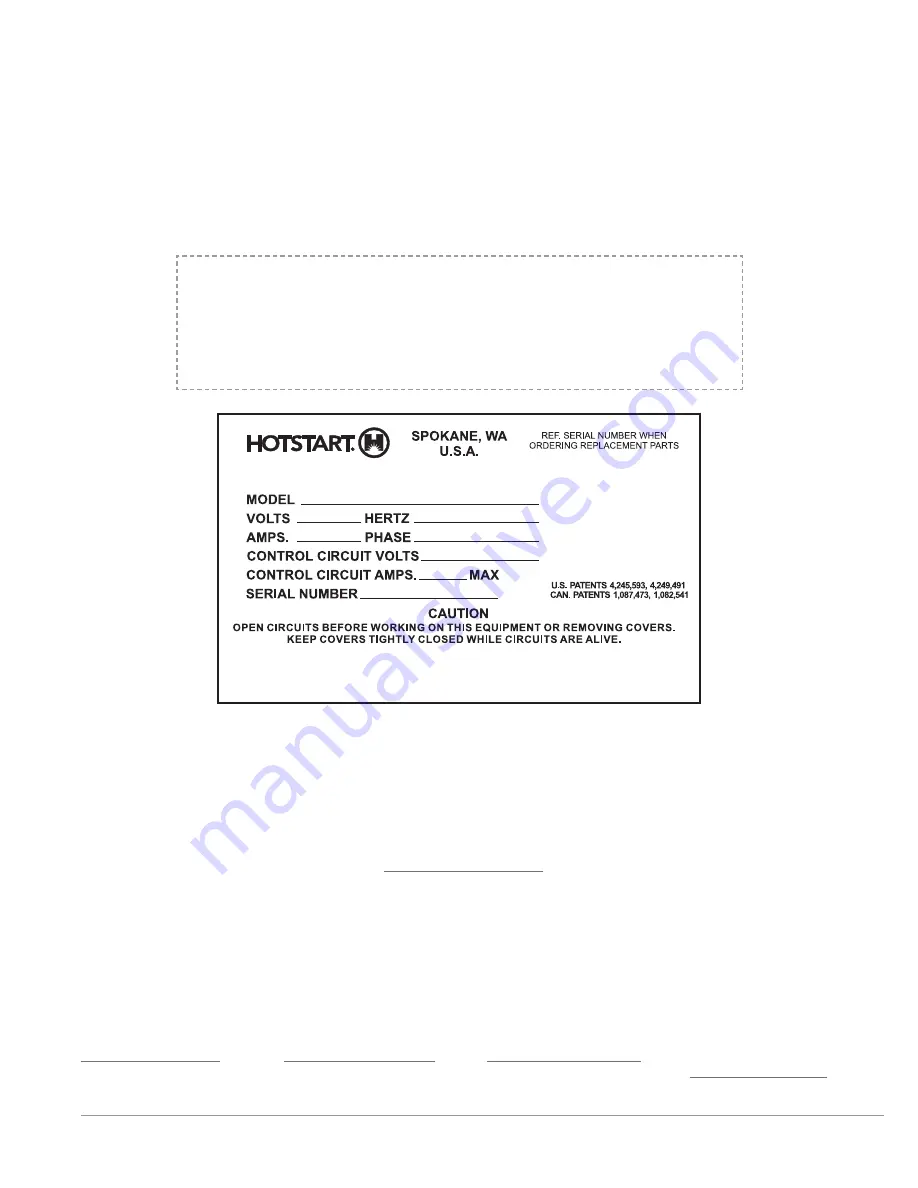
 NOTE


  Typical heating system identification plate. Your identification 


plate may vary.

IDENTIFYING YOUR SYSTEM

The HOTSTART heating system is designed to heat fluids for use in marine propulsion, diesel-powered 

generator sets, locomotives, gas compression or any large-engine applications. The system is pre-wired, 

pre-plumbed and assembled on steel plate. Each heating system has an identification plate which includes 

the part number and serial number.
When ordering replacement parts, be sure to reference your heating system’s


model


number


and 

serial


number

 found on the identification plate and following label:

WARRANTY INFORMATION

Warranty information can be found at 

www.hotstart.com

 or by contacting our customer service 

department at 

509.536.8660

. Have your 

model


number


and 

serial


number

 ready when contacting 

the warranty department.

Summary of Contents for DLV

Page 1: ...216306 000 rev0 INSTALLATION OPERATION MANUAL DUAL FLUID CIRCULATING HEATING SYSTEM MODEL DLV ...

Page 2: ......

Page 3: ...tion plate may vary IDENTIFYING YOUR SYSTEM The HOTSTART heating system is designed to heat fluids for use in marine propulsion diesel powered generator sets locomotives gas compression or any large engine applications The system is pre wired pre plumbed and assembled on steel plate Each heating system has an identification plate which includes the part number and serial number When ordering repla...

Page 4: ...e 2006 95 EC in EU countries Read carefully Installers and operators of this equipment must be thoroughly familiar with the instructions in this manual before commencing work Hot surfaces Avoid contact with the system while it is in service Some surfaces may remain hot even if the system is not energized Proper lifting Proper rigging and safety equipment must be used to move this equipment Do not ...

Page 5: ...INSTALLATION 4 2 1 1 Oil Supply 4 2 1 2 Oil Return 4 2 2 OIL PLUMBING ILLUSTRATION 5 2 3 COOLANT PLUMBING INSTALLATION 6 2 3 1 Coolant Supply 6 2 3 2 Coolant Return 6 2 3 3 Coolant Pressure Relief 6 2 4 COOLANT PLUMBING ILLUSTRATION 7 2 5 MOUNTING 8 2 5 1 Tank and Pump 8 2 6 MAIN POWER SUPPLY 9 2 7 CUSTOMER INTERFACE CONNECTIONS 10 3 SYSTEM COMPONENTS AND OPERATION 11 3 1 ON OFF PRIME SWITCH 11 3 ...

Page 6: ...l Connections 14 5 2 3 System Mounting 15 5 2 4 Magnetic Contactors 15 5 2 5 Pump Seal 15 5 2 6 Motor Lubrication 15 5 2 7 Coolant Pressure Relief Valve 15 5 2 8 Oil Pressure Relief Valve 15 5 2 9 Coolant Oil Pressure Temperature Gauges 15 5 2 10 Volatile Corrosion Inhibitor VCI 15 5 2 11 Temperature Control Relay TCR 16 5 2 12 Resistance Temperature Device RTD 17 5 2 13 Heating Tank Element 18 5 ...

Page 7: ...t drawings for dimensions and specifications Figure 1 DLV heating system components CHECK VALVE COOLANT OUTLET OIL OUTLET COOLANT PRESSURE RELIEF VALVE COOLANT PRESSURE TEMPERATURE GAUGE OIL INLET COOLANT INLET IDENTIFICATION PLATE COOLANT FAULT LIGHT COOLANT ON OFF PRIME SWITCH OIL FAULT LIGHT OIL ON OFF PRIME SWITCH LIFT POINTS OIL PRESSURE TEMPERATURE GAUGE HIGH LIMIT RTD RESISTANCE TEMPERATURE...

Page 8: ...te fluid throughout the engine To maintain consistent fluid temperature the heating elements will cycle on and off at the user selected temperature control point A coolant check valve included with the DLV unit and installed at the coolant outlet and an oil check valve user supplied and installed near the oil suction port prevent backflow while the engine is operating When the engine is shut down ...

Page 9: ...not self priming Fluid must be present in the pump before start up Trapped air inside the pump will cause pump and seal damage Pump seal damage Do not reduce the coolant supply line or oil supply line to an inner diameter smaller than the pump inlet pump seal damage will occur Check valve HOTSTART recommends installing a customer supplied swing type or full flow check valve to prevent oil from flo...

Page 10: ...st practical inner diameter hose for most installations HOTSTART recommends using a hose with a size larger inner diameter than the pump inlet Install the oil suction port as low as possible in the oil sump typically near or on the third inspection cover NOTICE Avoid installing the oil suction port in a location that may allow debris or sediment to enter the heating system HOTSTART recommends inst...

Page 11: ...tallation illustrations are for reference only and are not to scale See part drawings for dimensions and specifications OIL RETURN SECTION 2 1 2 OIL SUPPLY SECTION 2 1 1 OIL DISCHARGE PORT SECTION 2 1 2 OIL SUCTION PORT SECTION 2 1 1 CHECK VALVE SECTION 2 1 1 ISOLATION VALVE ISOLATION VALVE ...

Page 12: ...ings 2 3 2 COOLANT RETURN When installing the DLV coolant return line refer to the following HOTSTART guidelines Size the coolant return line per the pump outlet NOTICE Do not reduce the return line inner diameter Install the coolant discharge port as high as possible on the engine s water jacket on the opposite end of the suction port typically near the aftercooler water line discharge port NOTE ...

Page 13: ...llustrations are for reference only and are not to scale See part drawings for dimensions and specifications COOLANT RETURN SECTION 2 3 2 COOLANT SUPPLY SECTION 2 3 1 COOLANT DISCHARGE PORT SECTION 2 3 2 PRESSURE RELIEF VALVE SECTION 2 3 3 COOLANT SUCTION PORT SECTION 2 3 1 ISOLATION VALVE ISOLATION VALVE ...

Page 14: ...amage the heating system isolate the heating system from vibration Never mount the heating system or components directly to the engine If the heating system is installed using rigid pipe use a section of flexible hose to the supply and return ports to isolate the heating system from engine vibration Improper mounting hazard Reference heating system component drawings before mounting the system Unl...

Page 15: ...lus or minus 10 of the rated voltage NOTE The circuit breaker must be near the heating system and easily accessible HOTSTART recommends connecting the heating system to a circuit breaker rated for 125 of the system s maximum load NOTE The main power supply operates the heating elements and the circulating pumps A transformer is used to operate the control circuit The transformer and control circui...

Page 16: ...indicate a heating system shutdown triggered by either the high limit temperature control relay or the motor protection switch see SECTION 5 1 The coolant pump motor and oil pump motor indicate the respective fluid system pump is running When activated the 24 V dc shutdown connection shuts down the heating system When deactivated normal heating will resume Use this connection for remote operation ...

Page 17: ...ON OFF PRIME SWITCH on The system is on off The system is shut off prime Turn and hold the switch to prime to energize the pump motor in order to remove any air in the respective fluid system without energizing the elements 3 2 MOTOR PROTECTION SWITCH MPS The motor protection switch MPS protects the pump motor from overloads The MPS will be set at the full load amperage of the motor when shipped f...

Page 18: ...ide of the pump to the suction side of the pump at 75 psi 525 kPa No plumbing for this component is required 3 5 HIGH LIMIT TCR TEMPERATURE CONTROL RELAY The high limit TCR for each fluid system TCR2 and TCR4 is a protection device to prevent fluid overheating The high limit TCR uses a resistance temperature device RTD located near the tank outlet The default setting for both high limit TCRs is 19...

Page 19: ...TICE Do not run the motor pump assembly dry for more than a few seconds If the pump motor is not rotating in the correct direction switch any two electrical leads at the main power terminal block NOTE Single phase systems are prewired to ensure the pump motor rotates in the correct direction 4 Bleed all trapped air from the heating system by opening a plug or pipe fitting at or near the pump Turn ...

Page 20: ...e drops below the high limit preset See SECTION 3 5 NOTE A high limit fault can only occur when the respective heating element is energized A fault in one fluid system will not cause the other fluid system to shut down For additional troubleshooting see SECTION 5 5 5 2 SYSTEM MAINTENANCE WARNING Hazardous voltage Before wiring servicing or cleaning the heating system turn off the power and follow ...

Page 21: ... LUBRICATION Motors are installed with initial lubrication If your motor has provisions for relubrication refer to the motor manufacturer for recommended relubrication schedule intervals For recommended lubrication type refer to the motor nameplate NOTE New motors installed on heating systems placed in extended storage for a year or longer may require pump relubrication See SECTION 5 4 5 2 7 COOLA...

Page 22: ...CR terminals T2 and T3 h h If there is continuity between TCR terminals T2 and T3 and the DLV does not maintain temperature or consistently signals a high limit fault the TCR requires replacement Contact HOTSTART for further assistance h h If there is no continuity between TCR terminals T2 and T3 locate the connected RTD on the heating tank Unscrew the RTD plug from the RTD See Fig 9 and Fig 10 on...

Page 23: ... the fluid from the oil or coolant heating tank Locate the RTD that requires replacement See Fig 9 3 Unscrew RTD plug Remove plug See Fig 10 4 Unscrew RTD from tank See Fig 11 5 Screw replacement RTD to tank When tightening ensure plug is aligned with notch toward top of tank See Fig 12 6 Fit RTD plug to RTD Ensure plug is aligned correctly with notch Push plug in firmly Screw RTD plug to RTD to s...

Page 24: ...ng system Allow fluid to cool 2 Close isolation valves 3 Drain the fluid from the heating tank F 4 Remove the cap A from the heating element service entrance enclosure 5 The wire connections inside the enclosure correspond to one of the phase configurations shown on the following page Note your unit s phase configuration See Fig 14 NOTE Replacement elements may be a different phase configuration 6...

Page 25: ...ion HEATING ELEMENT SERVICE ENTRANCE CAP A HEATING ELEMENT IDENTIFICATION PLATE B CONDUIT CONNECTOR ENTRANCE C V CLAMP D O RING E HEATING ELEMENT G HEATING TANK F Figure 13 Removing and replacing the heating tank element The heating system should be drained cleaned and flushed annually See SECTION 5 2 CABLE GLAND H Figure 14 The cable gland as shown connected to the element assembly Unscrew to rem...

Page 26: ... taken to ensure that water ingress is mitigated at all locations All plugs and caps must remain tight and a suitable cover must be provided for the system The cover must shield the system from direct rain and protect from any directed spray that may occur For any storage longer than three months desiccant bags must be placed next to the system if it is still in the original packaging and inside t...

Page 27: ...ipped Check and reset switch If problem occurs again check motor Restart system RTD failure Check TCR and RTD See SECTION 5 2 11 RTD cable failure Check TCR and RTD See SECTION 5 2 11 Coolant oil temperature too low Motor failure Check motor Replace if necessary Heater has been turned off and fluid is cold Allow time for the heating system to heat fluid Heating element failed Check elements for co...

Reviews: