7. Assembly Guide
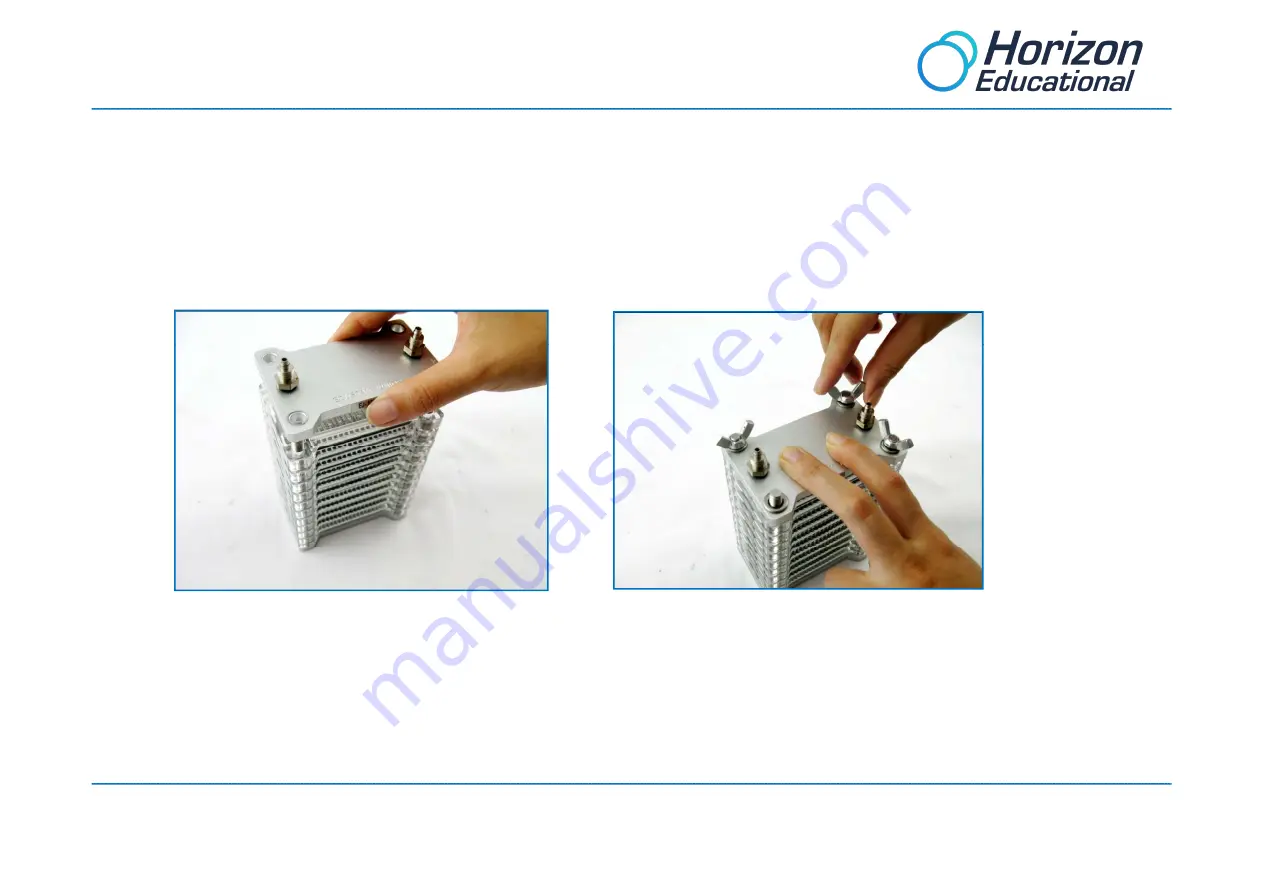
Step 7:
Add the upper end plate of the EDUSTAK JUNIOR on the top, put the washers on the screw rod and screw the wing
nuts on it. You have to screw the nuts tightly in the opposite sense than you used to disassemble the kit.
Note: 1. Pay close attention to the direction of the upper end plate. You can notice on the upper end plate it also
marks “+” and “-” . Make sure they are facing the same direction as the plastic plate.
y
g
p
p
2. After assembly, measure the length between the upper end plate and the lower end plate. The length should be less
than 110mm. You have to reassemble the stack. Otherwise leakage will occur.
Now your EDUSTAK JUNIOR is assembled and ready to pass the leakage testing.
y
y
p
g
g
EDUSTAK
JUNIOR
User
Manual
rev.1.1
©2013
Horizon
Ltd.
All
rights
reserved.
22


