background image

T775J ELECTRONIC REMOTE TEMPERATURE CONTROLLER

63-2248—4

10

Determine the desired Reset Direction (up or down)
and enter on the Device Programming Worksheet. This
will determine if the setpoint for the control Sensor A
will be reset up or down.

Determine the desired Reset Compensation Setpoint
for Sensor B. Enter the value on the Device
Programming Worksheet.

Determine whether the desired Reset Action should
occur 

above 

or below the Reset Compensation

Setpoint. Enter abo

ve 

or 

below

 on the Device

Programming Worksheet.

Remove the T775J cover and enter the values listed on
the worksheet and the date in the first column on the
label  inside the T775J cover.

Device Programming Worksheet

Load 1:
Setpt 1 ___________

On at __________

Diff 1 or Throttling Range __ Off at __________

Load 2:
Setpt 2 ___________

On at __________

Diff 2 ____________

Off at __________

Reset Ratio:
Reset Ratio B Value ______
Reset Ratio A Value ______

Reset Direction __________________________
Compensation Setpoint Sensor B ____________
ResetAction _____________________________

Device Programming

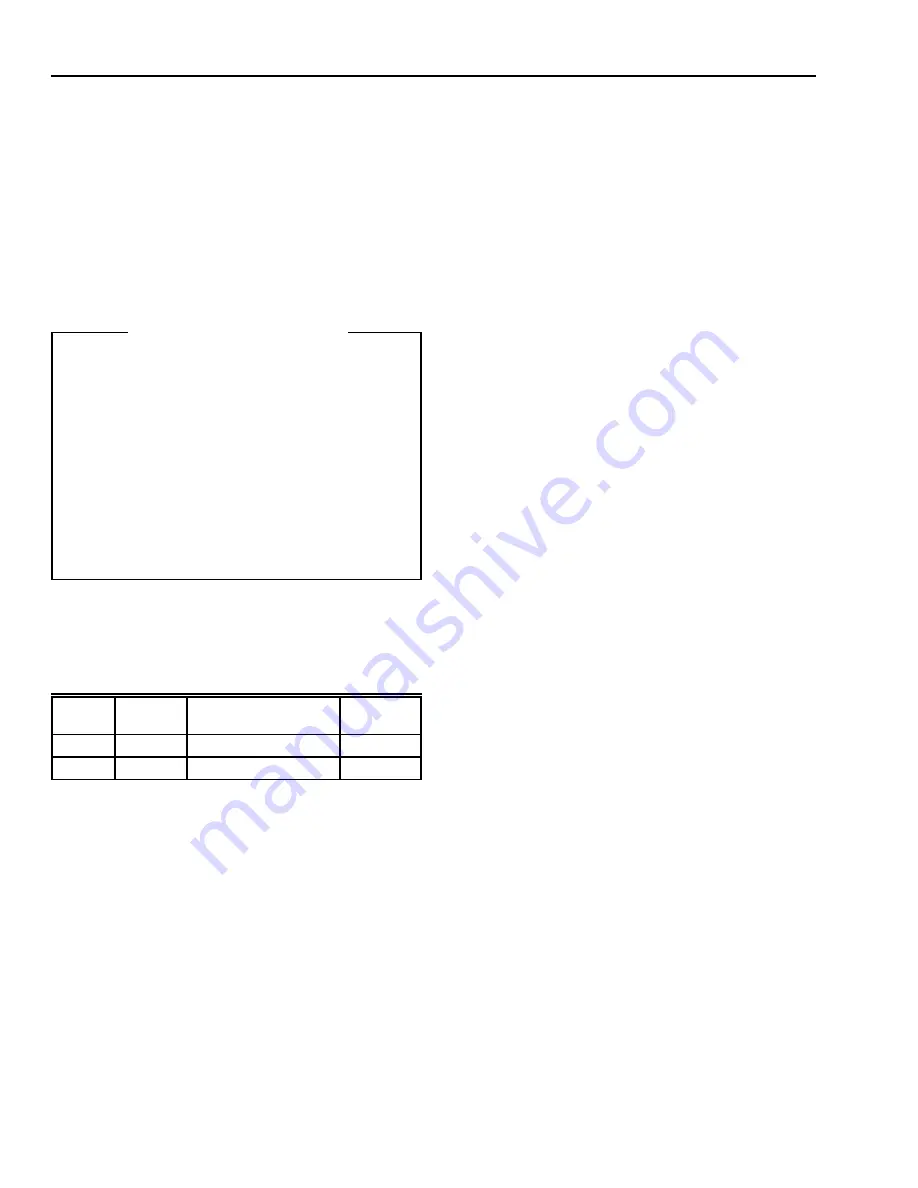
Factory Default Values

When power is initially applied to the T775J, the control points
will be at the factory set default values. Default values are:

To avoid this time delay, press Select.

Press Select and Enter keys simultaneously to begin
programming the load operating mode (heat or cool).
The display will indicate heat or cool and the stage
number.

Press  Set (down arrow) to change to cooling.  Set (up
arrow) will change back to heating.

Press Enter to program the displayed mode into
memory.

Press Select to go to the next step.

Repeat steps 6 through 8 for additional changes.

Programming Stage Control Values

If you have a 0 to 18 Vdc output T775J, go to the
Calibration Procedure for 0 to 18 Vdc Output T775
before continuing to program the stage control values.
The Series 90 and 4-20 mA output T775J Controller
does not require calibration, so proceed to step 2.

IMPORTANT

When programming all stages ,it is important to note
that the first stage designated on the LCD display is
always the modulating output.

Press Select to display the current stage setpoint.

Press Set (up arrow) to increase or Set (down arrow) to
decrease the display to the desired setpoint.

Press Enter to enter the displayed value into memory.

Press Select to display the current stage throttling
range or switching differential.

Press Set (up arrow) to increase or Set (down arrow) to
decrease the display to the desired throttling range or
switching differential.

Press Enter to enter the displayed value into memory.

Repeat steps 2 through 7 to program each additional
stage.

IMPORTANT

After initial programming, altering the setpoint up or
down for stage 1 will result in a change in setpoint 2
by the same number of degrees and in the same
direction. If increasing or decreasing the setpoint for
stage 1 results in exceeding the control limits (-40

°

F

to +220

°

F) for stage 2, the control will not allow the

user to enter a value for stage 1 higher or lower than
this limit. This will allow for easy sequential output
staging to be modified while keeping the margin
intact between setpoints.

Programming Reset Values

Press Select to display the current reset compensation
setpoint (Sensor B).

Press Set (up arrow) to increase or Set (down arrow) to
decrease the display to the desired setpoint.

Press Enter to enter the displayed value into memory.

 Press Select to display the current Reset Ratio B
value.

Press Set (up arrow) to increase or Set (down arrow) to
decrease the display to the desired Reset Ratio B
value.

Press Enter to enter the displayed value into memory.

Press Select to display the current Reset Ratio A.

Press Set (up arrow) to increase or Set (down arrow) to
decrease the display to the desired Reset Ratio A
value.

Set the reset direction determined previously by setting
the DIP switch in the upper right corner of the T775
(see Fig. 5). Switch 1 should be open  to reset the
control point 

up

 and 

closed

 to reset the control point

down

.

Set the reset action determined previously by setting
the DIP switch in the upper right corner of the T775J.
Switch 2 should be 

open

 if the reset is to occur when

the outdoor temperature is 

below

 the reset

compensation setpoint and 

closed

 if the reset is to

occur when the outdoor air temperature is 

above 

the

reset compensation setpoint.

Before programming the T775J, verify that the 

°

F/

°

C

selection jumper is properly installed. The T775J is
shipped from the factory with the jumper installed in the

°

F position. If 

°

C is desired, remove the jumper.

Apply power to the device. The device will begin
counting down from 210. This countdown sequence will
last for approximate 3-1/2 minutes.

Stage

Setpoint

Differential/

Throttling Range

Operating

Mode

Stage 1

72°F

2°F

Heat

Stage 2

70°F

2°F

Heat

Summary of Contents for T775J

Page 1: ...ng and operation Accuracy is within 1 F C at nominal input voltage nominal sensor ambient temperature 77 F 25 C operating ambient Accuracy can vary as parameters deviate from nominal Stages independently programmed for heating or cooling 24 120 240 Vac voltage inputs Spdt relay outputs IMPORTANT The T775 is an operating control not a limit or safety control When used in applications requiring safe...

Page 2: ...40 F 34 C to 60 C Sensor 45 F to 225 F 43 C to 107 C Throttling Range for Modulating Output Adjustable 2 to 30 F or C Differential Range for Staged Output Adjustable 1 to 30 F Reset Ratio Adjustable between 1 to 30 and 30 to 1 Operating Humidity 5 to 95 percent relative humidity noncondensing Sensor Positive coefficient platinum type 4 8 ohms F 1000 feet maximum distance between sensor and solid s...

Page 3: ...3 16 97 4 3 4 121 8 1 2 216 5 7 32 134 1 1 4 32 1 1 4 32 2 3 8 60 7 8 22 DIAMETER CAUTION Disconnect power before installation to prevent electrical shock or equipment damage Location and Mounting Mount the controller in any convenient interior location using the two mounting holes provided Mounting screws are not included Use controller dimensions in Fig 1 as a guide Sensor Location The 193987GA ...

Page 4: ...rd conduit knockouts A C located around the enclosure perimeter NOTE Hole A should only be used for remote sensor wiring low voltage wiring and access to modulating output When wiring the input power only one source of power can be applied to the T775J e g 24 or 120 or 240 Vac Knockouts B and C can be used to gain access to 120 or 240 Vac input terminals and the load relay output terminals The T77...

Page 5: ...r to the T775 when an electrically noisy environment exists See Fig 6 SELECT SET ENTER NO COM NC OUTPUT 1 OUTPUT 2 NO COMNC 120V COM 240V 1 2 3 4 SA SB 1 2 3 1 2 3 4 5 6 7 8 SA TOD 24V SB C F T775 GROUND SHIELD TO T775 CASE OR TO GROUNDING SCREW SHIELDED CABLE SHIELDED CABLE GROUNDING SCREW NOTE DO NOT GROUND SHIELDED CABLE AT SENSOR END NOTE TO MINIMIZE NOISE PICKUP MAKE CONNECTION FROM SHIELDED ...

Page 6: ...NO COMNC 120V COM 240V 1 2 3 4 SA SB 1 2 3 1 2 3 4 5 6 7 8 SA TOD 24V SB C F M8111 SENSOR A 24 VAC SENSOR B LOAD 1 LOAD 2 SELECT SET ENTER NO COM NC OUTPUT 1 OUTPUT 2 NO COMNC 120V COM 240V 1 2 3 4 SA SB 1 2 3 1 2 3 4 5 6 7 8 SA TOD 24V SB C F M8112 SENSOR A 120 VAC SENSOR B LOAD 1 LOAD 2 BLK WHT SELECT SET ENTER NO COM NC OUTPUT 1 OUTPUT 2 NO COMNC 120V COM 240V 1 2 3 4 SA SB 1 2 3 1 2 3 4 5 6 7 ...

Page 7: ...M SLIDEWIRE DEVICES PROPER OUTPUT LEVELS CAN BE CHECKED BY MEASURING THE OPEN CIRCUIT VOLTAGE BETWEEN TERMINALS 1 W AND 2 R MINIMUM DRIVE CLOSED 0 17 VDC MAXIMUM DRIVE OPEN 1 7 VDC ELECTRONIC SERIES 90 MODUTROL MOTOR T775J NOTE B R W Fig 11 Reset control with 24 Vac input Series 90 and 24 Vac loads SELECT SET ENTER OUTPUT 2 NO COMNC 120V COM 240V 1 2 3 4 SA SB 1 2 3 1 2 3 4 5 6 7 8 SA TOD 24V SB C...

Page 8: ...WITCHES FOR SENSOR TO LOAD SELECTION M954 OR M955 MODUTROL MOTOR M4717 1 POWER SUPPLY PROVIDE DISCONNECT MEANS AND OVERLOAD PROTECTION AS REQUIRED 2 USE 1300 OHM RESISTOR FOR 2 MOTORS 910 OHMS RESISTOR FOR 3 MOTORS 4047EAU RESISTOR KIT SHIPPED WITH M954 M955 MOTORS INCLUDES 1300 OHM AND 910 OHM RESISTORS 2 B R W SELECT SET ENTER NO COM NC OUTPUT 1 OUTPUT 2 NO COMNC 120V COM 240V 1 2 3 4 SA SB 1 2 ...

Page 9: ...user to program for both heating and cooling loads to be energized at the same time If this situation results cooling loads will be energized and heating loads will be prevented from also energizing The number 1 2 of these nonenergized loads will flash along with the word HEAT to indicate a call for both heating and cooling loads controlled by one sensor has occurred and to alert the user to repro...

Page 10: ...memory 쐄 Press Select to display the current stage throttling range or switching differential 쐂 Press Set up arrow to increase or Set down arrow to decrease the display to the desired throttling range or switching differential 쐆 Press Enter to enter the displayed value into memory 쐊 Repeat steps 2 through 7 to program each additional stage IMPORTANT After initial programming altering the setpoint ...

Page 11: ...sed for calibrating the device in column B following the example in column A Calibration Setpoint for Cooling Mode Fig 13 Setpoint for calibrating the lower voltage level closed position A B Sensed Temperature 78 Add 3 F or C to above 3 Calibration Setpoint 81 Calibration Setpoint for Heating Mode A B Sensed Temperature 78 Subtract 3 F or C from above 3 Calibration Setpoint 75 Calibrate the Lower ...

Page 12: ...NSOR INPUT TOD AND 24 VAC TERMINALS 1 2 34 SA SB 1 2 3 1 2 3 4 5 6 7 8 SA TOD 24V SB VOLTMETER CONNECT THE MODULATING VOLTAGE OUTPUT TO A VOLTMETER USING A SCREWDRIVER ADJUST THE LOWER LIMIT OF THE VOLTAGE TO THE DESIRED LEVEL ACCORDING TO THE STEPS OUTLINED IN CLAIBRATION PROCEDURE FOR 0 TO18 VDC OUTPUT NO COM NC OUTPUT 1 OUTPUT 2 NOCOM NC 120V COM 240V 0 18 STEP 3 1 2 3 1 2 3 4 3 14 17 8 OPEN GE...

Page 13: ...modulating or relay outputs for reset control Each stage of the T775J has its own independent setpoint that can be configured to operate in the cooling or heating mode The mode of operation for each stage is user determined by the programming keys For reset control with two outputs one of which is modulating the modulating output will be designated as stage 1 on the LCD display Although the modula...

Page 14: ... 1 8 of the throttling range There are three modulation options available for the T775J see Fig 20 for modulating output connecting terminals Fig 18 Reset switch configuration Fig 19 Summary of action direction switches PWB SWITCH SWITCH PWB OPEN CLOSED SIDEVIEW OPEN CLOSED RESET DIRECTION SWITCH RESET ACTION SWITCH RESET DIRECTION SWITCH WILL RESET THE COUNTROL POINT UP WHEN OPEN OR DOWN WHEN CLO...

Page 15: ...OOR TEMPERATURE DROPS BELOW SETPOINT B RIGHT RESETS AS IT RISES ABOVE IT C SWITCHES 3 AND 4 ARE NOT USED RESETS CONTROL SETPOINT A DOWN WHEN SENSOR B OUTSIDE TEMPERATURE IS BELOW SETPOINT RESETS CONTROL SETPOINT A DOWN WHEN SENSOR B OUTSIDE TEMPERATURE IS ABOVE SETPOINT RESETS CONTROL SETPOINT A UP WHEN SENSOR B OUTSIDE TEMPERATURE IS BELOW SETPOINT RESETS CONTROL SETPOINT A UP WHEN SENSOR B OUTSI...

Page 16: ...e F mode Remove the jumper plug for the C mode Remove and reapply power if the jumper is removed with the device powered DIP Switch Selections DIP switches see Fig 18 are provided for assignment of the reset configurations A second set of DIP switches provides voltage range selection for 0 to 18 Vdc modulating devices The span corresponding to each switch is given on the printed wiring board below...

Page 17: ... SF Sensor Failure The display flashing SF indicates an out of range sensor Make sure the sensors are properly connected For the T775J stage 2 load will be de energized when this error message is flashing for Sensor B When this message is flashing for Sensor A only stage 1 will not be de energized EF EEPROM Failure The values read back from the EEPROM are not the same as written into the EEPROM Th...

Page 18: ...a reset condition exists d If no reset condition exists On Off Control Values have not been changed e Go to step 11 f If a reset condition exists calculate the amount of reset using Formula 2 g Divide Reset Ratio B value by Reset Ratio A value h Multiply the result in step g by Temp Diff step a i If Reset Direction Switch is set to increase disregard any negative signs and add the amount of reset ...

Page 19: ... 80 Off 76 On 80 78 Off 74 On 120 Off 116 On 80 118 Off 80 Setpoint B ____________ Reset Direction __________ Setpoint B 30 Reset Direction Increase Sensor B _____________ Reset Action ____________ Sensor B 10 Reset Action Below Reset Ratio A _________ Reset Ratio B ___________ Reset Ratio A 1 Reset Ratio B 2 FORMULA 1 FORMULA 1 EXAMPLE Sensor B Sensor B 10 F Setpoint B Setpoint B 30 F Temp Diff _...

Page 20: ...rld Home and Building Control Honeywell Limited Honeywell Limitée 740 Ellesmere Road Scarborough Ontario M1P 2V9 63 2248 4 Rev 9 95 Printed in U S A www honeywell com building components QUALITY IS KEY Home and Building Control Honeywell Inc 1985 Douglas Drive North Golden Valley MN 55422 ...

Reviews: