42
PC43K User Guide
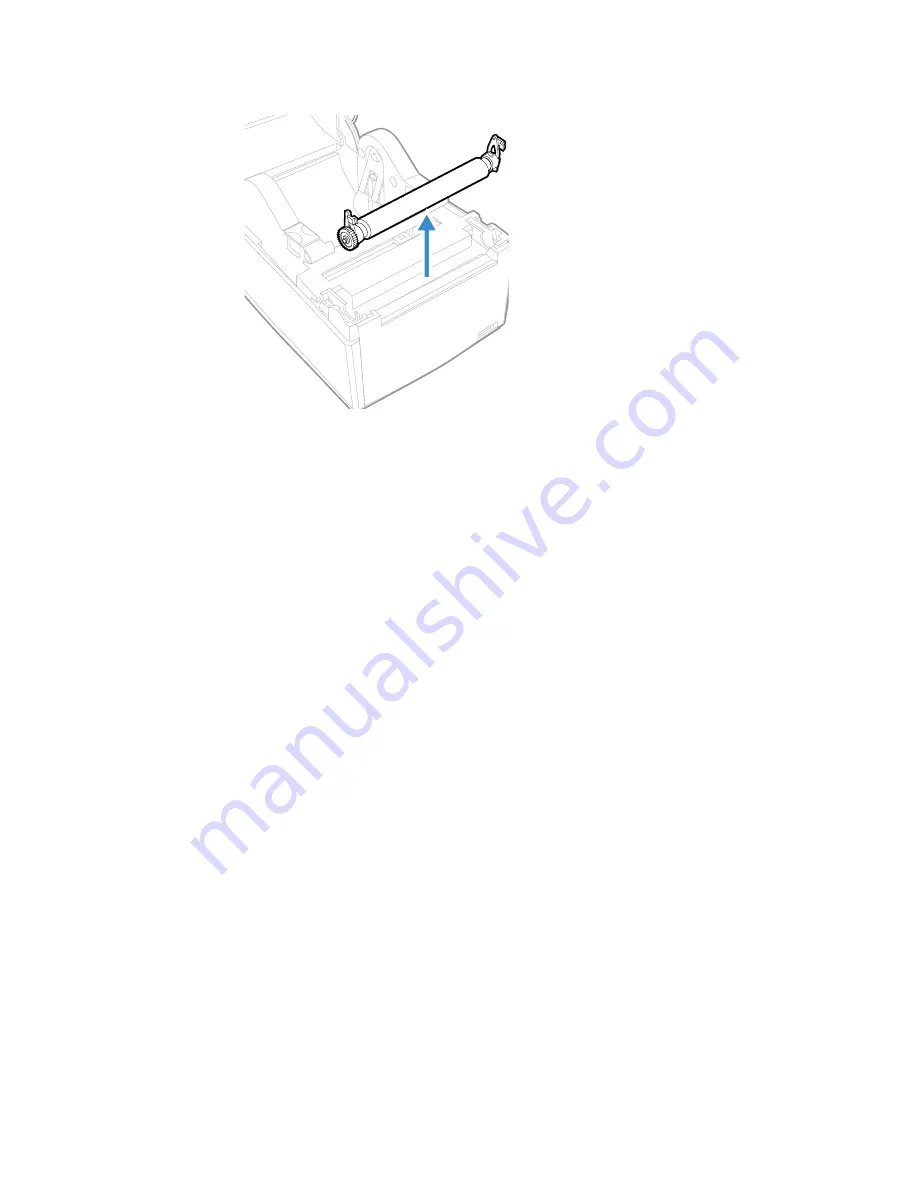
6. Pull the latches up to remove the platen roller from the printer.
7. Remove any adhesive residue from the roller with a cotton swab moistened with
isopropyl alcohol.
8. Reverse Steps 5 and 6 to install the roller.
9. Press the latches onto the printer until they snap into place.
10. Replace the media in the printer.
11. Close the printer lid until it snaps shut.
Clean the Exterior of the Kiosk
Keep the exterior of the kiosk clean. Maintaining a clean exterior will reduce the risk
of dust or foreign particles reaching the inside of the kiosk and affecting printer
function.
Move the arm of the kiosk to clean in between the gaps.
Use a soft cloth moistened with water or a mild detergent when cleaning the kiosk
exterior. Keep the surface surrounding the kiosk clean as well.
Summary of Contents for PC43K
Page 1: ...User Guide PC43K Integrated Print Scan Solution powered by Android ...
Page 6: ...vi PC43K User Guide ...
Page 10: ...x PC43K User Guide ...
Page 13: ...PC43K User Guide 3 Side View Printer Lid Open View Printer Latch USB Hub Printer Switch ...
Page 14: ...4 PC43K User Guide Swing Arms Movement Range Tablet Movement Range 75 45 105o ...
Page 18: ...8 PC43K User Guide ...
Page 30: ...20 PC43K User Guide ...
Page 40: ...30 PC43K User Guide ...
Page 48: ...38 PC43K User Guide ...
Page 57: ......


