43-TV-33-214 iss.2 GLO May 2015 UK
6
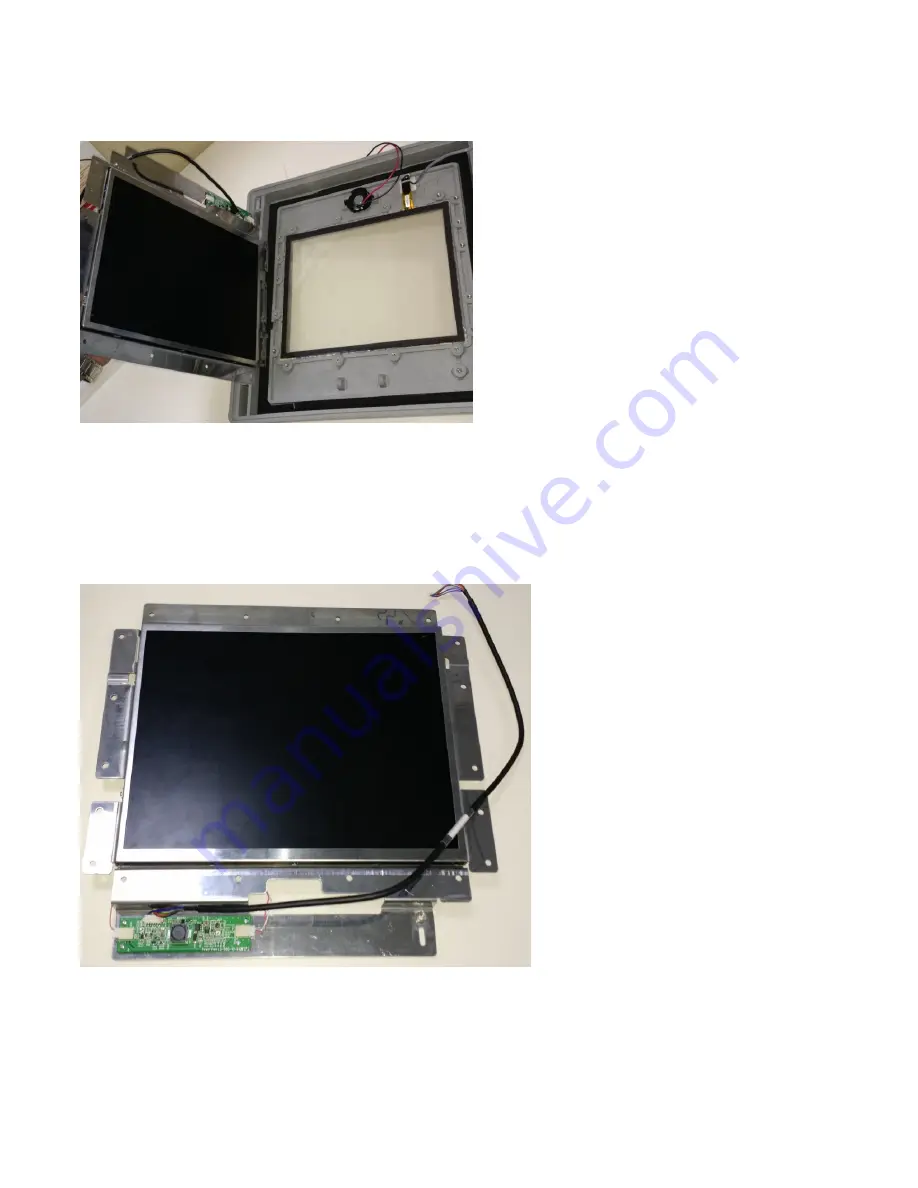
13. Remove the old LCD display subassembly along with its wires. Make sure to carefully remove the LCD from its
place as the touch screen is located right below it.
See Figure 9.
14. Make sure that the new display subassembly has the following parts attached to it.
a. 20 pin LVDS data cable connected on back side of the LCD to LCD data connector
b. 8 pin backlight cable connected to the green coloured backlight controller PCB
c. 2x backlight cables of LCD connected to the green coloured backlight controller PCB on sides
d. Metallic bracket on which the LCD is mounted
15. Cut the cable tie of the touch screen extension cable and separate out the touch screen extension cable
16. Make sure that the speaker cable and touch screen extension cable are in their proper place.
17. Fit the LCD back in its place and align all holes of LCD bracket with bezel boss holes. When bending the touch
screen extension cable make sure that it does not extend beyond the step inside the bezel just below the gask
Figure 10
New display assembly
Figure 2 QX recorder
Figure 9
Removing old display assembly
for replacement


