33
31-00083—02
3.
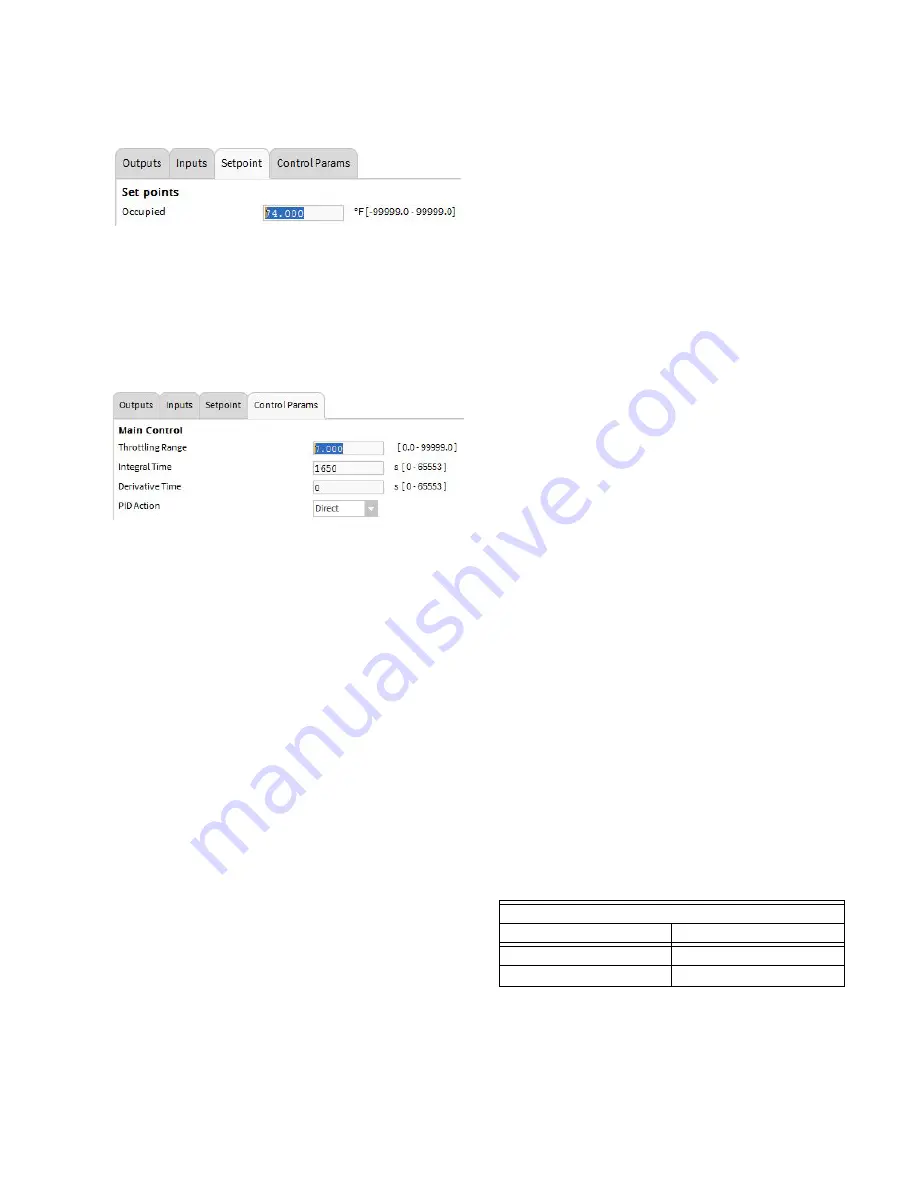
From the Setpoints tab
a. Enter the desired setpoint in the Occupied box
NOTE: The rest of the Setpoints and Setpoint Reset
fields are ignored since Setpoint and Occu-
pancy Status were not chosen on the Inputs
tab
4.
From Control Params tab
a. Choose the desired PID loop settings
5.
Assign the desired terminals from the Custom Wiring
tab
Heating loop with a modulating valve using the effective
heating setpoint from the internal application
1.
From Outputs tab
a. Select “Analog Control” from the Modulating Output
pulldown
b. Configure the type of analog control from the menu
below
2.
From Inputs tab
a. Select an input from the Main Sensor pulldown, e.g.
TR2x 20Kntc
NOTE: This input is the space sensor located in the
zone in which the modulating actuator is con-
trolling temperature. Alternatively the sensor
from the main application could be used by
choosing “Main Application Output” and select-
ing “SpcTempLogical from the Input Name
pulldown
b. Select “Main Application Output” from the Set Point
pulldown
NOTE: Select “VAVHtgSP” from the Input Name pull-
down.
NOTE: If available, the wall module center setpoint
could be used by selecting “WallModCntrSP”
3.
The Setpoints and Setpoint Reset fields are ignored
since Setpoint and Occupancy Status were not chosen
on the Inputs tab. The setpoint used will always follow
the effective setpoint from the main application of the
controller.
4.
From Control Params tab
a. Choose the desired PID loop settings
5.
Assign the desired terminals from the Custom Wiring
tab
Heating loop with a modulating valve using the Loop
Occupied, Unoccupied and Standby setpoints and
occupancy from the internal application
1.
From Outputs tab
a. Select “Analog Control” from the Modulating Output
pulldown
b. Configure the type of analog control from the menu
below
2.
From Inputs tab
a. Select an input from the Main Sensor pulldown, e.g.
TR2x 20Kntc
NOTE: This input is the space sensor located in the
zone in which the modulating actuator is con-
trolling temperature. Alternatively the sensor
from the main application could be used by
choosing “Main Application Output” and select-
ing “SpcTempLogical from the Input Name
pulldown
b. Select Set “None” for the Point inputSelect “Main
Application Output” from the Occupancy Status pull-
down
NOTE: Select “VavEffectiveOcc” from the Input Name
pulldown
3.
From the Setpoint tab
a. Configure the appropriate values for Occupied,
Standby and Unoccupied Set points.
4.
The Setpoint Reset fields are ignored since the Set
Point input is unassigned.
5.
From Control Params tab
a. Choose the desired PID loop settings
6.
Assign the desired terminals from the Custom Wiring
tab
Peripheral heat water temperature reset from a network
outdoor air temperature
Hot Water Reset Schedule
Outdoor Temp (F)
Hot Water Temp SP (F)
65
100
10
180


