Assembly Instructions 3/3
STEP 3
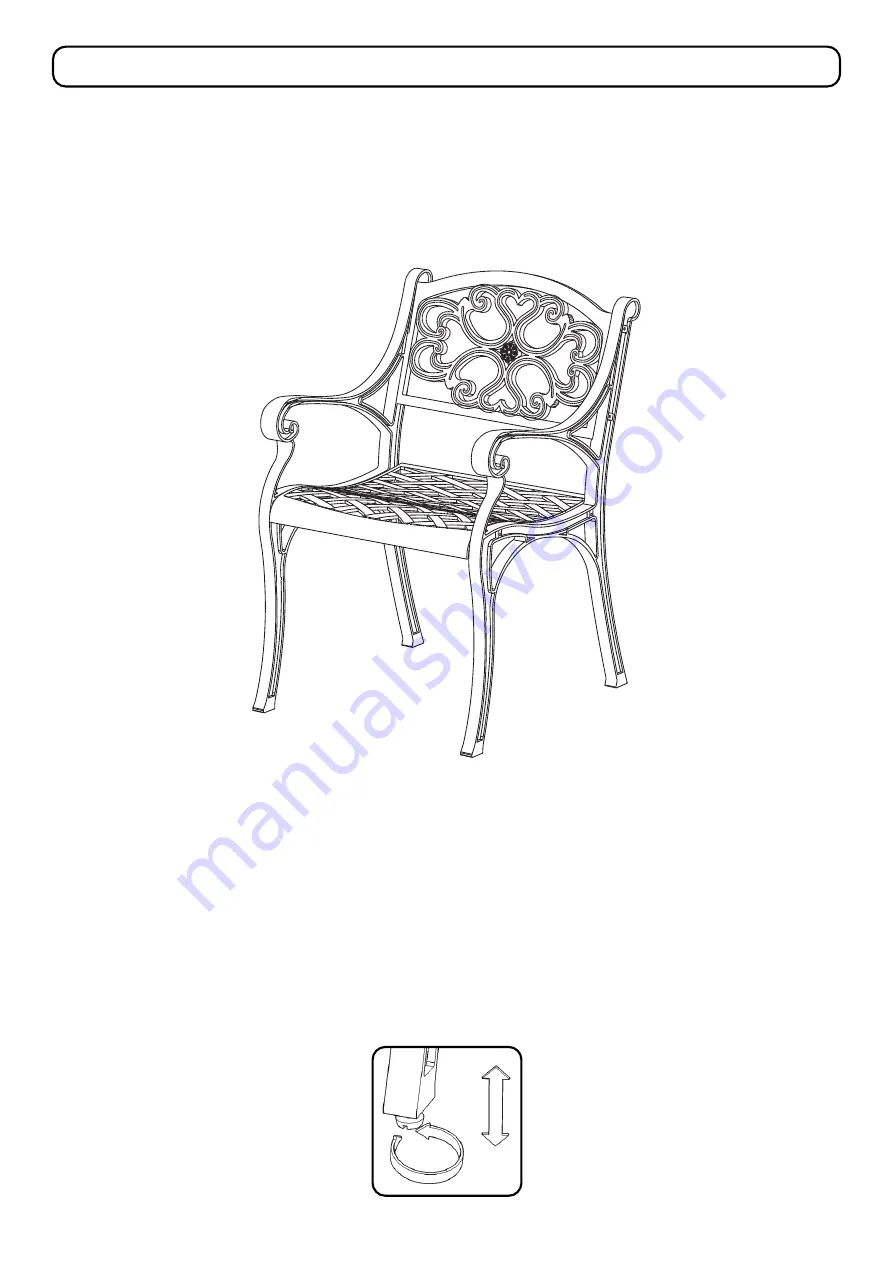
Turn unit to its upright position.
Level unit by adjusting the adjustable levelers on bottom of unit.(See Figure 2)
Figure 2
Page 1: ...es or other damage Carefully and strictly follow these assembly instructions to ensure a completed product as designed This product is made of aluminum Do not use power tools above 8 volts to assemble...
Page 2: ...be tightened in the future B A STEP 1 Place Side Frame C on a soft cloth Attach Back A and Seat B to Side Frame C with Flat Washers Spring Washers and Head Cap Bolts tightening bolts only halfway See...
Page 3: ...Assembly Instructions 3 3 STEP 3 Turn unit to its upright position Level unit by adjusting the adjustable levelers on bottom of unit See Figure 2 Figure 2...
Page 4: ...ING Do not place in direct sunlight PREVENT FADING with a soft cloth moistened in lukewarm soap and water Buff with a dry clean cloth CLEAN homestyles will provide replacements free of charge for miss...