4
5
INSTRUCTIONS FOR USE
To reduce the risk of electric shock, this appliance has a polarized plug (one blade wider than
the other). This plug will fit in a polarized outlet only one way. If the plug does not fit fully in the
outlet, reverse the plug. If it still does not fit, contact a qualified electrician to install the proper
outlet. DO NOT change the plug in anyway.
1. ALWAYS make sure the unit is set to the “OFF” position before
inserting the plug into a 120-volt electrical outlet.
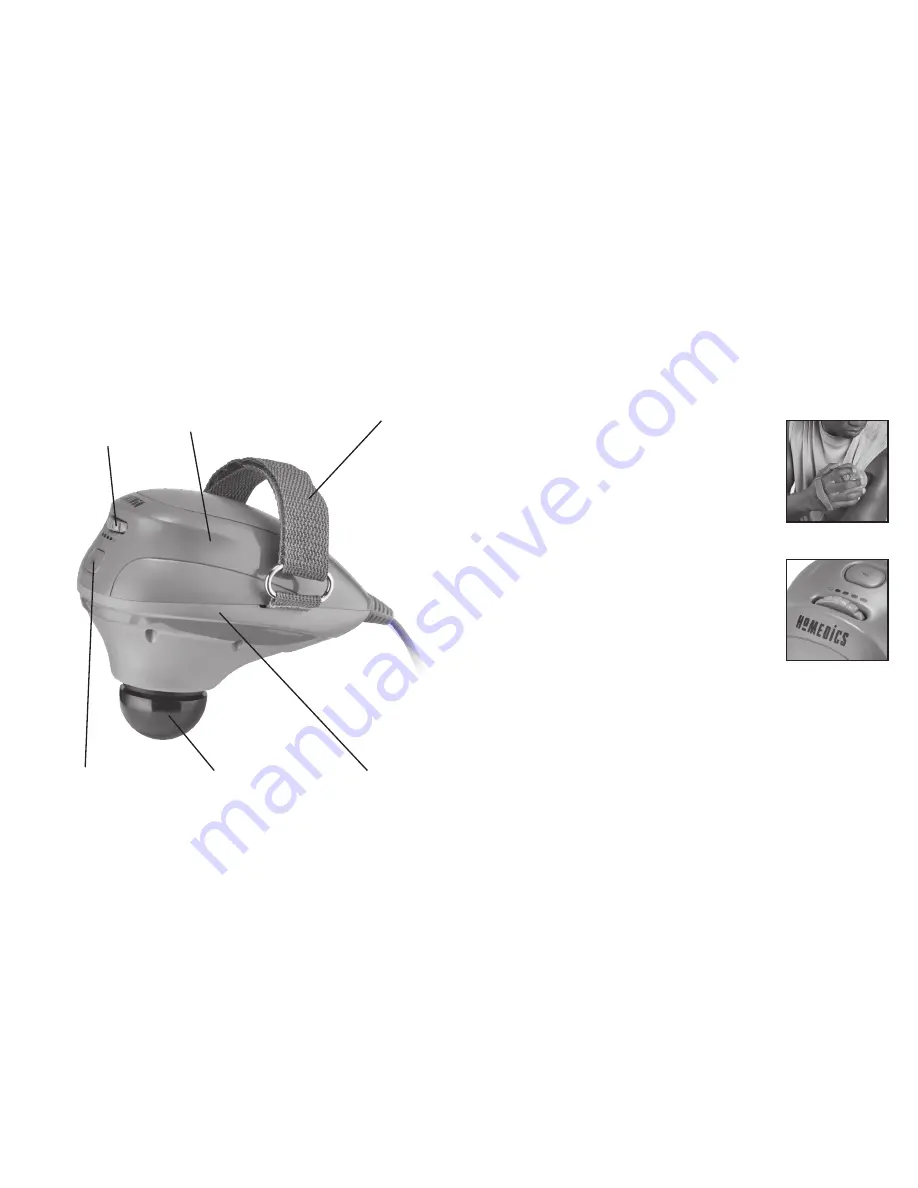
2. Grip the massager by placing your hand through the strap and
grasp the unit with fingers outstretched. The strap should be
positioned over the back of your hand. (Fig. 1)
3.
Massage:
Slide the power switch once to the right to initiate
massage. To adjust the massage intensity, rotate the switch to
the right until the desired intensity is reached. The massager has
4 intensity levels. (Fig. 2)
M
Heat:
Apply the red thermal heat attachment. Once
the massage function is on, press the heat button directly below
the power switch to activate heat (Fig. 2). The red lights will
illuminate to indicate that heat is on.
NOTE:
The heat function can only be activated when the massage
function is in use.
NOTE:
Do not use the heat continuously for more than 15 minutes.
Do not use the heat if you have sensitive skin, poor circulation,
discolored areas, swelling, burned or inflamed skin, or where
skin eruptions or sores are present. Heat should be pleasant and
comfortable. Should pain or discomfort result, discontinue use
and consult your physician.
4. Apply the massager head lightly to the area you wish to massage.
5. Move the unit slowly, holding on the targeted area. Massage the area for a short period of time
and move to another area. NEVER massage the same spot longer than 3 minutes.
CAUTION
– NEVER use this appliance on or near eyes or other highly sensitive areas.
6. Operation longer than 15 minutes is not recommended and may cause overheating.
7. When your massage is completed, turn the power switch all the way to the left to turn the unit
off. Allow the massager to cool, unplug the power cord, and store the unit properly in a dry
place.
Lightweight Design
Small enough to
carry wherever
you go
Powerful
Percussion Action
For an invigorating
massage
Thermal Heat
Power Switch/
Variable Intensity Control
For gentle to invigorating
massage at the turn of
a dial
Comfortable Grip
Fits easily in the
palm of your hand
Adjustable Strap
Fits your hand size
FIG 1
FIG 2
Summary of Contents for MERCURY PERCUSSION SR-PRCM
Page 1: ...SR PRCM...


