


4K
QUICK SET-UP GUIDE
MISC-07085-001 Rev 001 ©2021 Hologic, Inc. All rights reserved. Specifications are subject
to change without prior notice. Hologic, Omni, The Science of Sure and associated logos
are trademarks or registered trademarks of Hologic, Inc. and/or its subsidiaries in the United
States and/or other countries.
5
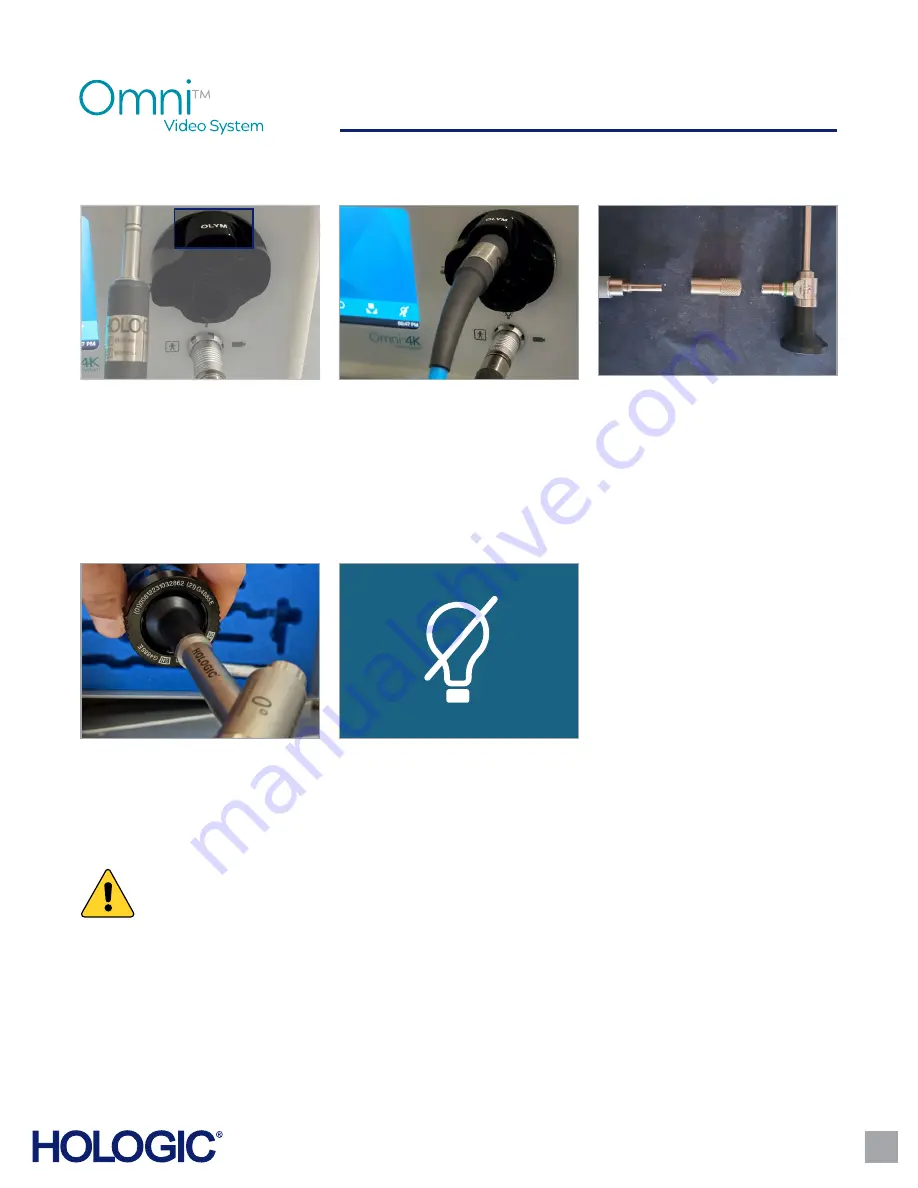
SETTING UP THE LIGHT SOURCE
Rotate the light source turret with
appropriate receptacle at 12 o’clock
position� Hologic scopes will use
Olympus settings
, rotate
OLYM
to the
12 o’clock position�
Attach the hysteroscope to the camera
head coupler and tighten by rotating
1-2 mm clockwise�
Turn light source on by pressing the
Light Source On/Standby button on the
console screen or tablet to activate LED
light engine�
Firmly insert the light guide cable into
the light guide receptacle�
Connect the opposite end of the light
guide cable to the hysteroscope, using
appropriate scope adaptors�
NOTE: The Light Guide
cable must be connected to
the Omni 4K Console before
using the light On/Standby
function. The On/Standby
button will not activate the
LED light engine until the
light source is connected.
Possibly hazardous optical radiation emitted from this product� Do not stare at operating lamp (light source)�
May be harmful to the eye� Avoid looking into lamp (light turret apertures) and active light emitting points (light
guide tip and endoscope tip) and always keep these active light emitting points directed away from operator,
patient and bystanders eyes�
WARNING


