•
p12
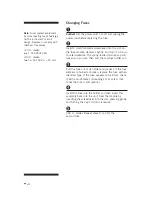
Changing Fuses
1
Caution!
Set the power switch to off and unplug the
power cord before replacing the fuse.
2
Insert a small flat-blade screwdriver into the slot on
the fuse module, depress slightly, and turn it 1/4-turn
counterclockwise. The spring-loaded module cap will
loosen and you can then pull the cap/fuse holder out.
3
Pull the fuse out of its holder and inspect. If the fuse
element is burned or broken, replace the fuse with an
identical type. If the fuse appears to be intact, check
it with a multi-meter. (A reading of 1
Ω
or less indi-
cates the fuse is still usable.)
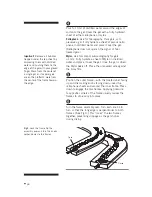
4
Insert the fuse into the holder and then insert this
assembly back into the unit. Seat the module by
inserting the screwdriver into the slot, pressing gently,
and turning the cap 1/4-turn clockwise.
5
230 V~ model: Repeat steps 2 to 4 for the
second fuse.
Note: Fuses protect equipment
by disconnecting loads too large
for the instrument’s circuit
design. Replace fuses only with
identical fuse values.
115 V~ model:
one F 12A 250V 3AG
230 V~ model:
two T 6.3A 250V, 5 × 20 mm


