❏
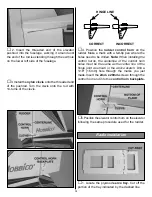
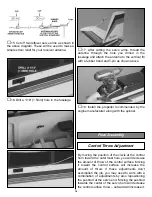
2. Using the hardware that comes with your
servos, install the servos as shown. Use a 1/6"
[1.5mm] drill to pre-drill the holes for the servo
mounting screws. If you do not pre-drill the holes
there is a chance that the plywood may split.
❏
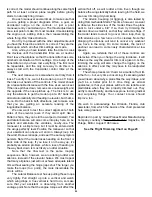
3. Use 6-minute epoxy to glue the tray in place
inside of the fuselage. When properly installed, the
servo tray will rest firmly on the rear former.
❏
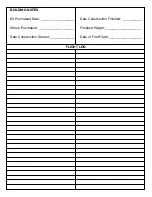
4. On both sides of the fuselage there is a cut
out for your radio switch. Cut away the material on
one side of the fuselage for the switch harness.
Mount the switch to the fuselage following the
instructions included with your radio system.
❏
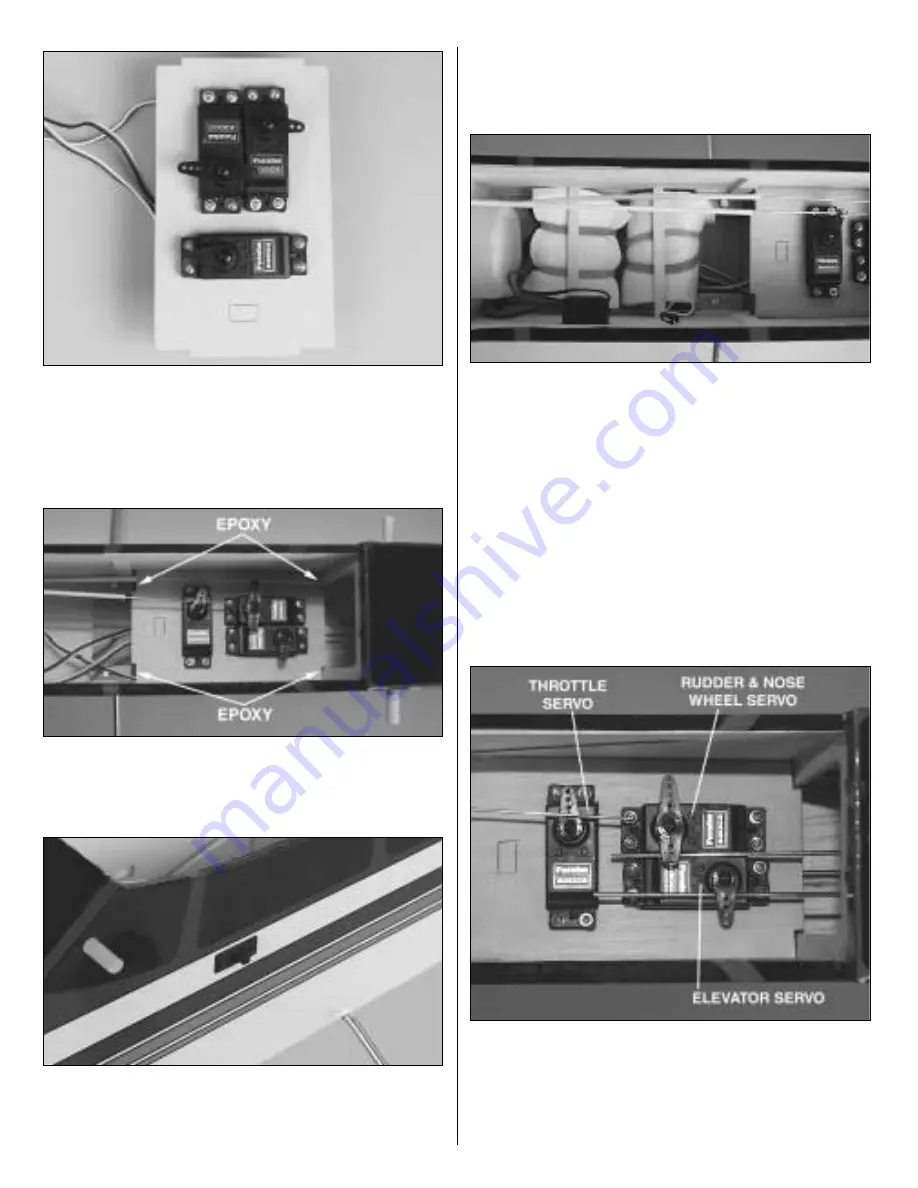
5. Plug the switch into the receiver and the
receiver battery. Plug the servos into the receiver
(consult your radio instruction manual for proper
installation if you are unfamiliar with this). Wrap the
receiver and the battery in foam rubber. Use rubber
bands to keep the foam in place. It is important that
the receiver and battery be wrapped in the foam to
protect them from engine vibration. Place the
receiver and battery in place as shown. We
recommend that you glue scrap balsa stick to the
fuselage to keep them in place.
❏
6. Center the trims on the transmitter, turn on
the transmitter and receiver and allow the servos to
center themselves. Once they are centered, install
the servo arms onto the servos, positioning the
arms as shown in the photograph.
14


