


RENTAL PLAY
62
RENTAL PLAY
This function enables you to improve the picture quality when playing back worn
cassettes such as those rented from a video shop.
2
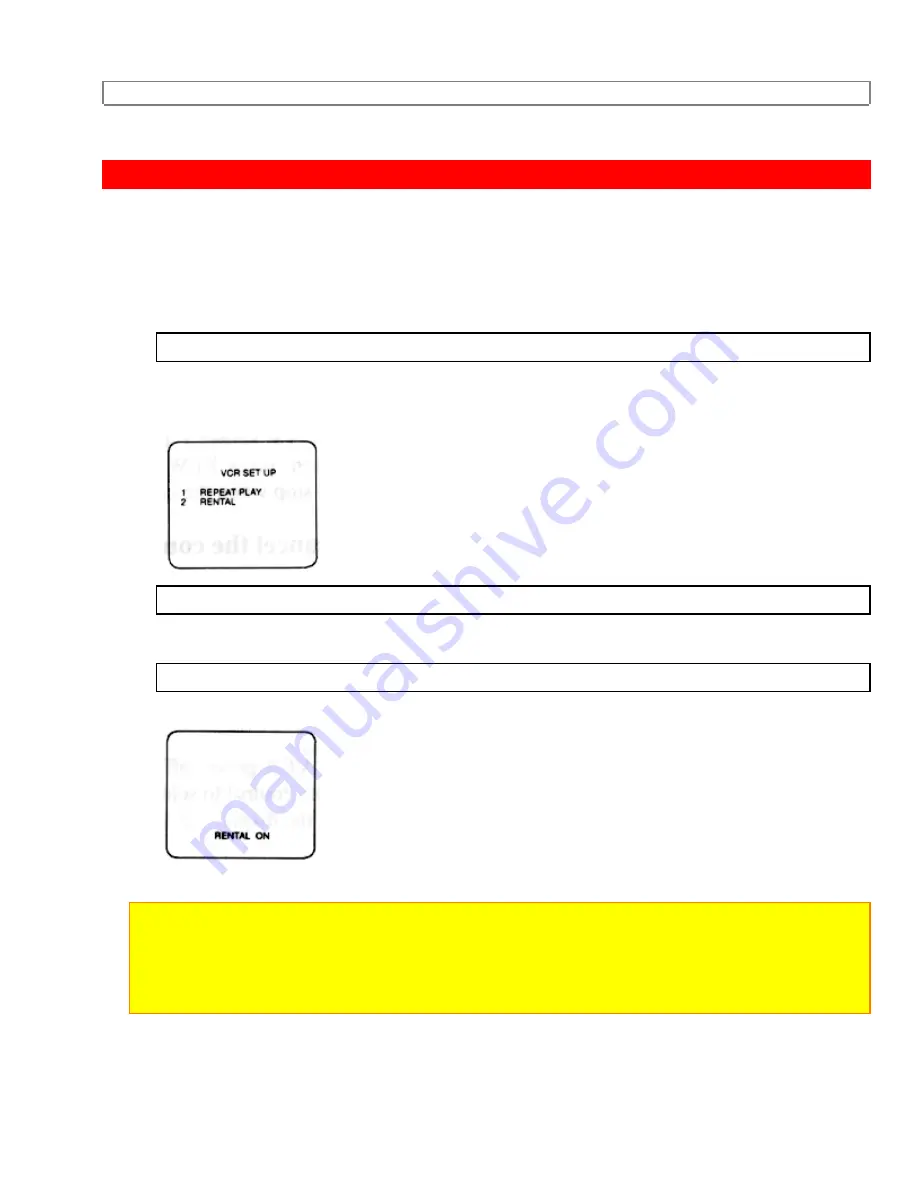
See menu diagrams.
1
Insert rental tape into VCR. VCR will automatically start tape playback.
Press MENU button on the remote control. Select item 2 (VCR SET UP) with number
buttons.
2
Select item 2 (RENTAL) with number buttons.
3
Press SELECT button repeatedly to select "ON".
NOTES:
Once you select the rental play mode, it stays in effect even after you turn off the VCR.
Selecting ON or OFF must be done in the play mode only.
To exit the rental play mode, repeat steps (1) and (2). Then, follow step (3), but select
"OFF" for normal playback.
Summary of Contents for VT-M190A
Page 13: ...MEMO 13 MEMO 1 ...
Page 45: ...AUTOMATIC TIMER RECORDING 45 3 Select item 1 TIMER PROGRAMMING with the number buttons ...
Page 47: ...AUTOMATIC TIMER RECORDING 47 ...
Page 65: ...COUNTER MEMORY 65 ...
Page 71: ...VIDEO CASETTE TAPE 71 ...
Page 79: ...TROUBLESHOOTING GUIDE 79 NECESSARY ...
Page 80: ...TROUBLESHOOTING GUIDE 80 ...
Page 81: ...TROUBLESHOOTING GUIDE 81 ...
Page 82: ...TROUBLESHOOTING GUIDE 82 ...
Page 83: ...TROUBLESHOOTING GUIDE 83 ...


