7
/
14
OPERATION PROCEDURE
3. Select the day to be set as "holiday" by depressing the
"DAY" switch.
Refer to 3. Setting ON/OFF Time" for the indication of the "
W
"
mark.
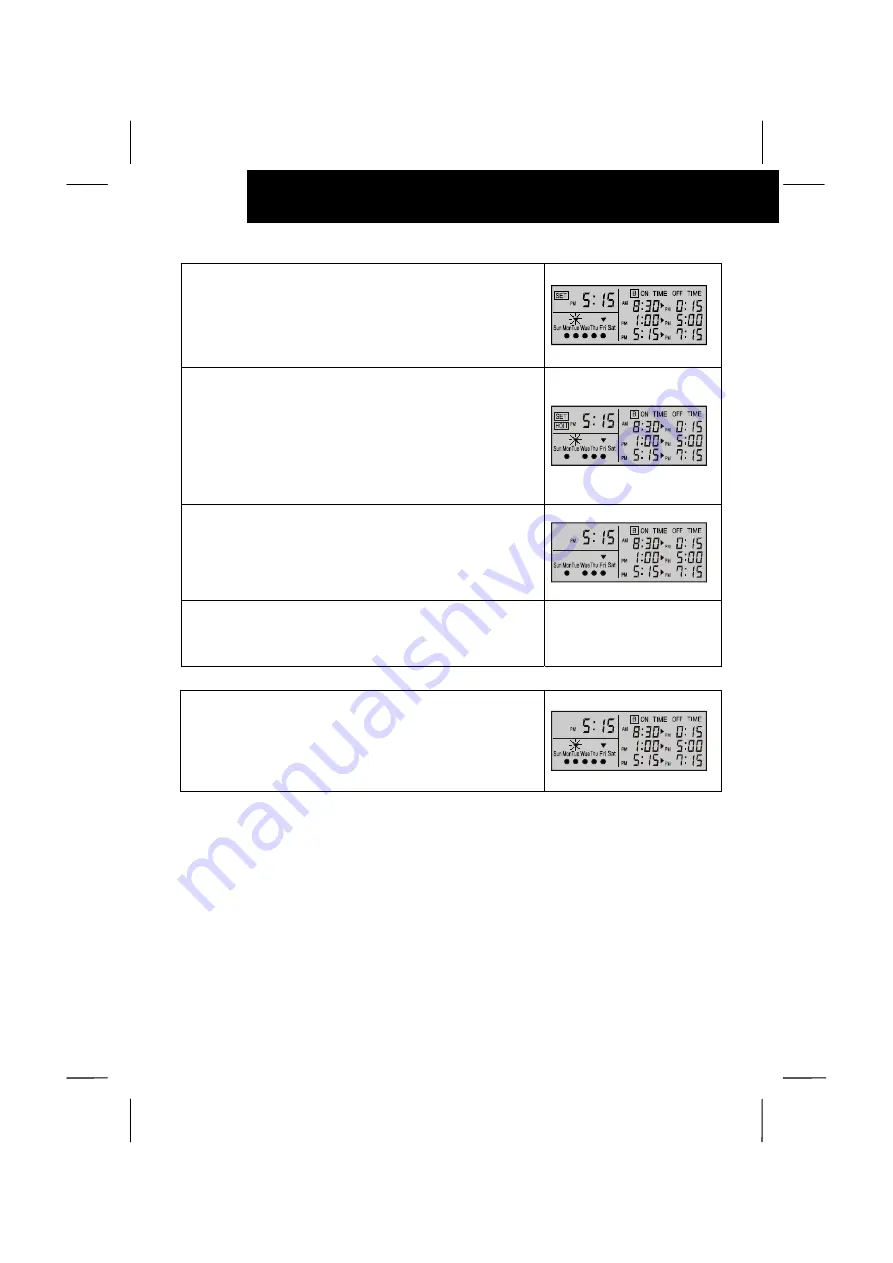
The right figure shows the case of selecting the day "Tuesday".
4. Depress the "HOLIDAY" switch, the "HOLI" indication is
turned on and the selected day is set as "HOLIDAY".
In the case that the selected day is not set as running day the
"
O
" mark is turned off. The holiday setting is not available for
the day. (In case that all days of a week are selected, only the
running day is set as "holiday").
By depressing the "HOLIDAY" switch again, the holiday setting
is canceled.
5. Depress the "SET/MONITOR"
The "SET" indication is turned off and the control timer is
changed to the monitor mode.
In case of setting the present day as "holiday", the "holiday"
setting is available from that time and the schedule operation is
canceled until the next day. In that case, the same day after a
week is not "holiday.
¬
ATTENTION:
CHECKING CONTENTS OF SETTING
1. Depress the "DAY" switch at the monitor mode
(when the
"SET" indication is turned off), the "
W
" mark moves and the
setting contents of the day with the "
W
" mark is indicated.
The right figure shows the case of selecting the day "Tuesday".


