19
Extra Information
Advanced Playback
Basic Playback
Basic DVD features
DVD Setup Menu Options
Video Out
The video output of the DVD player can be selected
as “ Component ” / “ P-Scan” / “HDMI” / “RGB”.
A
In 'Video', press
S
/
T
to select {
Video Out
},
then press
X
.
{
Component
}
Select this for component video connection.
{
P-Scan
}
Select this when you connect your DVD player to
your TV, which has component video inputs that
supports progressive scan.
{
HDMI
}
Select this for HDMI output.
{
RGB
}
Select this for RGB output.
B
Use
S
/
T
to select a setting and press
OK
to
FRQ¿UP
Smart Picture
7KLV'9'SOD\HUSURYLGHVIRXUSUHGH¿QHGVHWVRI
picture colour settings.
A
In
'
Video
'
, press
S
/
T
to select {
Smart Picture
},
then press
X
.
{
Standard
}
Select this for a preset standard picture setting.
{
Vivid
}
Select this to make the picture brighter.
{
Cool
}
Select this to make the picture softer.
{
Personal
}
Select this to personalize your picture colour by
adjusting the brightness, contrast, tint and colour
(saturation).
B
Use
S
/
T
to select a setting and press
OK
to
FRQ¿UP
C
If you select {
Personal
}, then proceed to steps
D
~
G
.
Î
The setup menu appears.
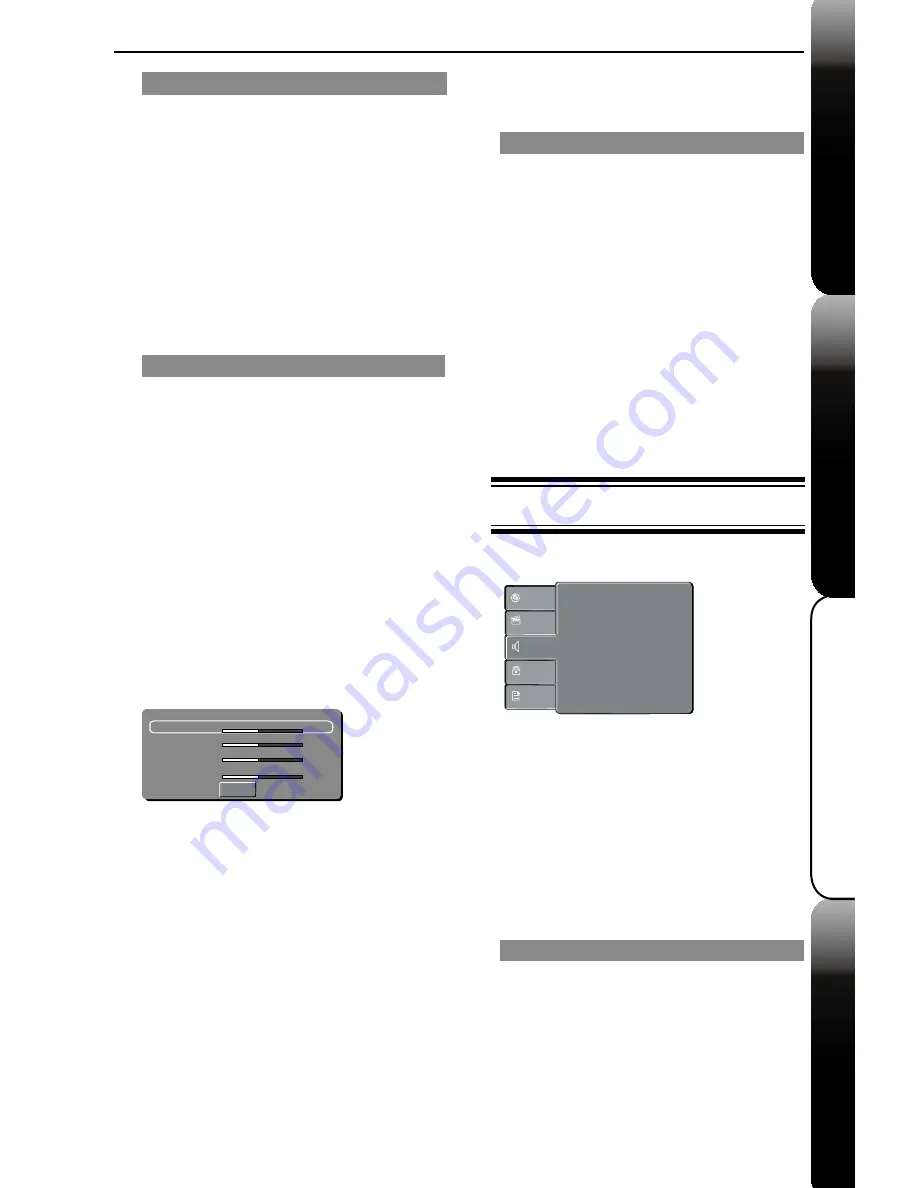
Brightness
Contrast
Tint
Colour
0
0
0
0
Close
D
Press
S
/
T
to highlight one of the following options.
Brightness
Increase the value to brighten the picture or vice
versa. Choose zero (0) for average setting.
Contrast
Increase the value to sharpen the picture or vice
versa. Choose zero (0) to balance the contrast.
Tint
Increase the value to darken the picture or vice
versa. Choose zero (0) for average setting.
Colour
Increase the value to enhance the colour in your
picture or vice versa. Choose zero (0) to balance the
colour.
E
Press
W
/
X
to adjust the setting that best suits
your personal preference.
F
Repeat steps
D
~
E
to adjust your picture
preference.
G
Press
S
/
T
to select
'
Close
'
and press
OK
to
FRQ¿UP
HD Resolution
The HD Resolution of the DVD player can be
selected according to your preference and the
connected HDMI TV.
A
In 'Video', press
S
/
T
to select {
VIDEO OUT
}
then press
X
to select HDMI.
B
Press
S
/
T
to select {
HD Resolution
}, when
video out was HDMI, then press
X
.
{
Auto
}
Output automatically based on your
display’s supported resolution.
{
480p/576p
}
Progressive output in 480/576 lines.
{
720p
}
Progressive output upscale to 720 lines.
{
1080i
}
Interlaced output upscale 1080 lines.
{
1080p
}
Progressive output upscale 1080 lines.
C
Use
S
/
T
to select a setting and press
OK
to
FRQ¿UP
Using the Audio setup menu
A
Press
SETUP
on the remote control.
Î
The system setup menu appears.
:
:
:
Digital Output
Night Mode
Down Sampling
All
Off
On
Language
Video
Audio
Misc
Rating
:
3D Effects
Off
B
Press
S
/
T
to select {
Audio
}, then press
X
.
C
Press
S
/
T
to select an item, then press
X
to
access.
Example: {
Night Mode
}
Î
The options for the selected item appears.
Î
If the selection in the menu is greyed out, that
means the feature is not available or not possible to
change at the current state.
D
Use
S
/
T
to select a setting and press
OK
to
FRQ¿UP
Example: {
On
}
Î
The setting is selected and setup is completed.
E
To exit, press
SETUP
.
Digital Output
Select this if you connect to a multichannel decoder/
receiver.
A
In
'
Audio
'
, press
S
/
T
to select {
Digital Output
},
then press
X
.
{
All
}
Select this if the connected device has a built-in
multichannel decoder that supports one of the
multichannel audio format (Dolby Digital).


