


--- 17 ---
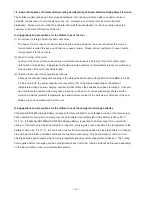
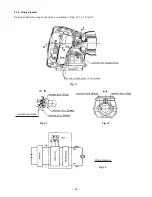
Fig. 8
8-1-2. Reassembly
Reassembly can be accomplished by following the disassembly procedures in reverse. However, special
attention should be given to the following items.
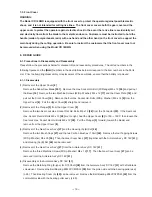
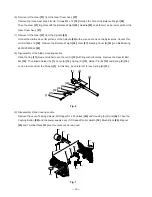
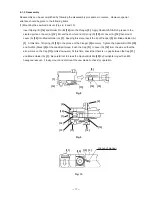
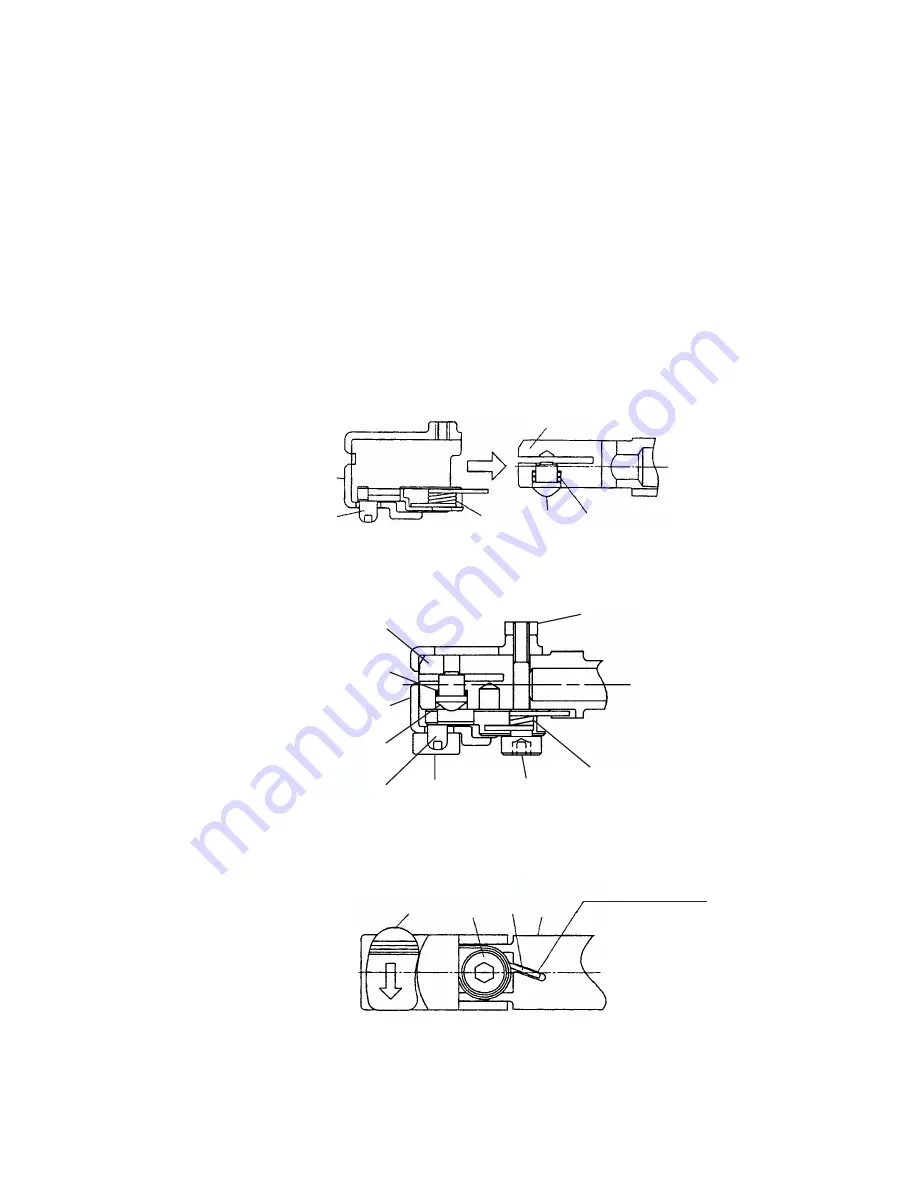
(1) Mounting the saw blade mount (Figs. 8, 9 and 10)
Insert Spring (B)
[15]
and Holder Pin (B)
[14]
into the Plunger
[3]
. Apply Shell ALVANIA RL3 grease to the
slanted portion of Lever (A)
[12]
. Mount the shorter end of Spring (D)
[13]
into Lever (A)
[12]
then mount
Lever (A)
[12]
into Blade Holder (A)
[1]
. Keeping this state, insert the tip of Plunger
[3]
into Blade Holder (A)
[1]
. At this time, fit Spring (D)
[13]
in the groove of the Plunger
[3]
securely. Tighten the Special Bolt M4
[10]
and Nut M4 (Black)
[2]
at the specified torque. Push the Cap
[11]
to Lever (A)
[12]
from the side so that the
arrow mark on the Cap
[11]
points downward. At this time, check that there is no gap between the Cap
[11]
and Blade Holder (A)
[1]
. Be careful not to break the Special Bolt M4
[10]
by overtightening with an M5
hexagonal wrench. Finally, mount and dismount the saw blade to check for operation.
Fig. 9
Fig. 10
[12]
[15]
[14]
[3]
[13]
[1]
[3]
[14]
[12]
[11]
[10]
[13]
[15]
[1]
[11]
[10] [13] [3]
Groove of plunger
[2]
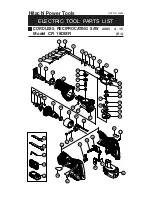
Summary of Contents for CR 18DMR
Page 29: ......


