36
Multifunctional settings
Item
Description
START UP
Using the buttons ▲/▼ switches the mode for the start up screen.
The start up screen is the screen displayed when no signal or an
unsuitable signal is detected.
MyScreen
ORIGINAL
TURN OFF
MyScreen is the screen you can register a desired screen.
ORIGINAL screen is the existing standard screen. When the TURN
OFF is selected, the BLUE screen is used.
• To avoid remaining as an afterimage, the MyScreen and the
ORIGINAL screens will change to the BLANK screen after several
minutes. If also the BLANK screen is the MyScreen or ORIGINAL, it
will change to the BLACK screen.
• For the MyScreen, please refer to the item MyScreen
below
.
About the BLUE, BLACK and BLANK screens, please refer to the
item BLANK (
35
).
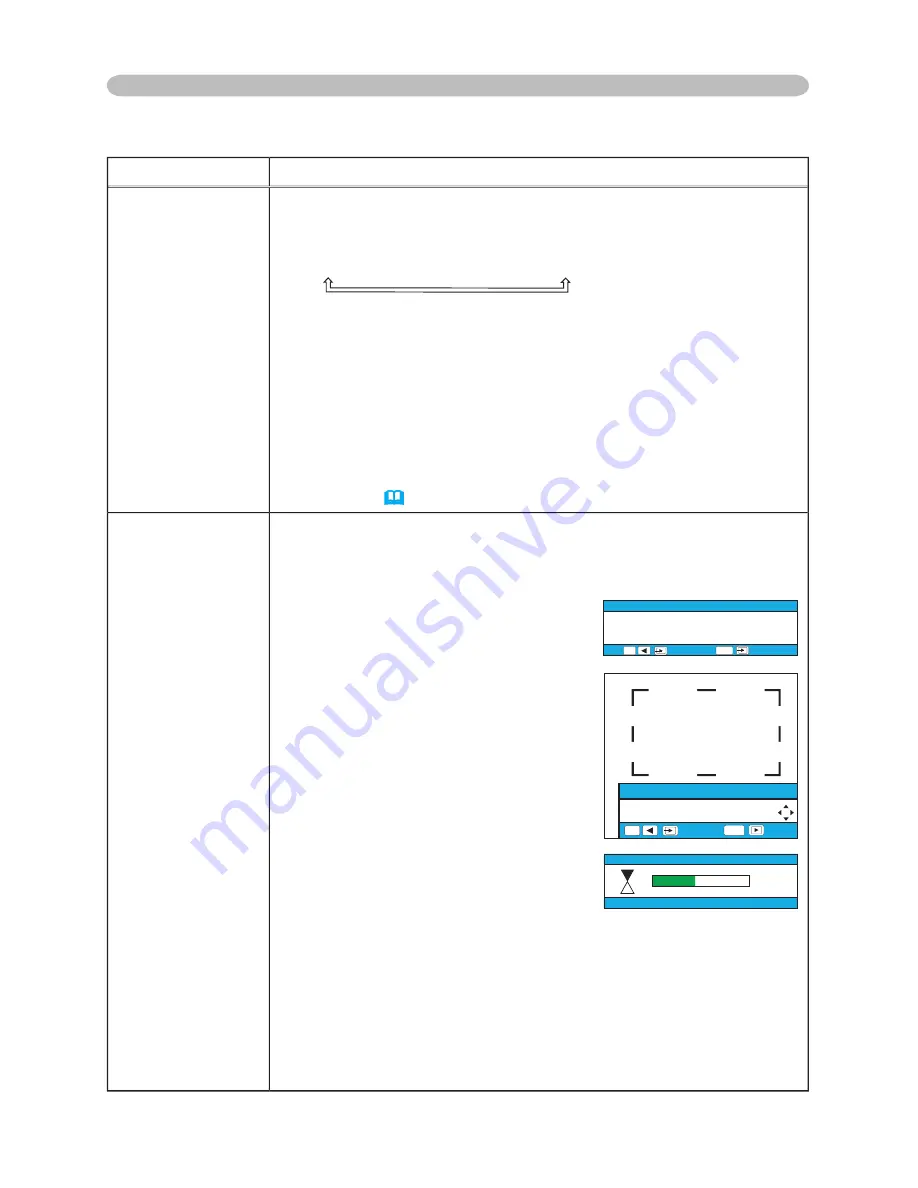
MyScreen
This item functions for capturing the MyScreen of the blank screen
and the start up screen. Please execute displaying the input
including the picture you want to capture.
1. Choosing this item displays a dialog
titled “MyScreen”. It will ask you if
you start capturing the picture from
the current screen. Please wait for
the target picture to be displayed.
2. Press the ENTER button when the
picture is display. The picture will
freeze and the frame for capturing
appears.
To stop performing, press the
RESET or ESC button.
3. Using the buttons ◄/►/▲/▼ adjust
the frame position. Please move the
frame to the position of the picture
which you want to use.
To start registration, press the
ENTER button.
To restore the screen and return
to the previous dialog, press the
RESET or ESC button.
Registration takes several minutes. When the registration is
completed, the registered screen and the message “MyScreen
registration is fi nished.” are displayed for several seconds. If the
registration failed, the message “A capturing error has occurred.
Please try again.” is displayed.
SCREEN menu (continued)
MyScreen
Do you start capturing this picture?
, + :NO
ESC
, :YES
ENTER
MyScreen
Move the capture area
as you want.
, + :RETURN
ESC
, :NEXT
ENTER
My Screen
45%


